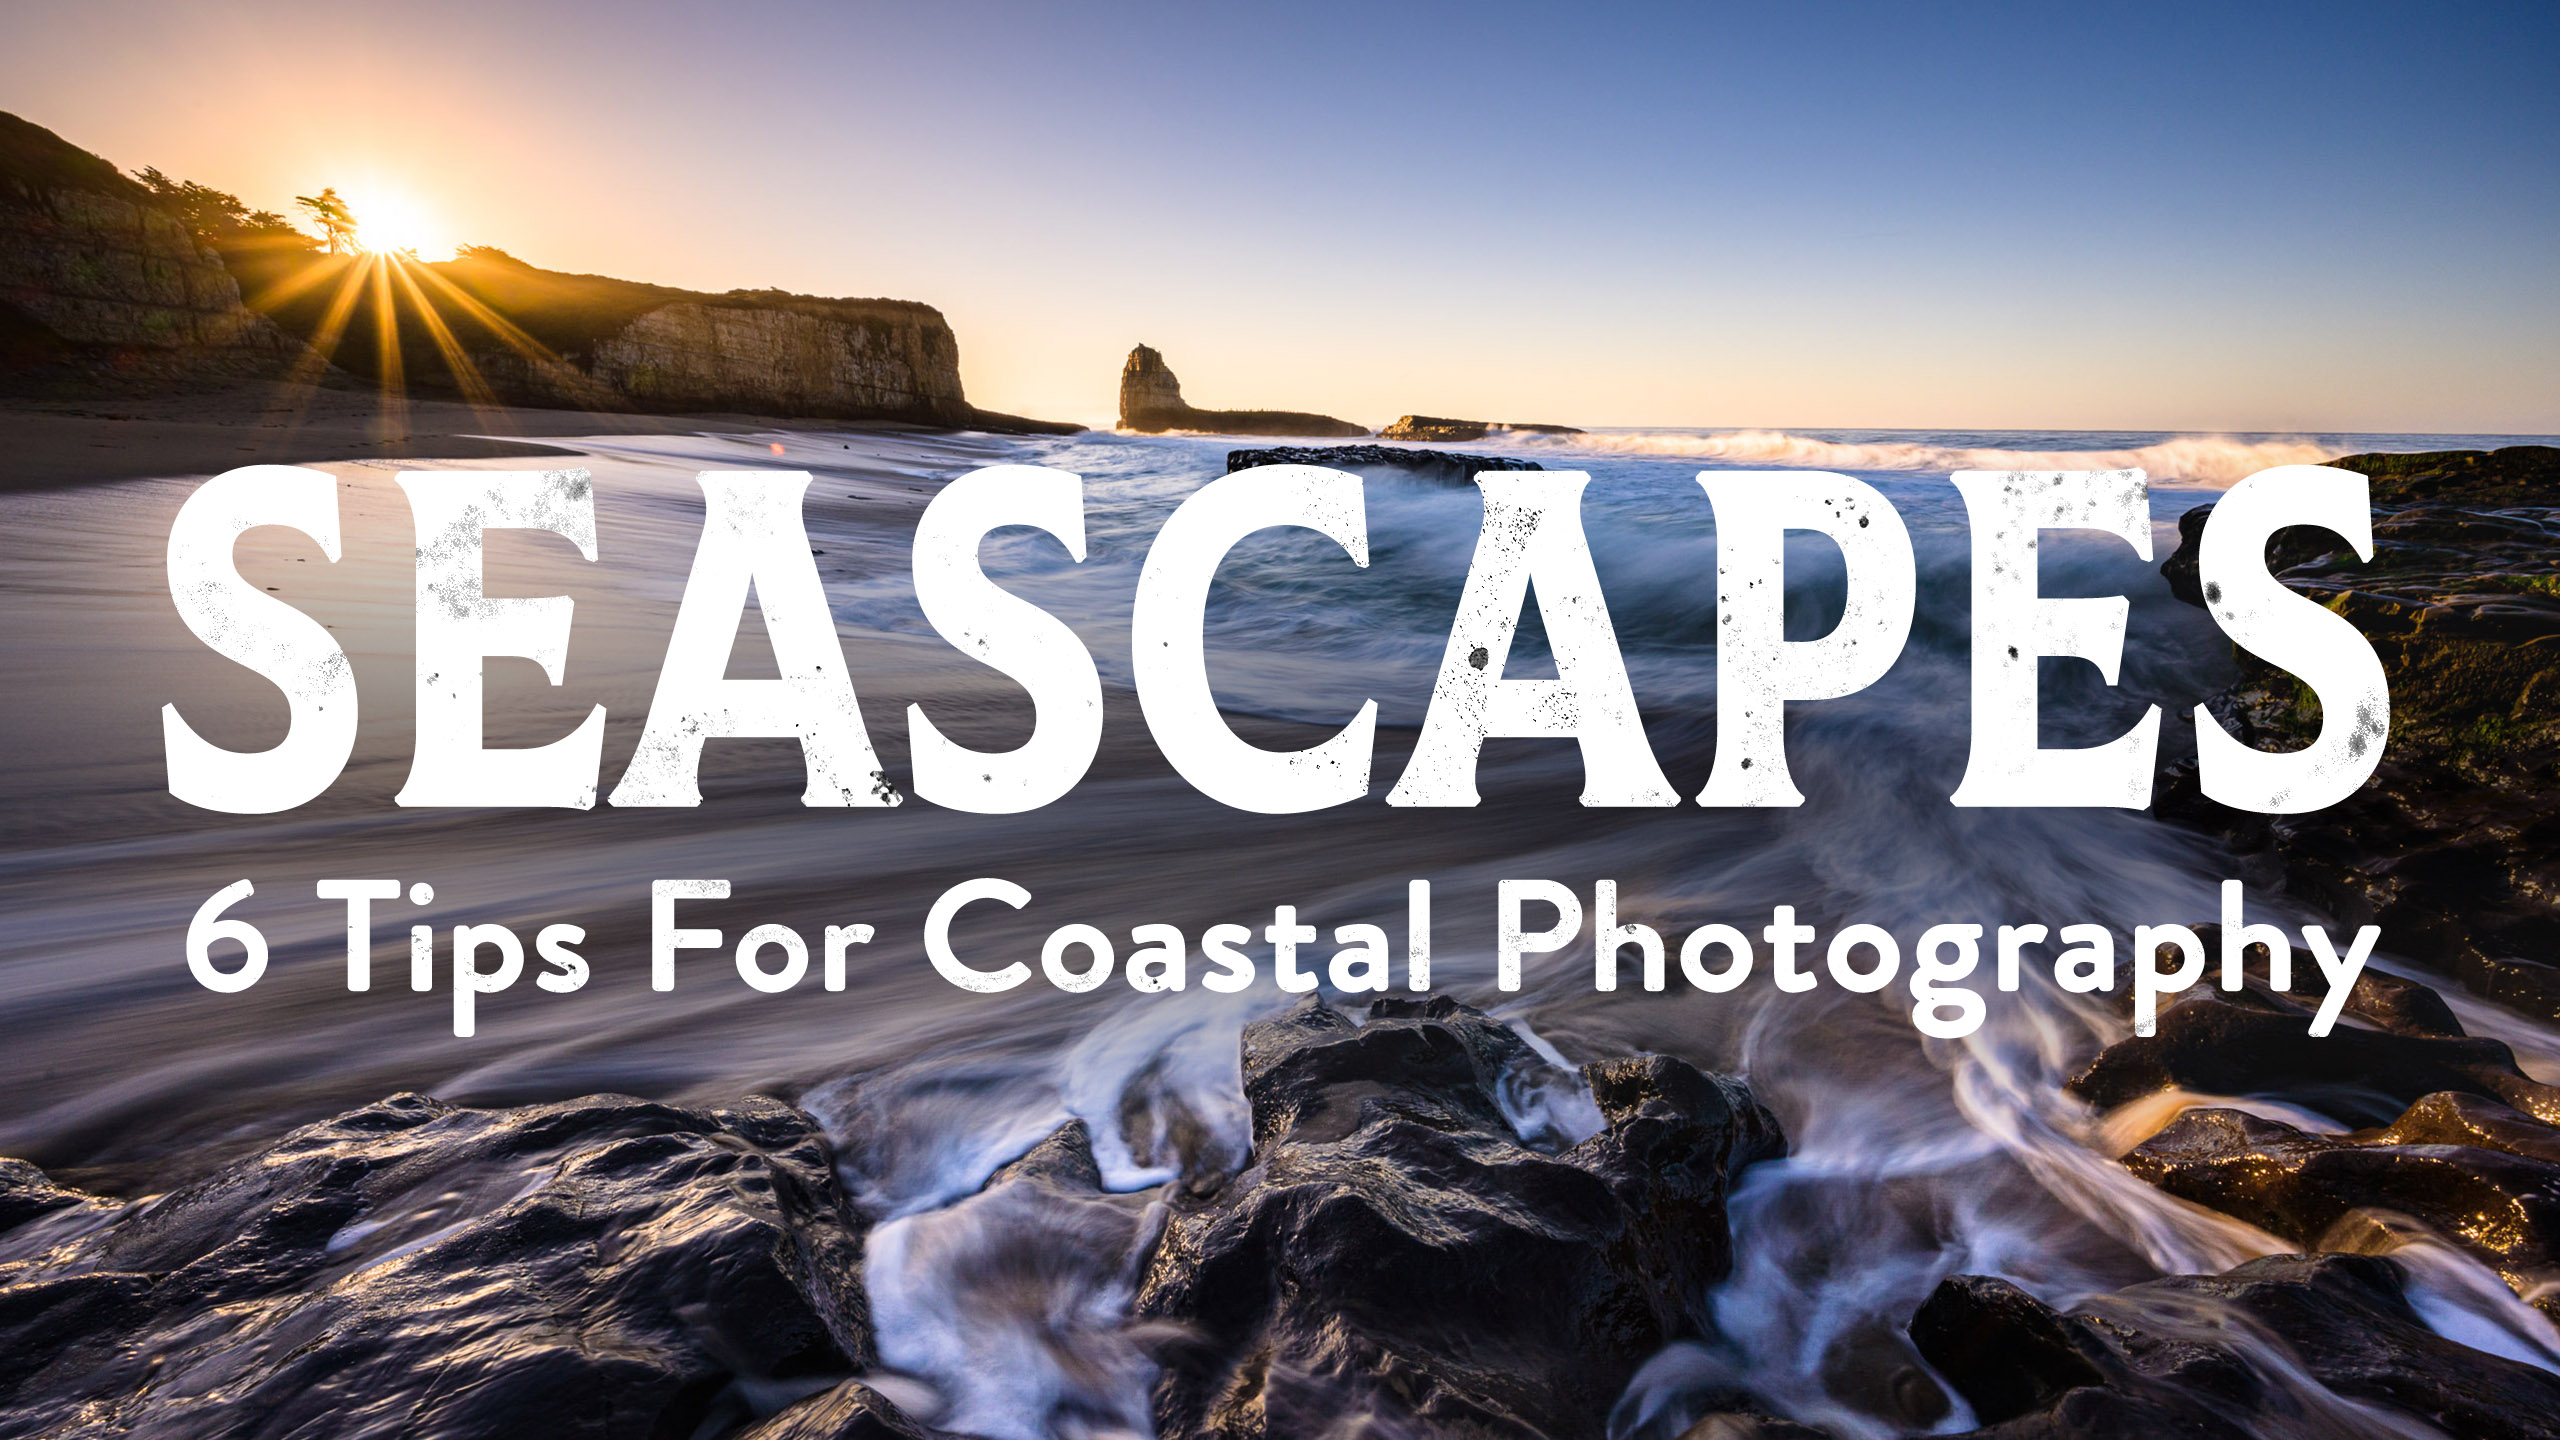
6 Tips For Killer Seascape Photography
I spent some of my most formative years as a photographer shooting along the coast, striving to capture it in photos and dodging many a
I spent some of my most formative years as a photographer shooting along the coast, striving to capture it in photos and dodging many a
Greetings, my excellent friends, Josh Cripps here. Now we are living in strange times. We’re living in an era of unprecedented access to information. And

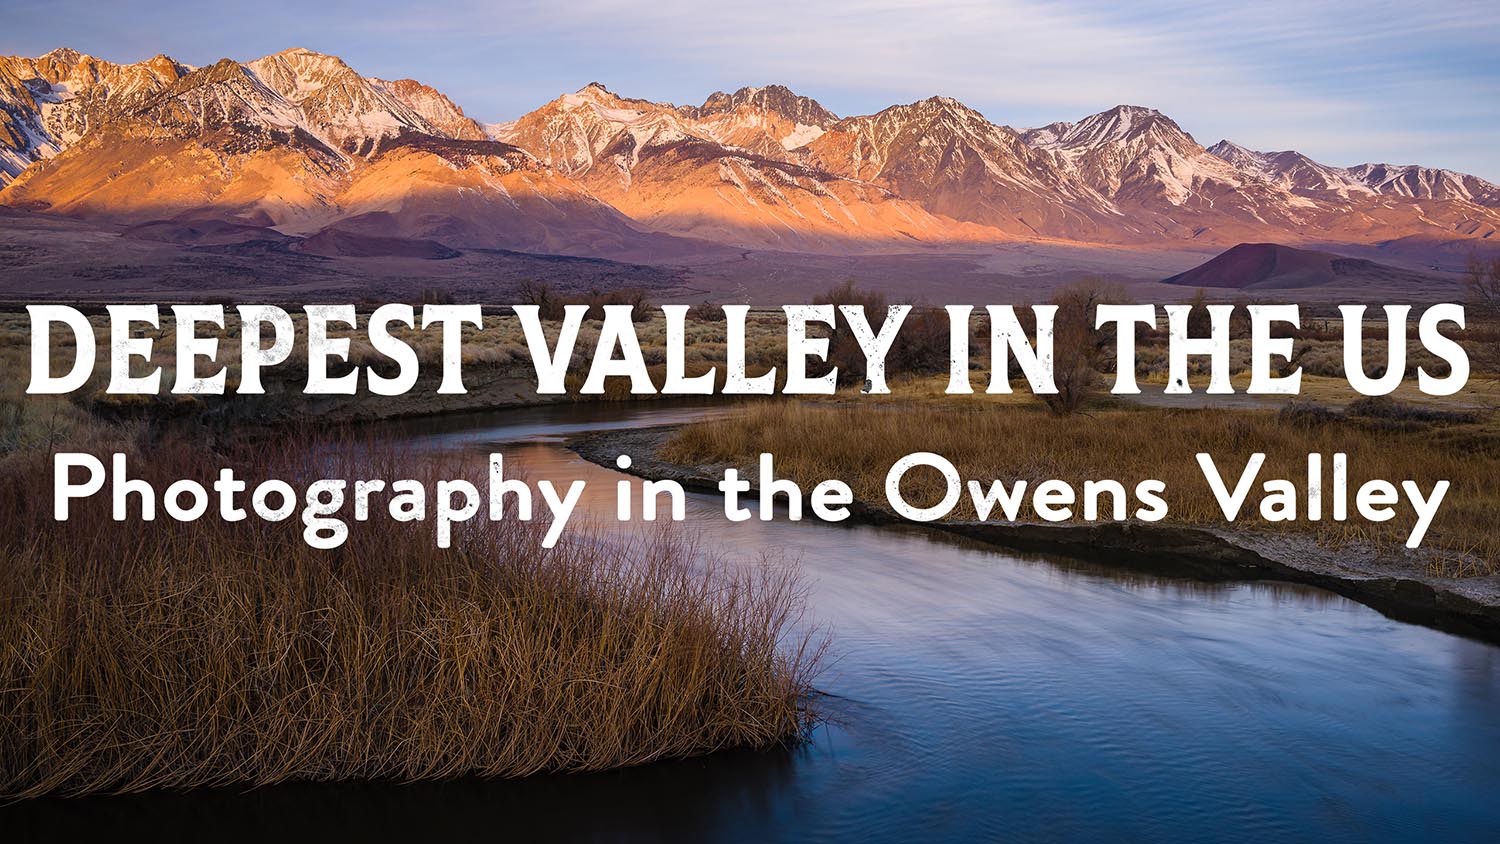
Join me as I scout and scramble around the Alabama Hills in search of a hidden arch.

Watch along as I get creative with tripod placement and explore compositions in order to get the shot I’m hoping for. You can get a
In photography it’s easy to focus on the results and to forget about the process. It’s easy to see the pretty picture and not have
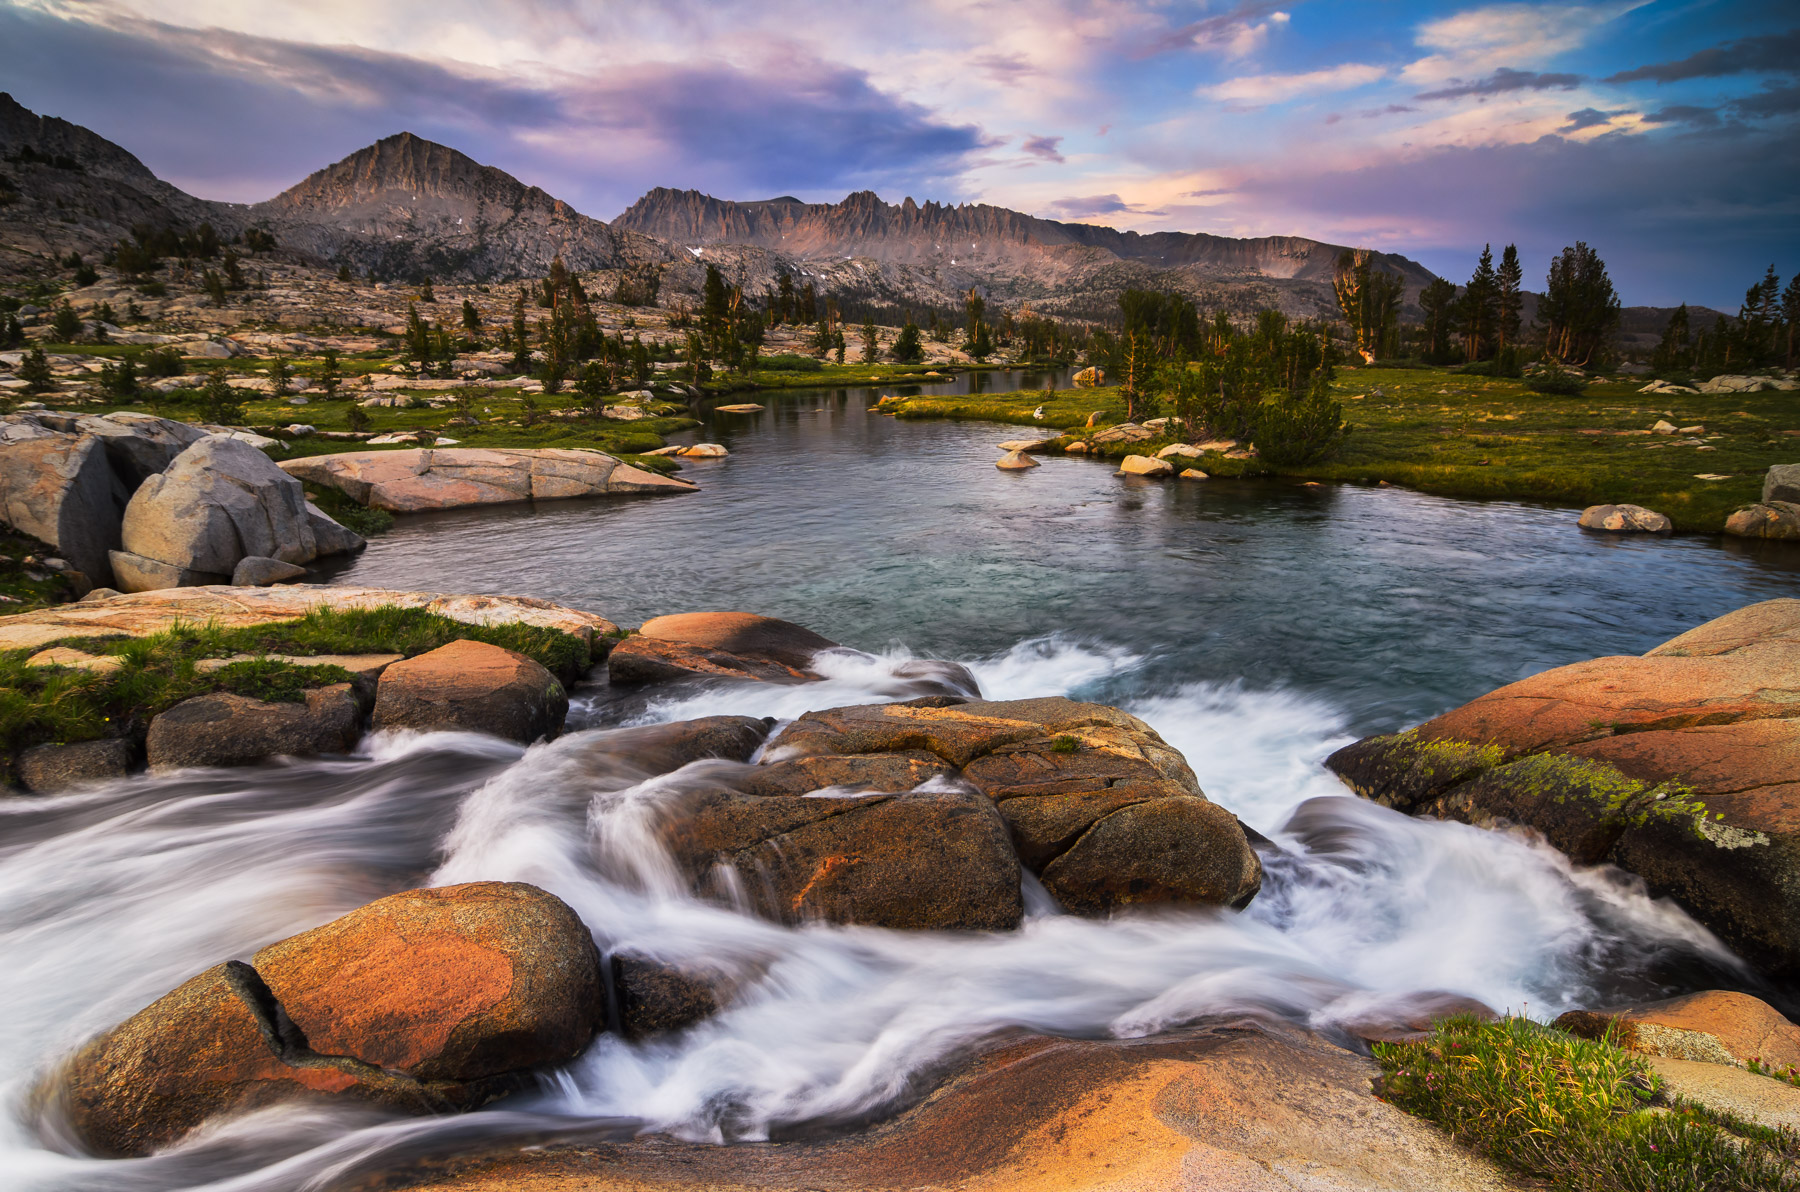
Learn to create depth and dimension in your photos with textural contrast
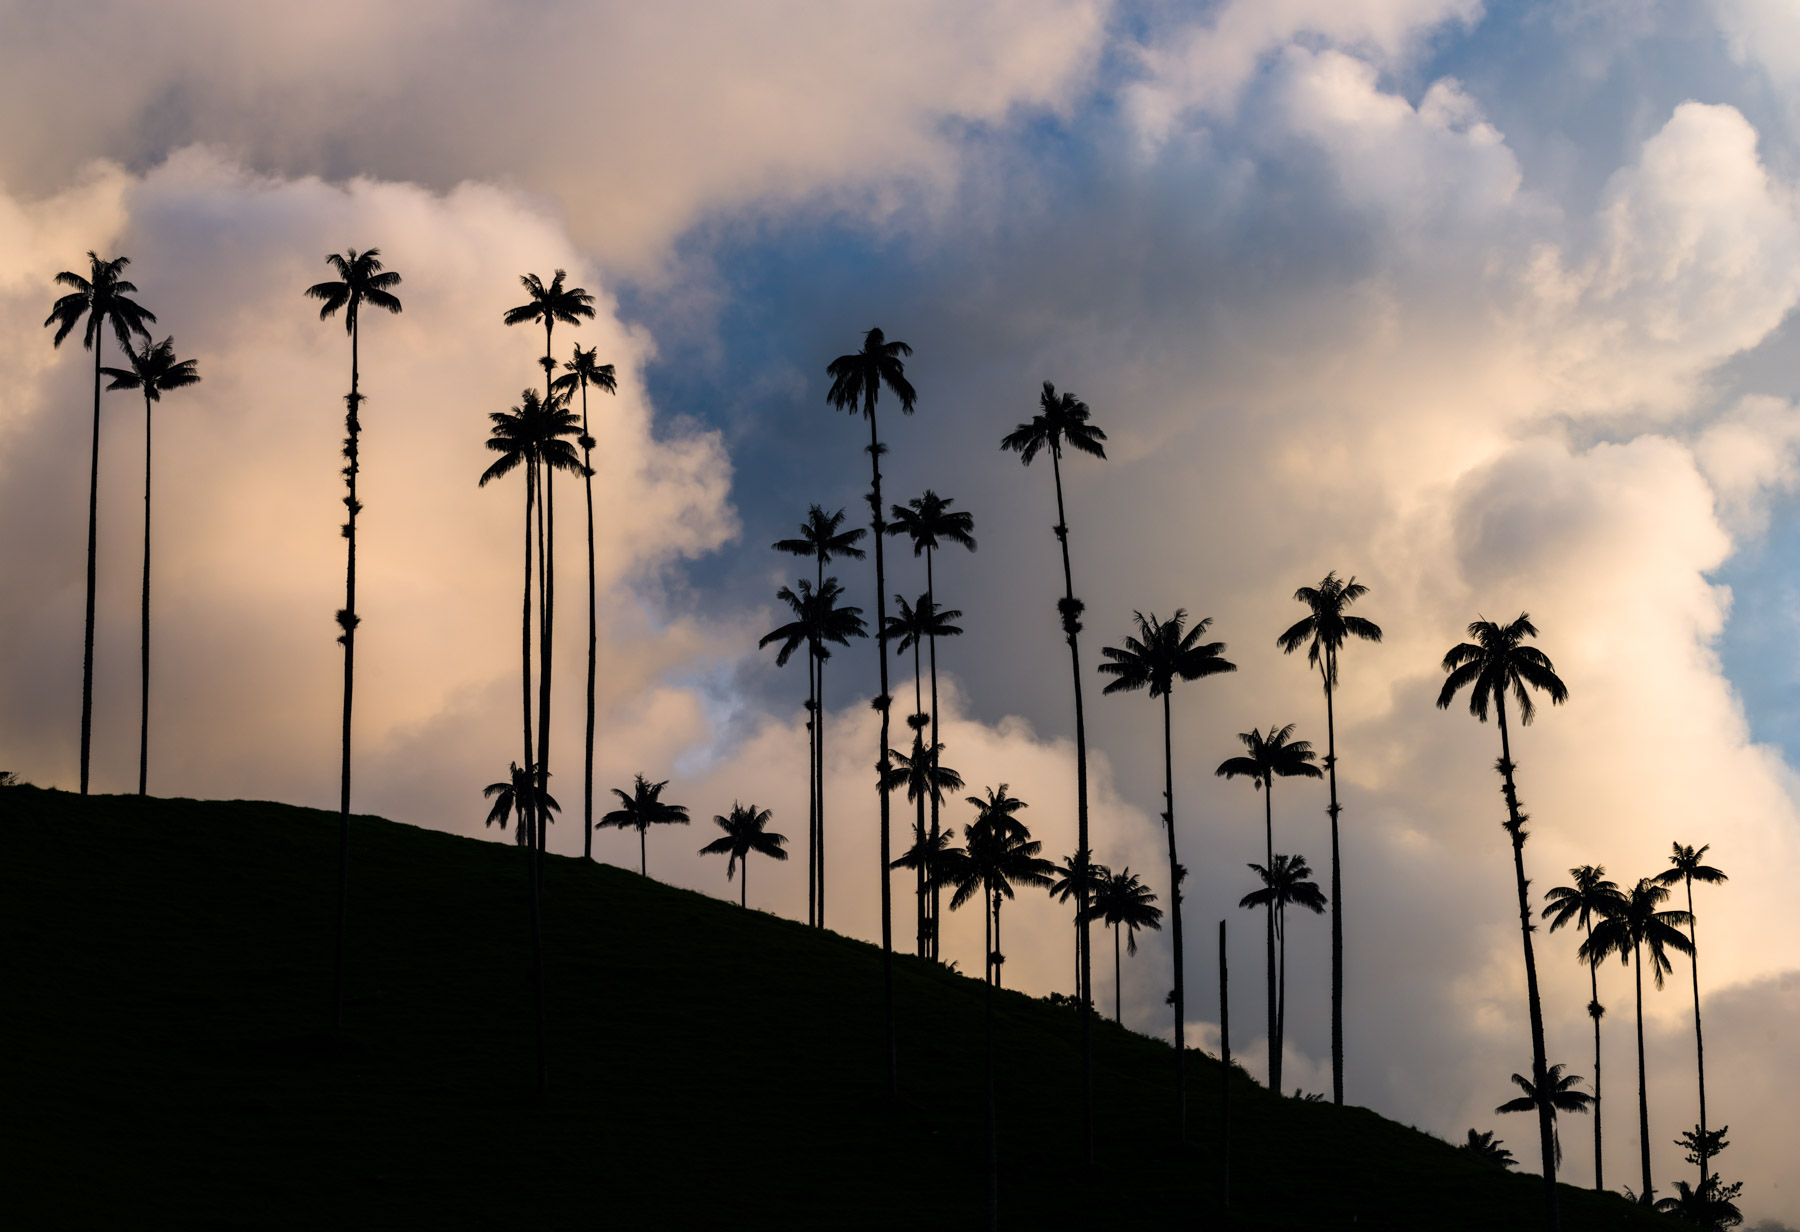
How to use light and dark contrasts to make your images stand out.
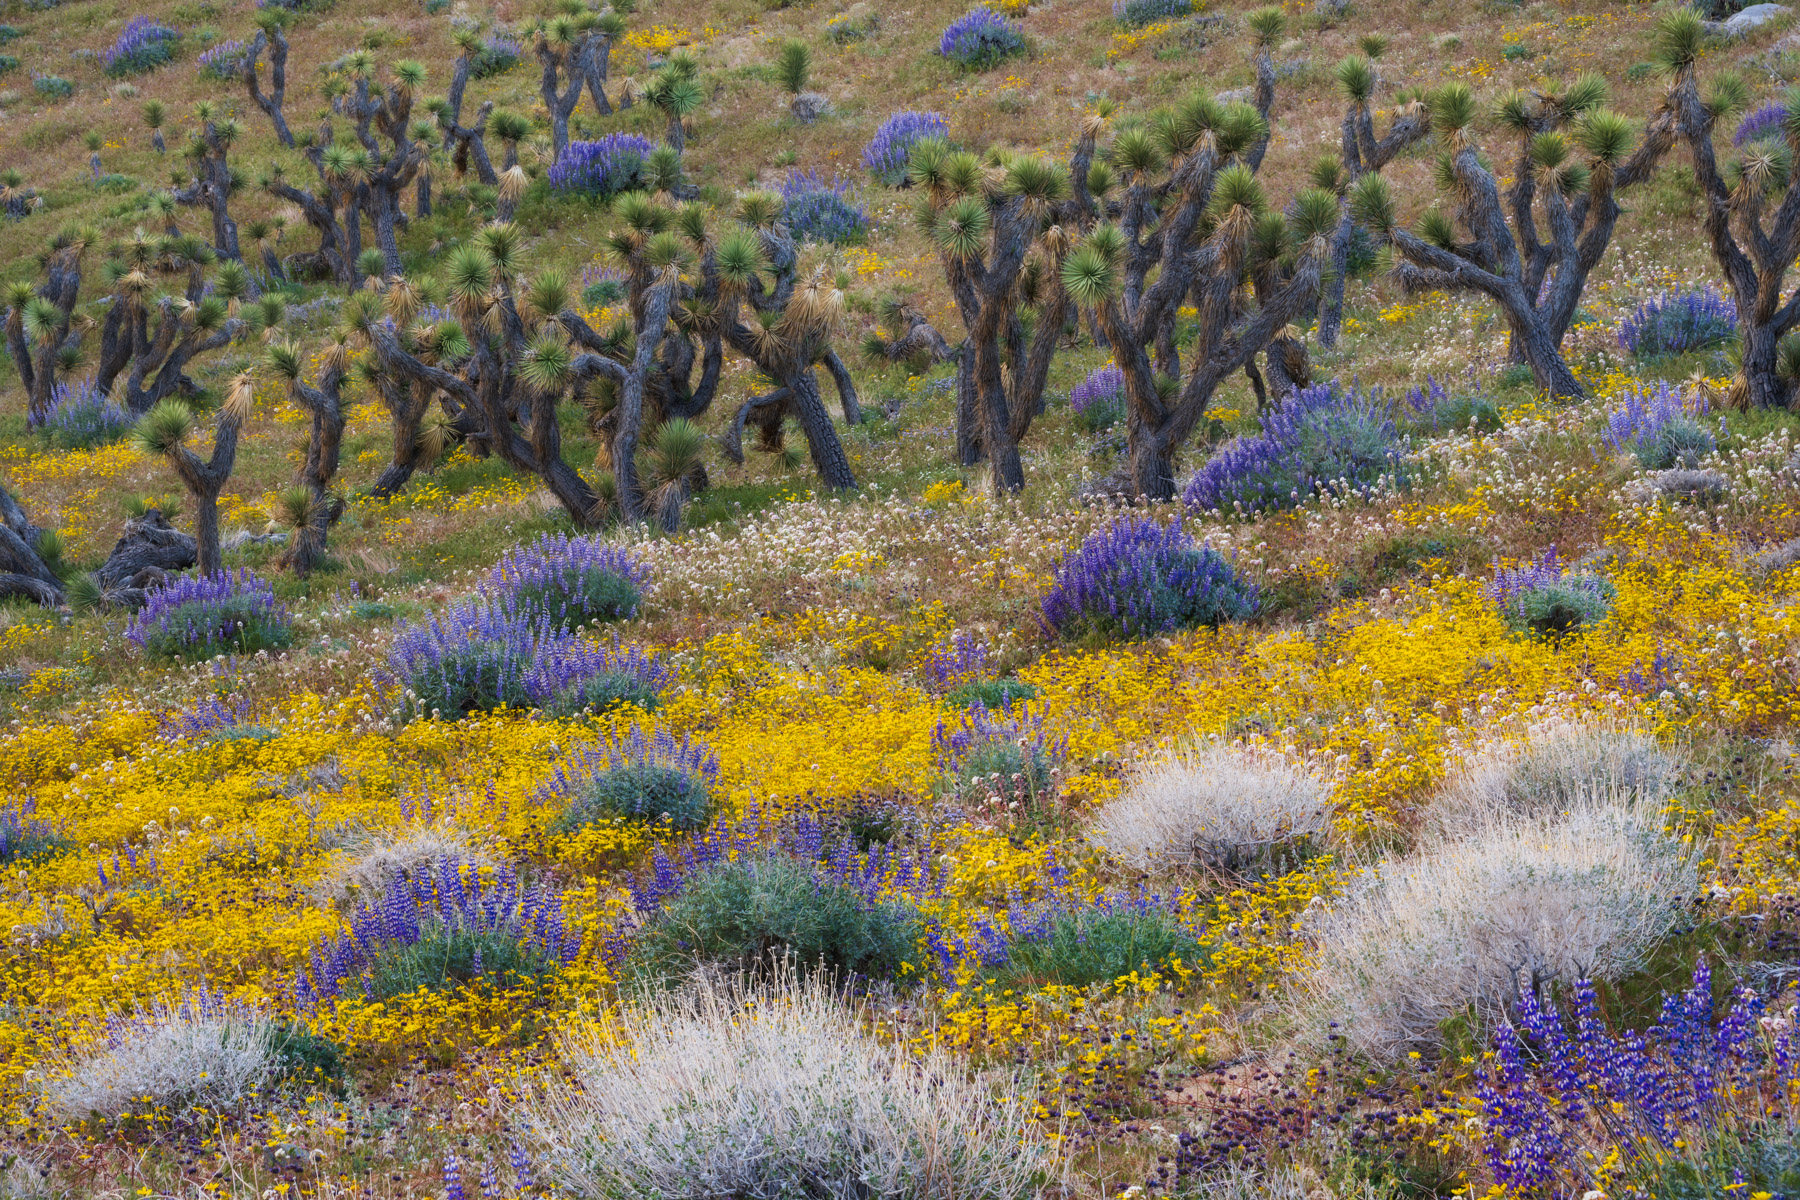
Harness the power of color to help your photos pop
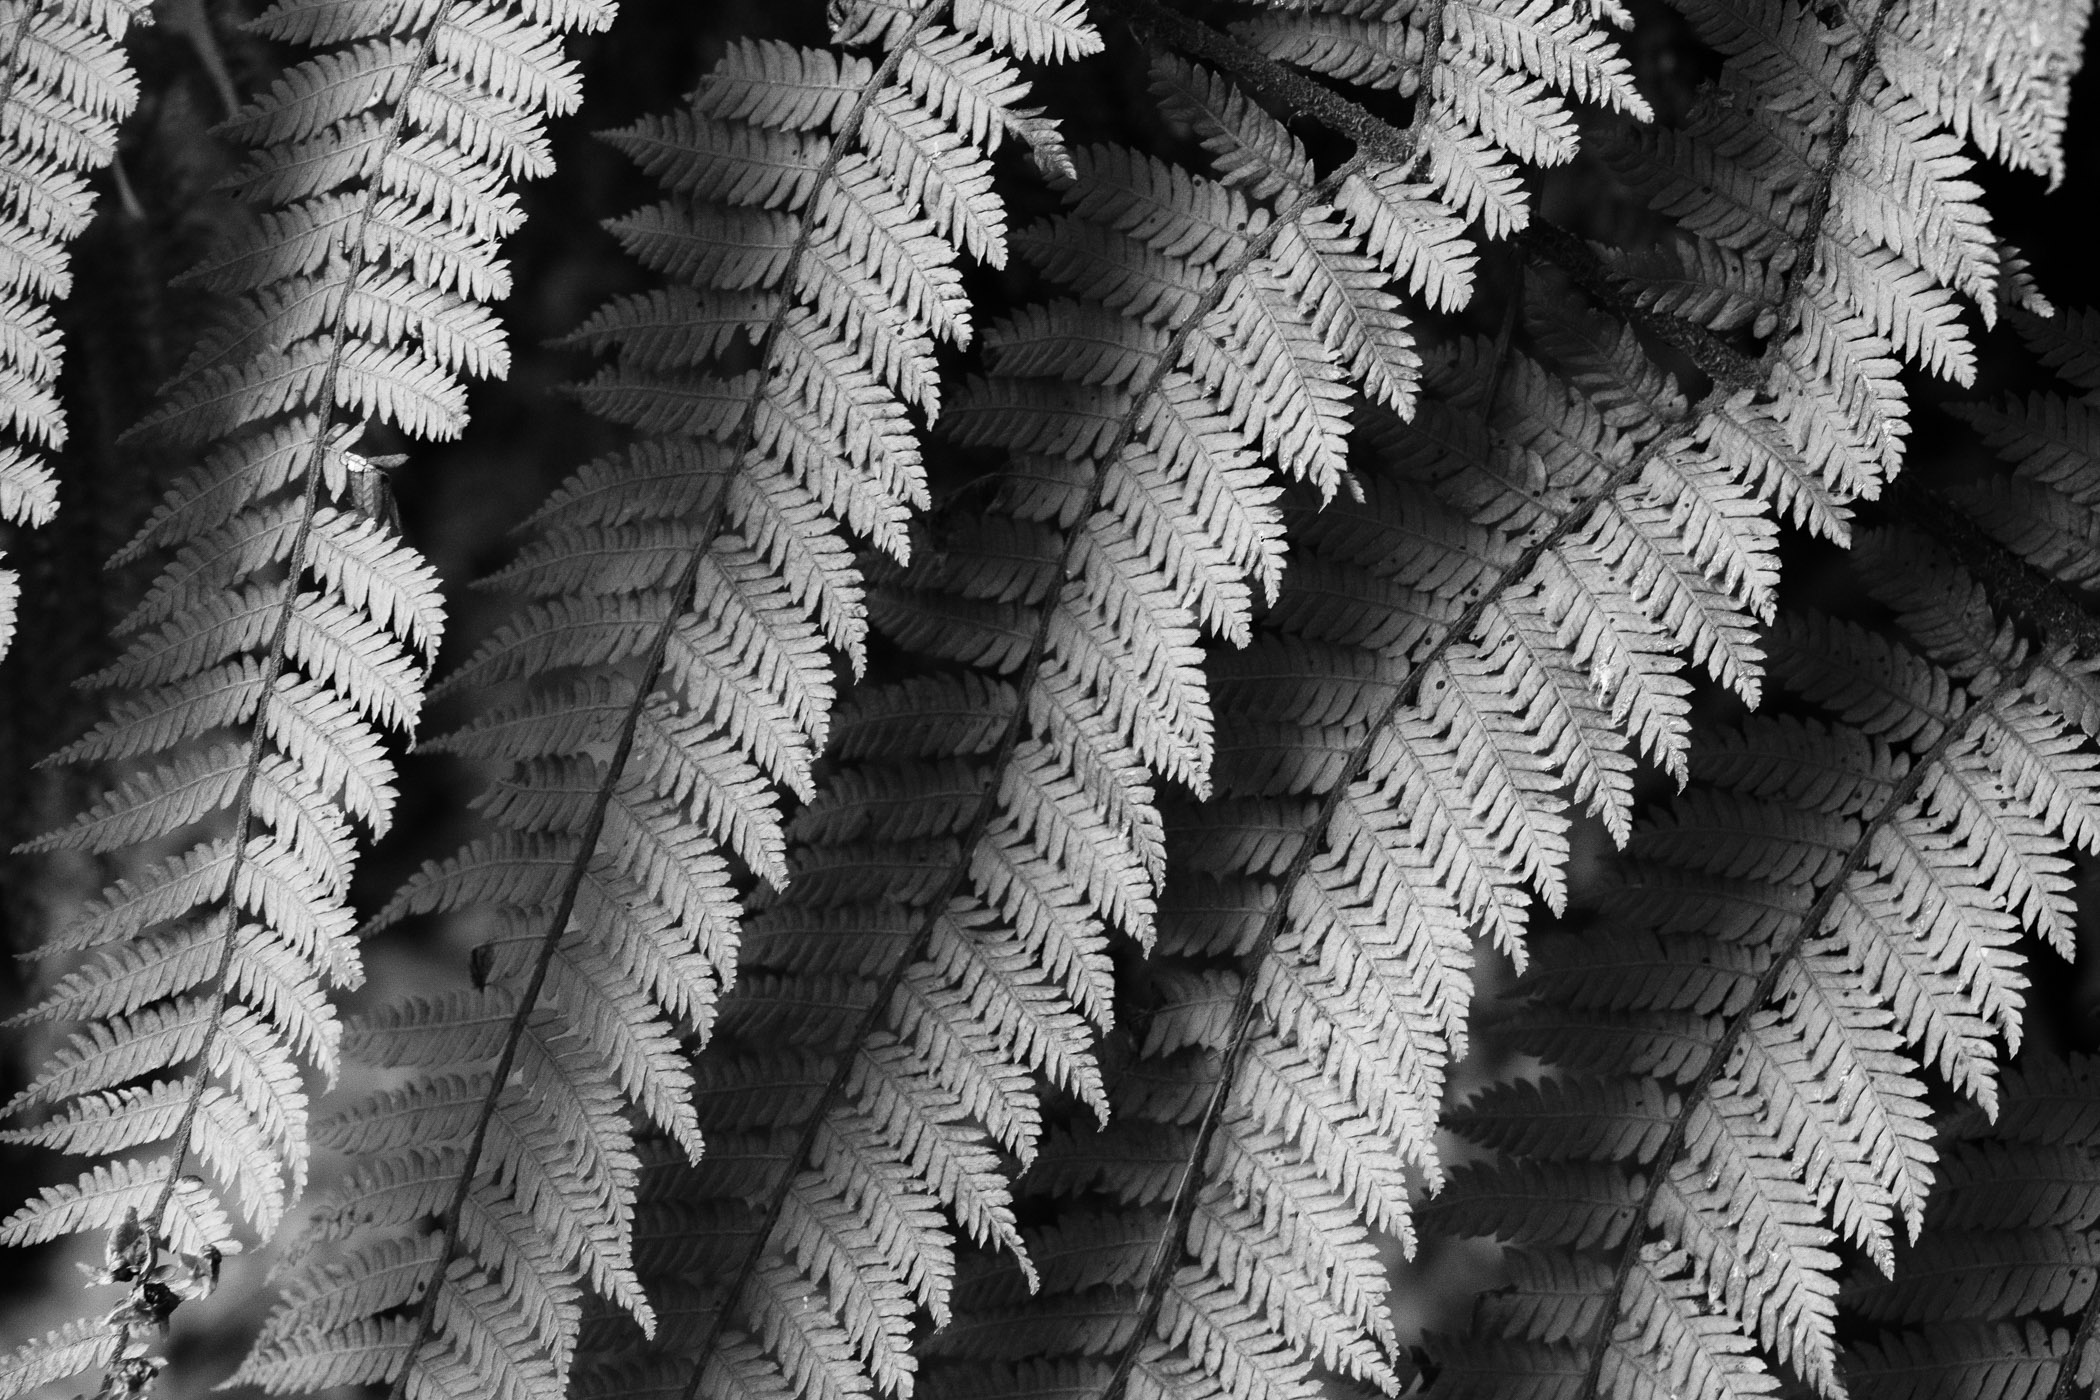
Learn this effective technique for showcasing just one aspect of complex scenes
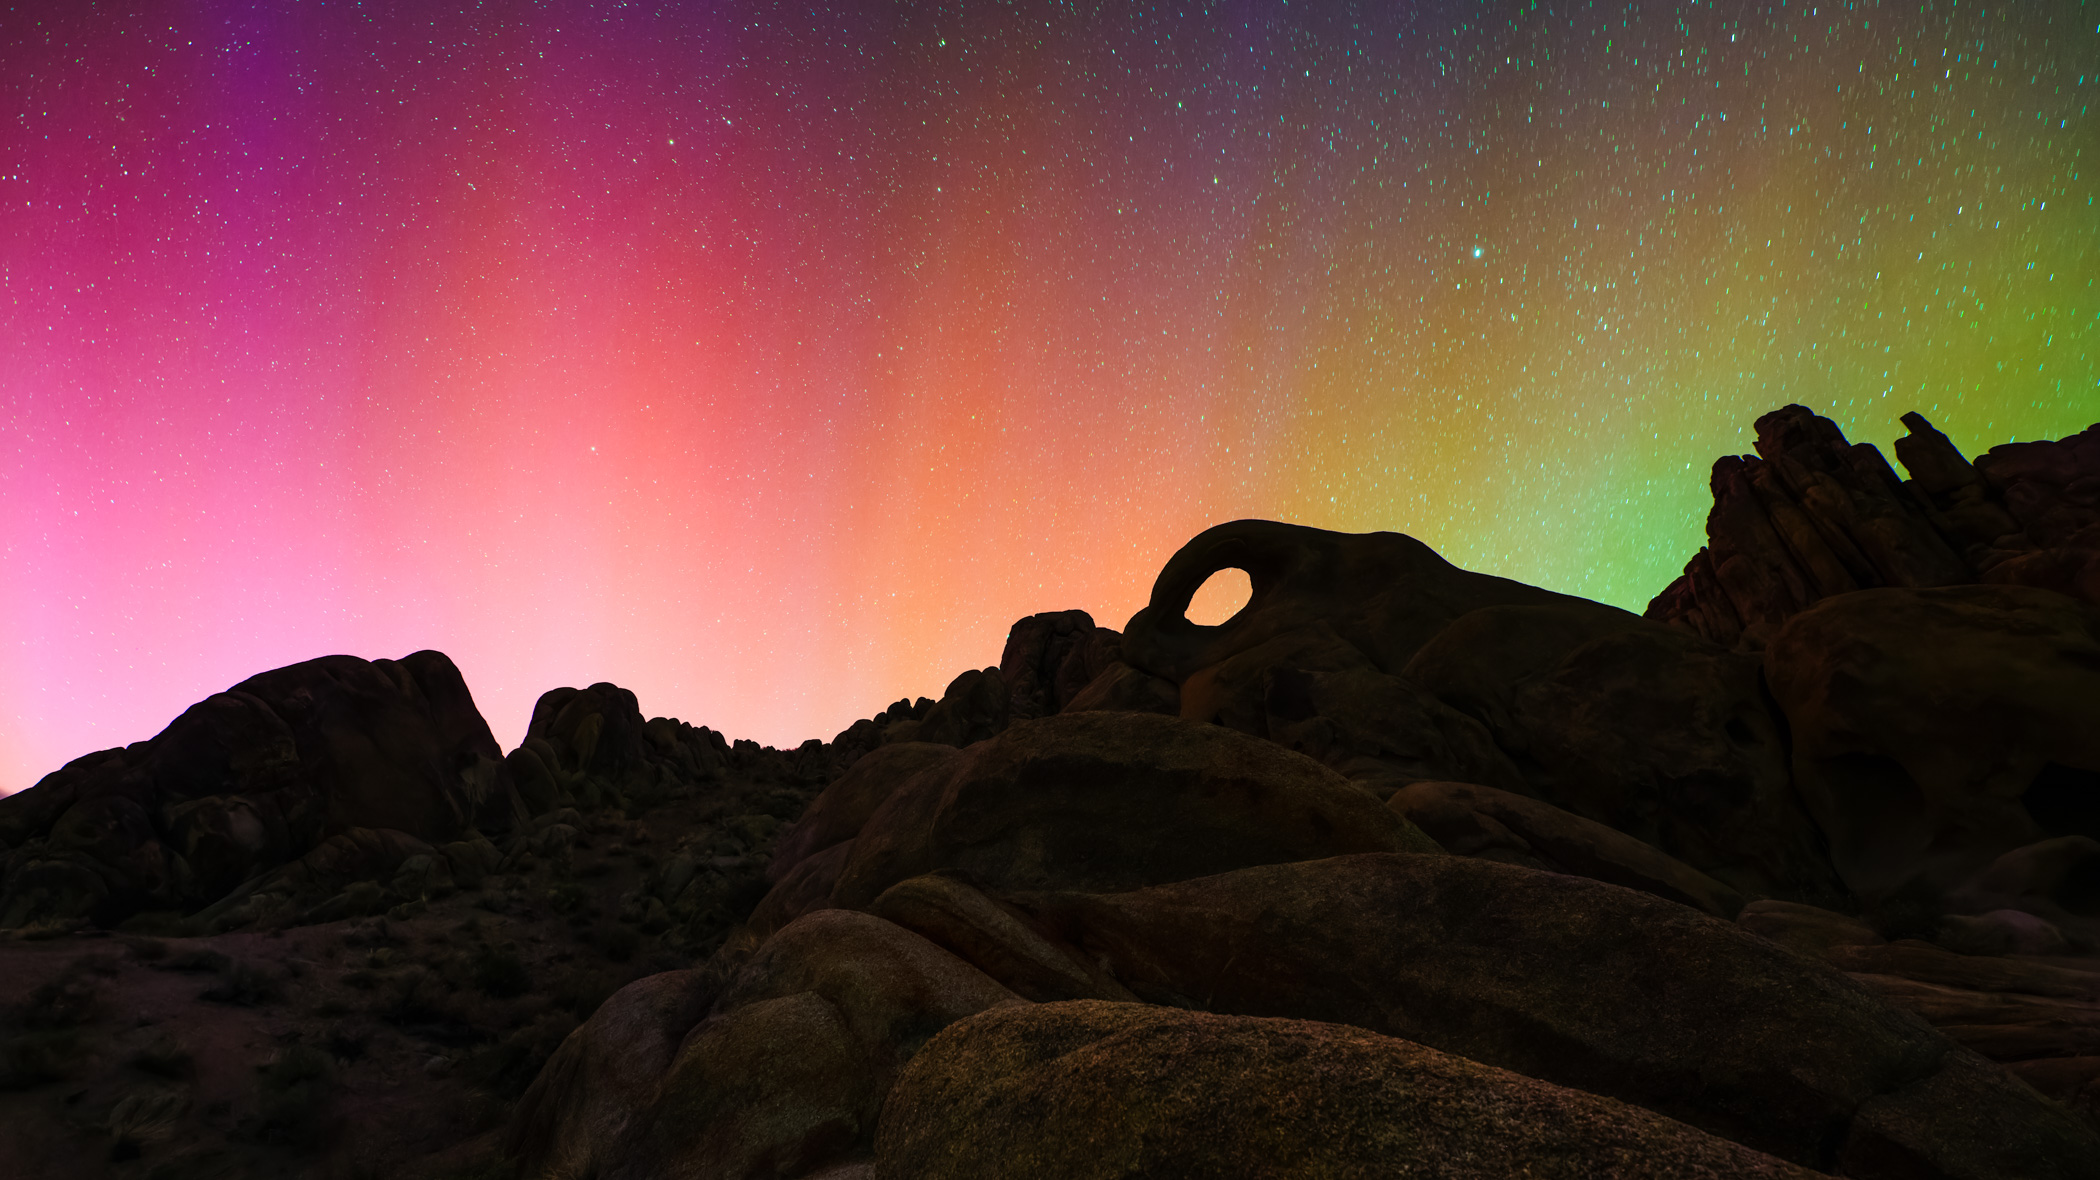
Photographing the aurora is hard Straight talk: I don’t know how to photograph the aurora. Or at least, I didn’t prior to 2024. But over
Up until a few weeks ago, if I ever caught one of my workshop participants bracketing exposures, I’d smack their hand and tut-tut at them.
