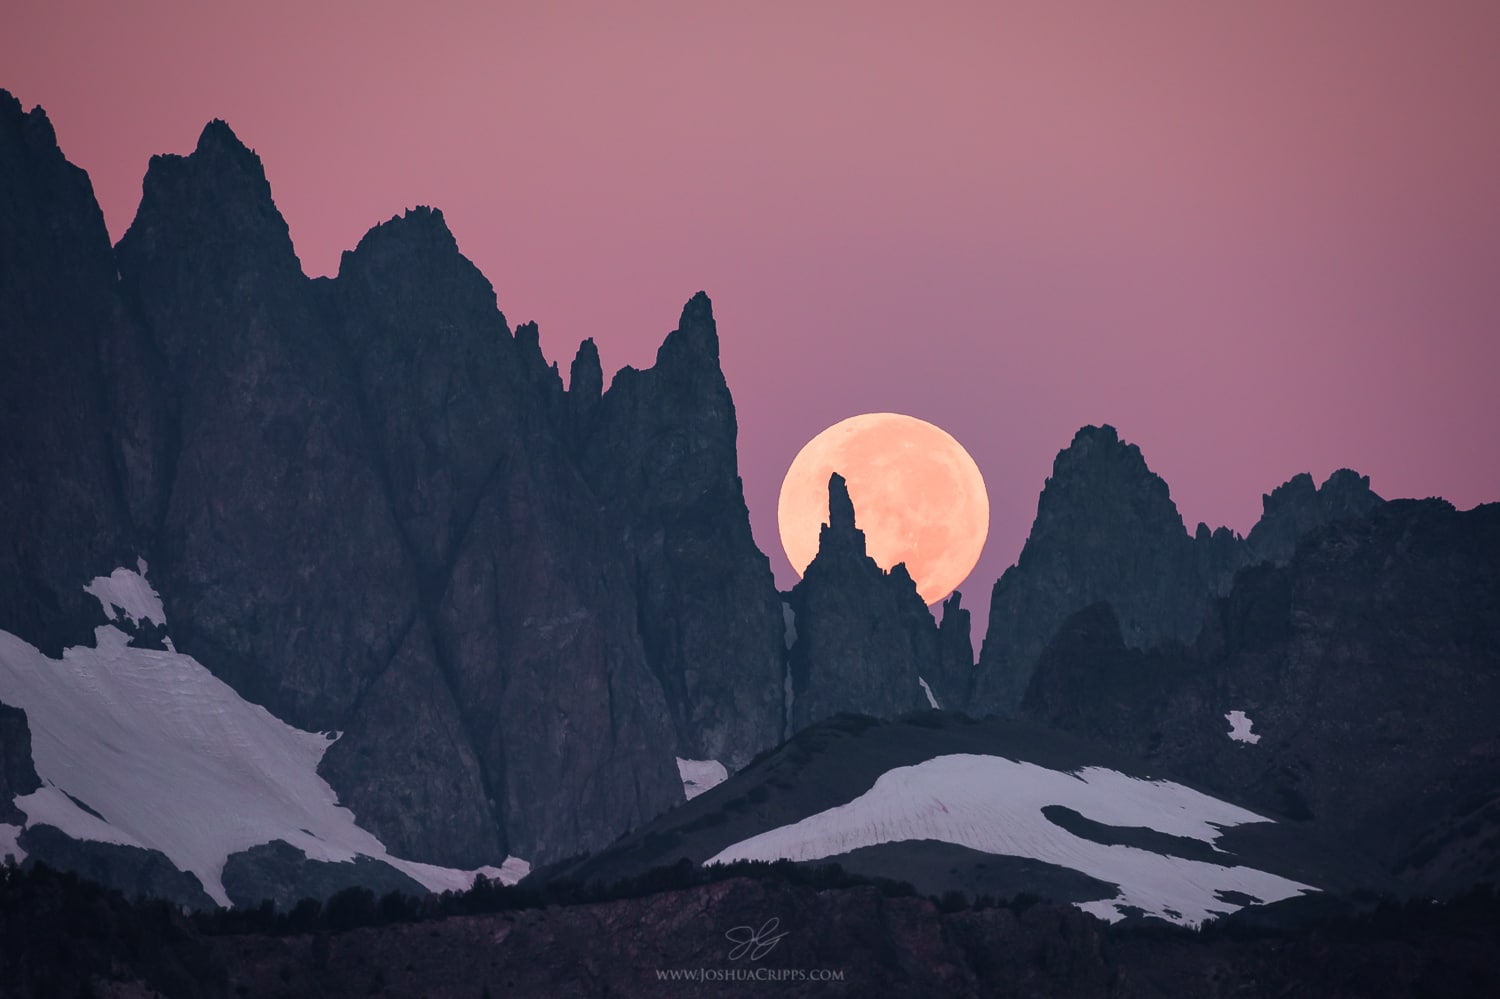
[av_one_full first min_height=” vertical_alignment=” space=” custom_margin=” margin=’0px’ padding=’0px’ border=” border_color=” radius=’0px’ background_color=” src=” background_position=’top left’ background_repeat=’no-repeat’ animation=” mobile_breaking=” mobile_display=”] [av_textblock size=” font_color=” color=” av-medium-font-size=” av-small-font-size=” av-mini-font-size=” admin_preview_bg=”] To be honest, I never really thought I’d have a shot like this in my portfolio. For a long, long time I had very little interest in shooting […]
It’s easy to look at an image and see it in a vacuum. But what of the deeper context, where did the image actual come from? In this video I show you a little bit of what goes on behind the scenes in producing a seascape photo.
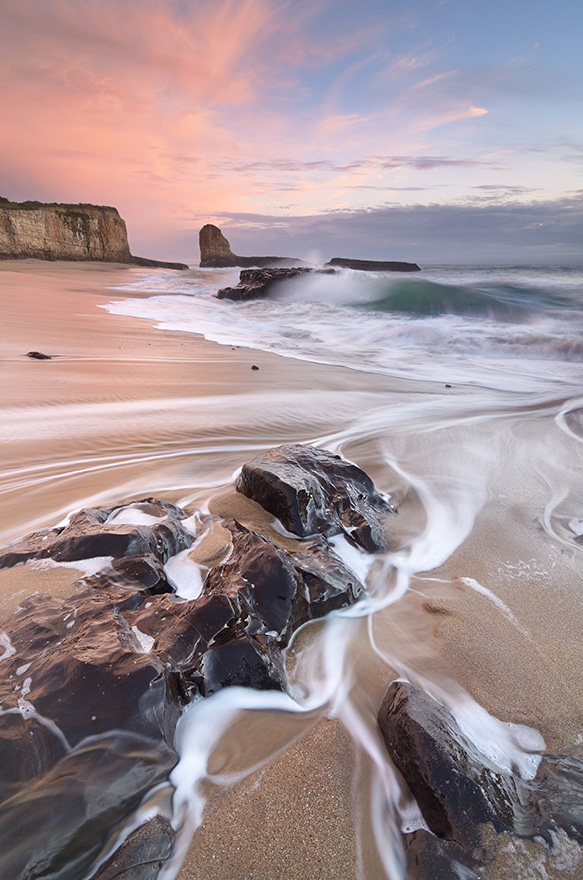
Step behind the lens to see how this compelling seascape photo was made. I run through my thoughts on how I created this image before, during, and after I pressed the shutter button.
It all started before Christmas when I saw a video of people ice skating on a frozen Tenaya Lake in Yosemite’s high country. Wow, that’s cool, that doesn’t happen very often, I thought. Then, about halfway through the video, the filmer unwittingly showed something that had my eyes bugging out of my head: thick and […]
Reflecting on 2011 2011 was an interesting year for me which saw a lot of growth for me as a photographer as well for my photography business. I saw some breathtaking light at Lake Tahoe, got lost in the slot canyons in Utah, witnessed Fall foliage erupting in Zion, and saw a thousand other beautiful […]
Shooting seascapes in the summer in Santa Cruz (say that 5-times fast) is a tricky thing: the marine layer inhibits sunsets and makes capturing a worthwhile image all the more difficult. I rarely go out to shoot in the summer here, but since some excellent photographer friends of mine were in town, I made a […]
Here’s a new Notes from the Field from a recent trip to Death Valley. I was in the Badwater Salt Flats (lowest elevation in the US: 282 feet below sea level) for sunrise and came away with this shot: Full details with videos on how I chose this composition, what camera settings I used, and […]
Here’s a new Notes from the Field from a trip to Laguna Creek Beach in Santa Cruz. I headed down to the beach for sunset and came away with this shot: Full details with videos on how I chose this composition, what camera settings I used, and how I post-processed the image after the jump.


