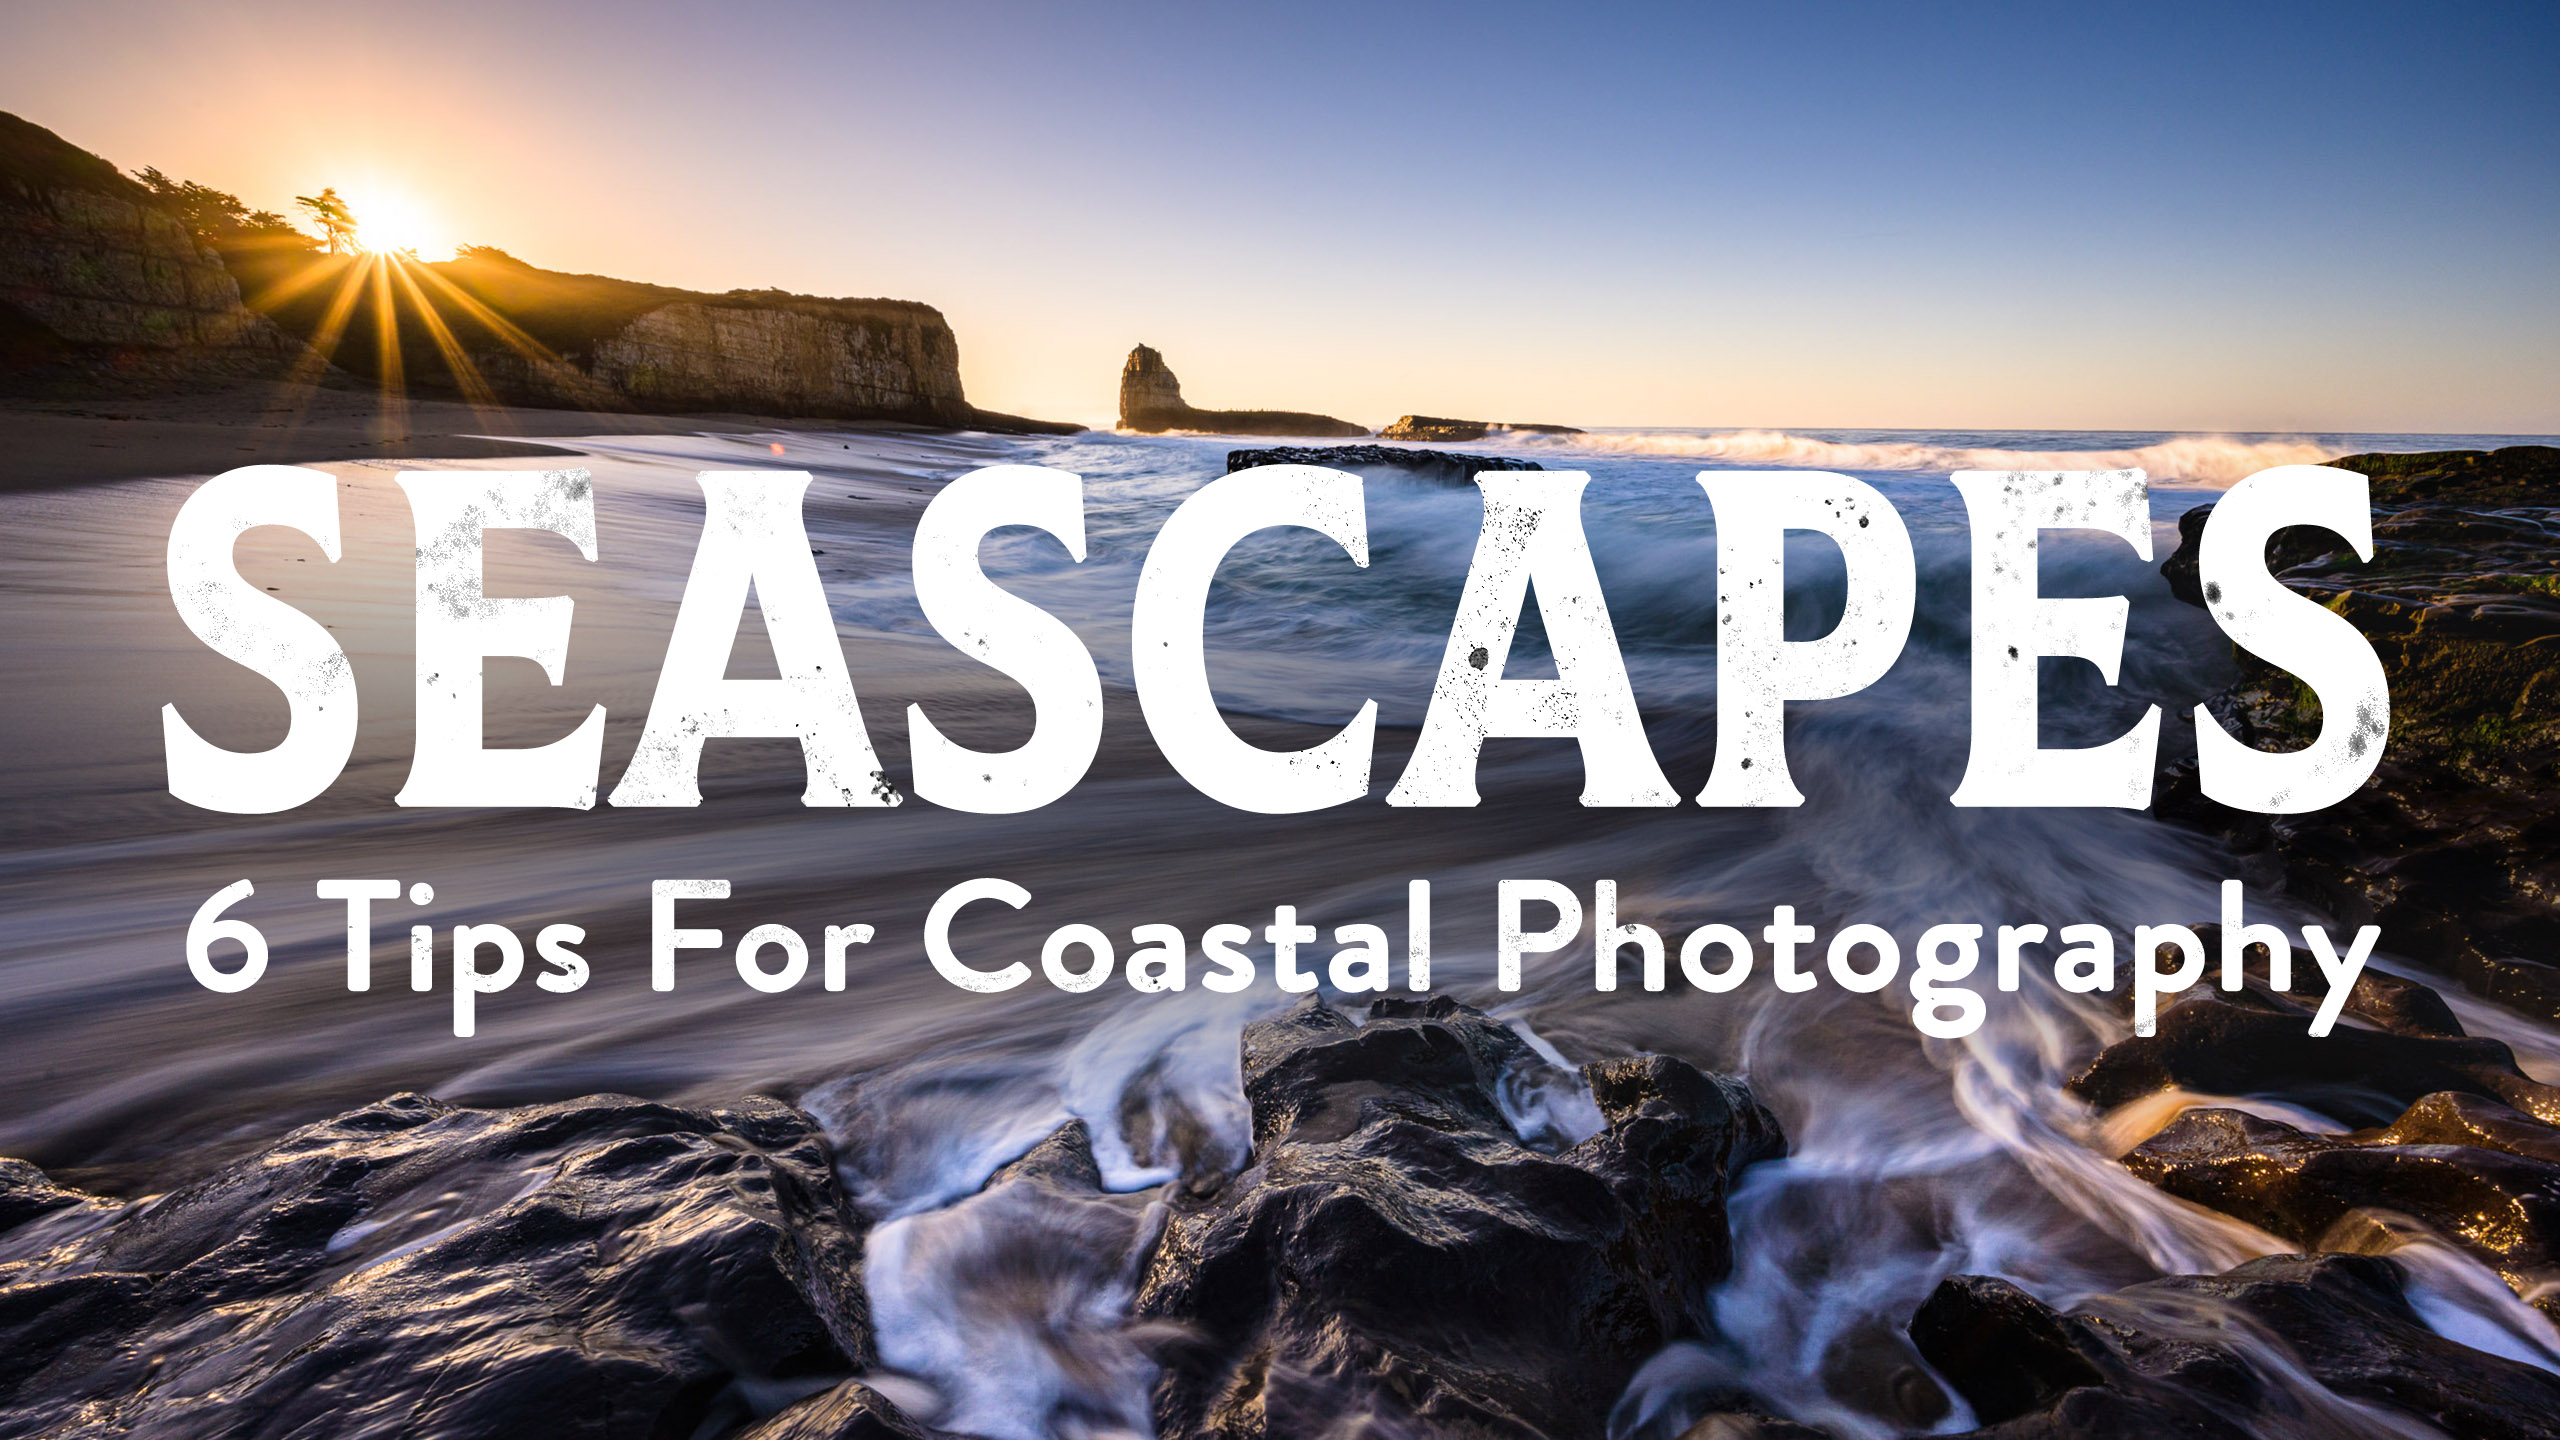
6 Tips For Killer Seascape Photography
I spent some of my most formative years as a photographer shooting along the coast, striving to capture it in photos and dodging many a
I spent some of my most formative years as a photographer shooting along the coast, striving to capture it in photos and dodging many a
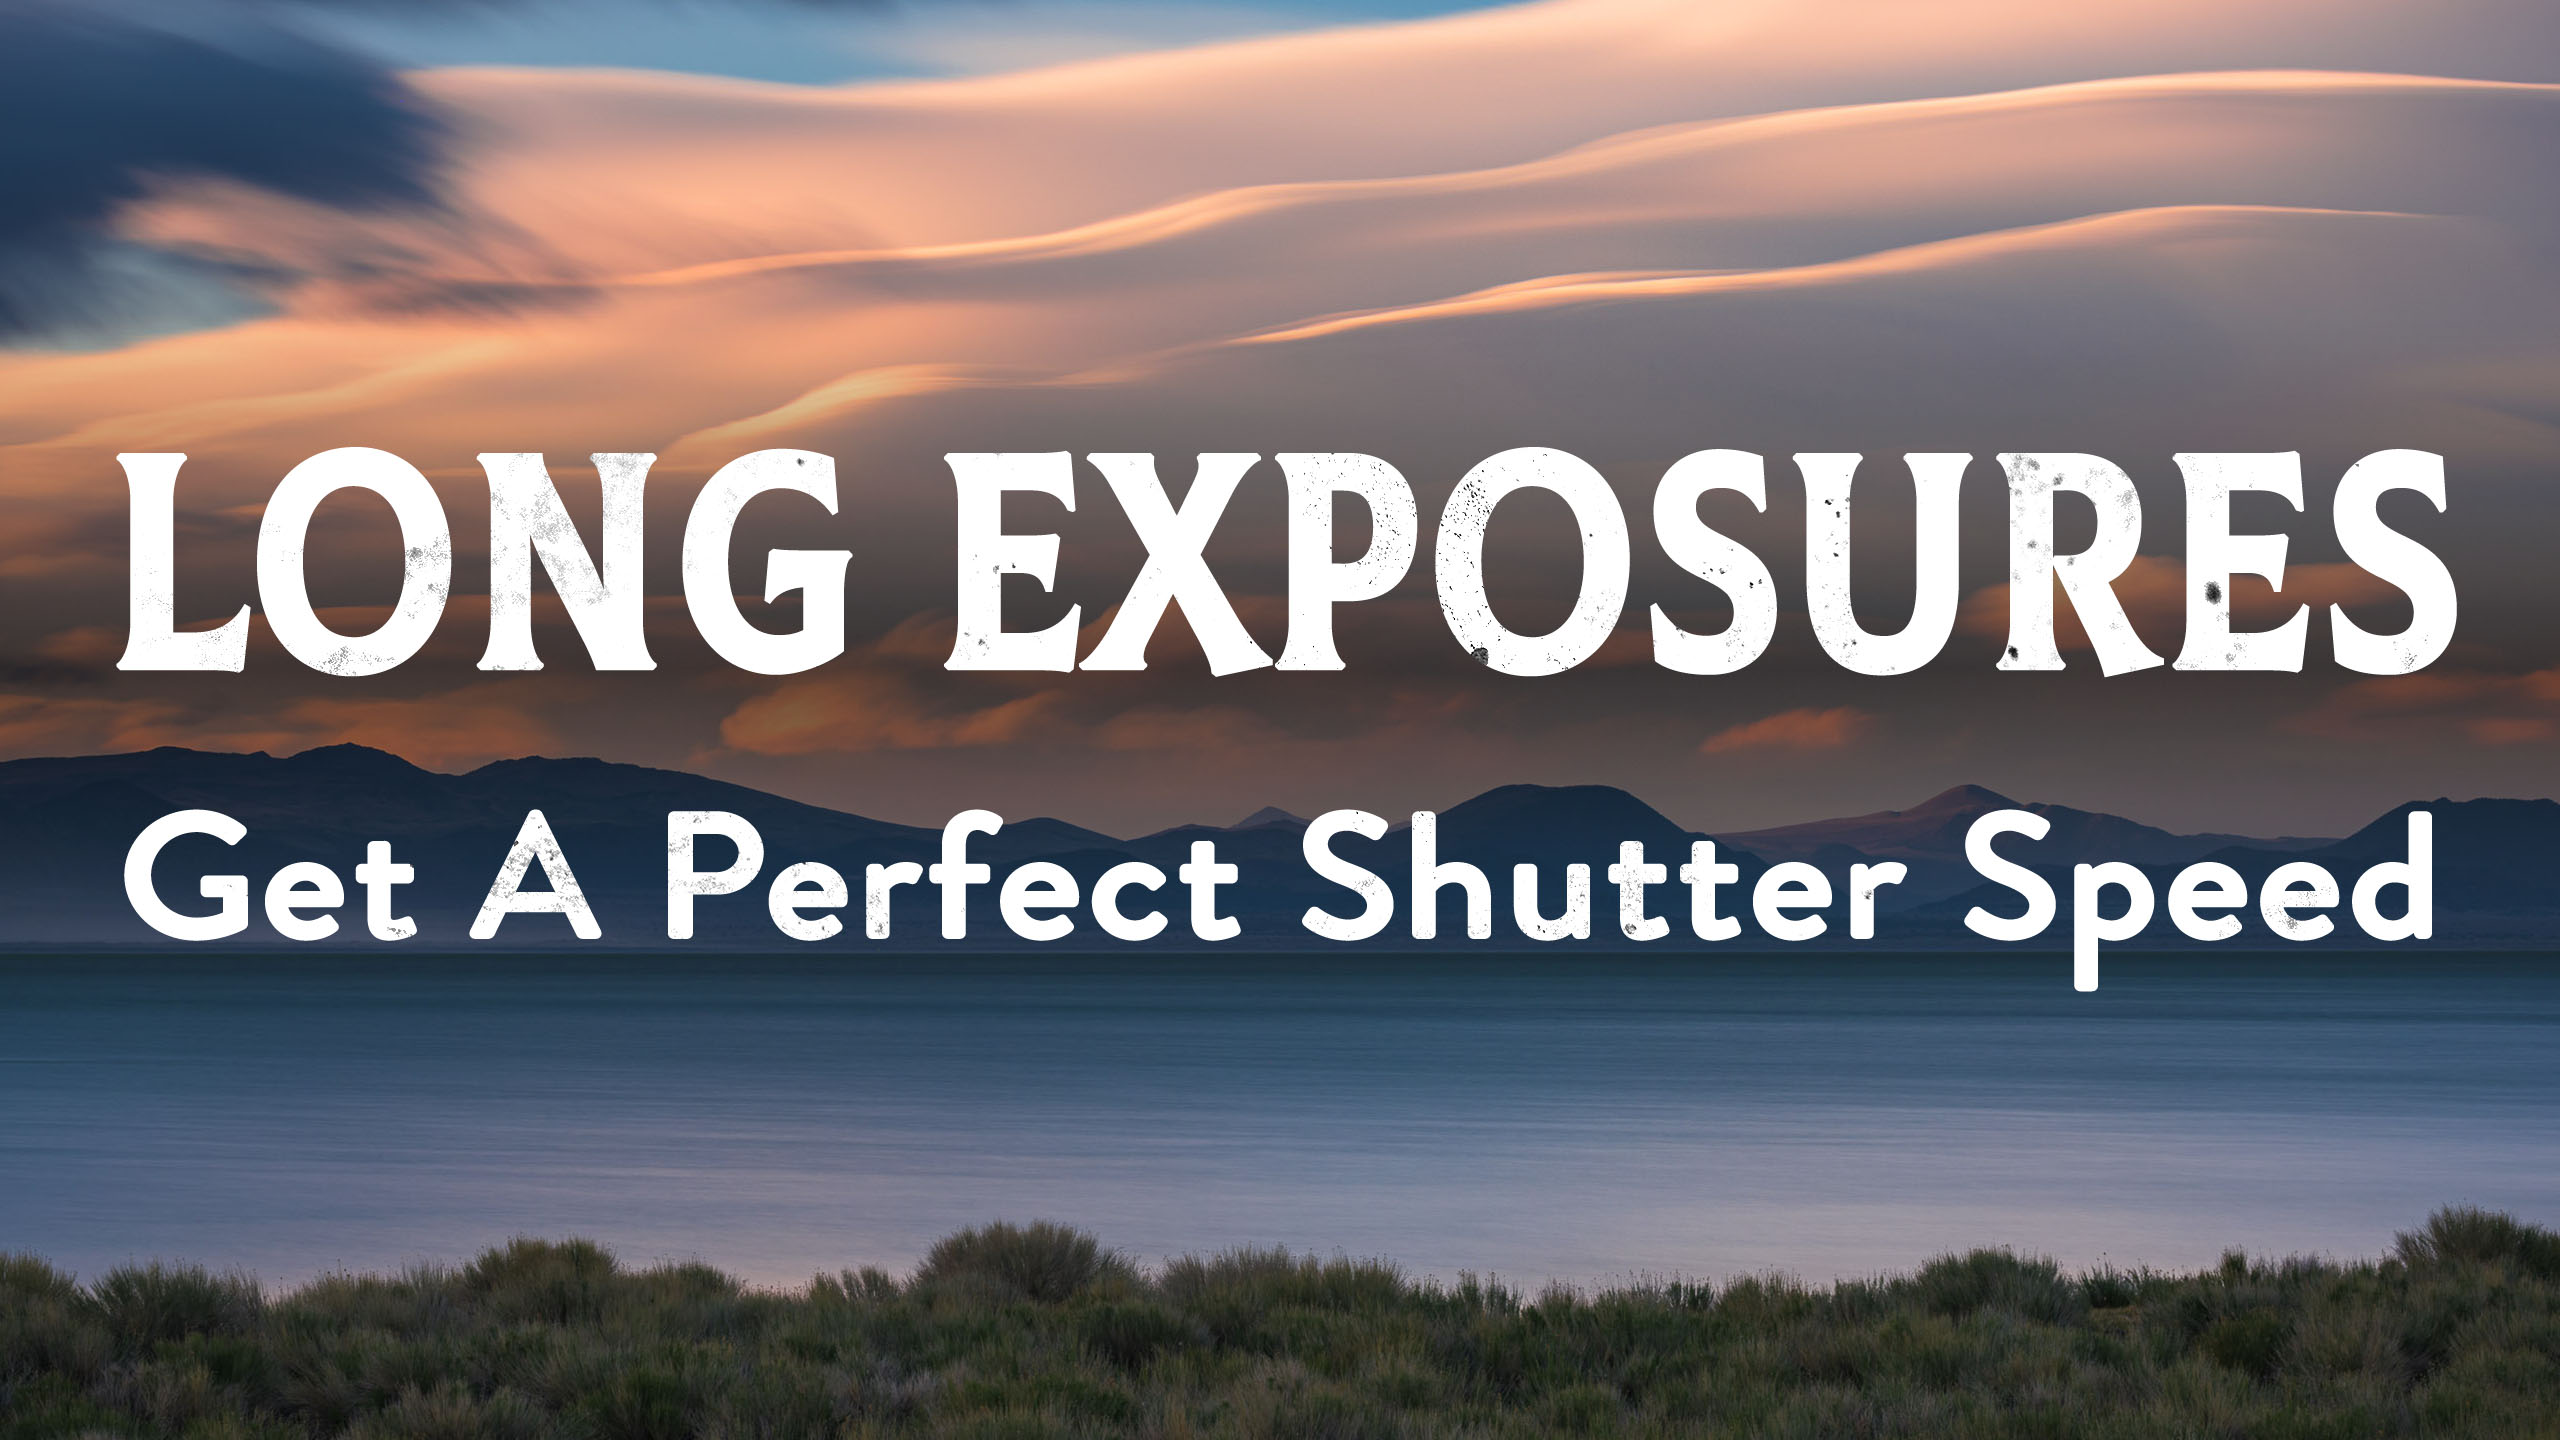
Master Long Exposure Landscape Photography with 10 stop ND Filters
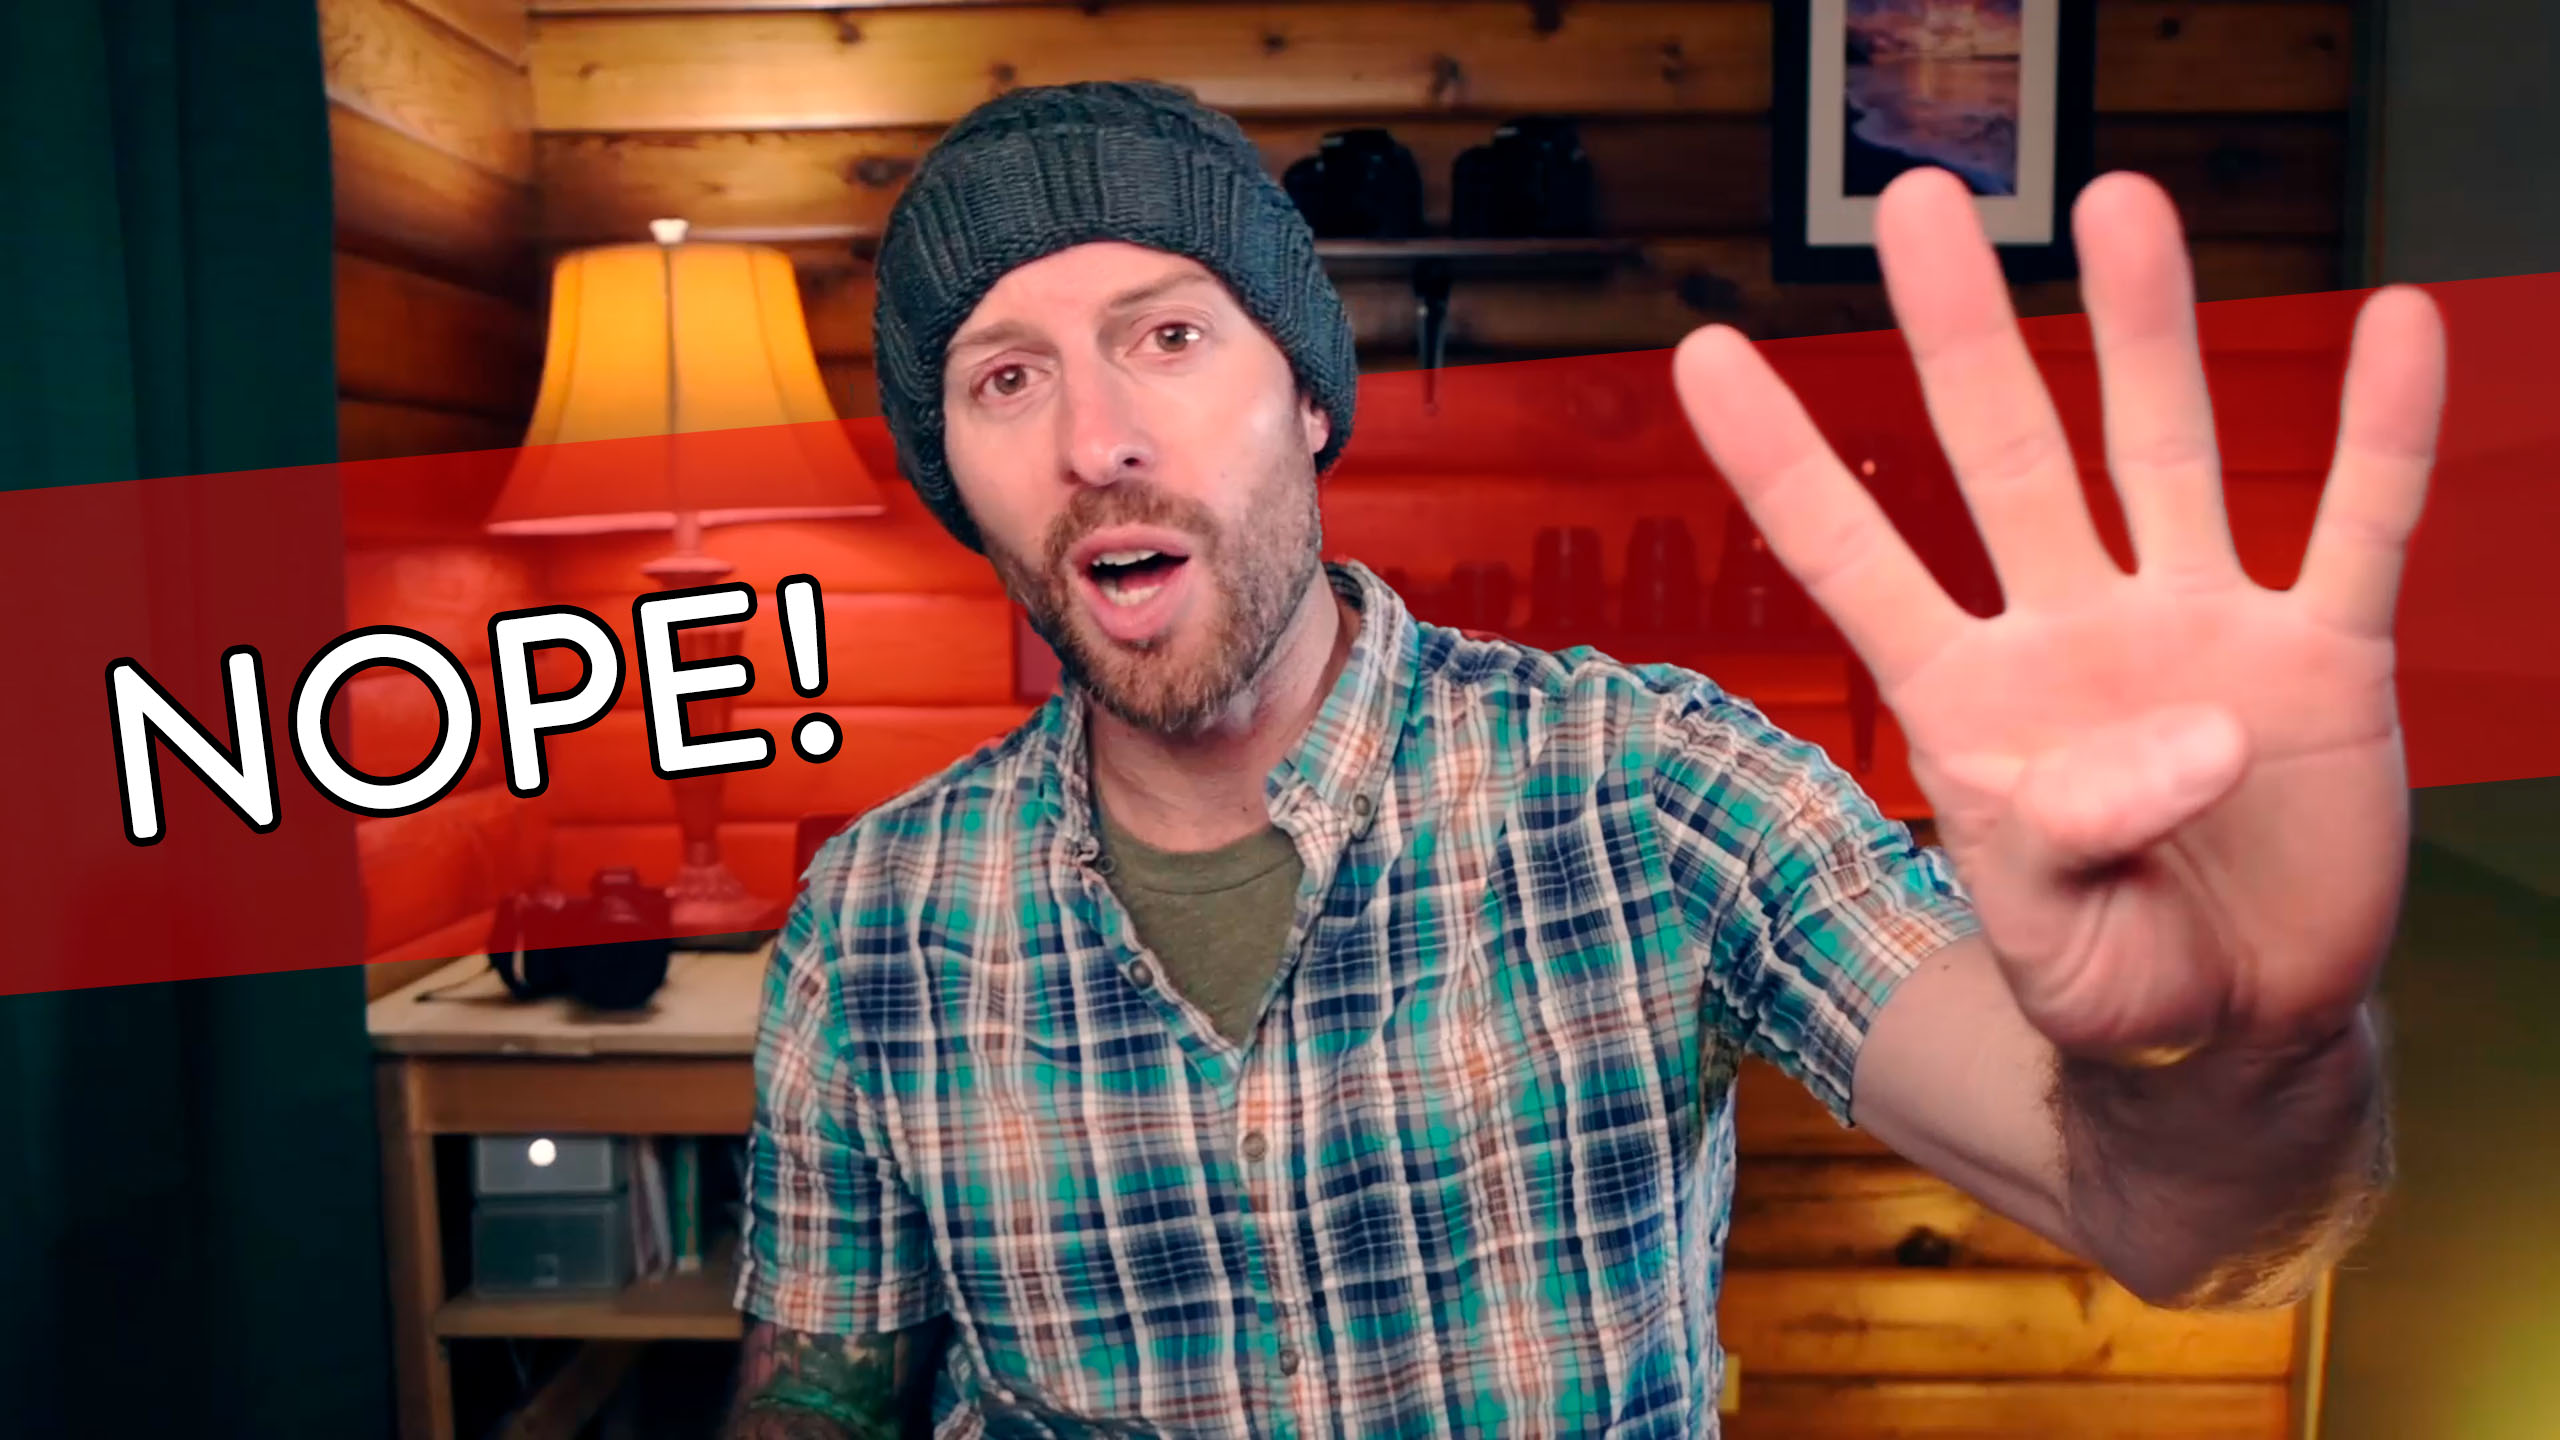
Greetings, my excellent friends, Josh Cripps here. Now we are living in strange times. We’re living in an era of unprecedented access to information. And
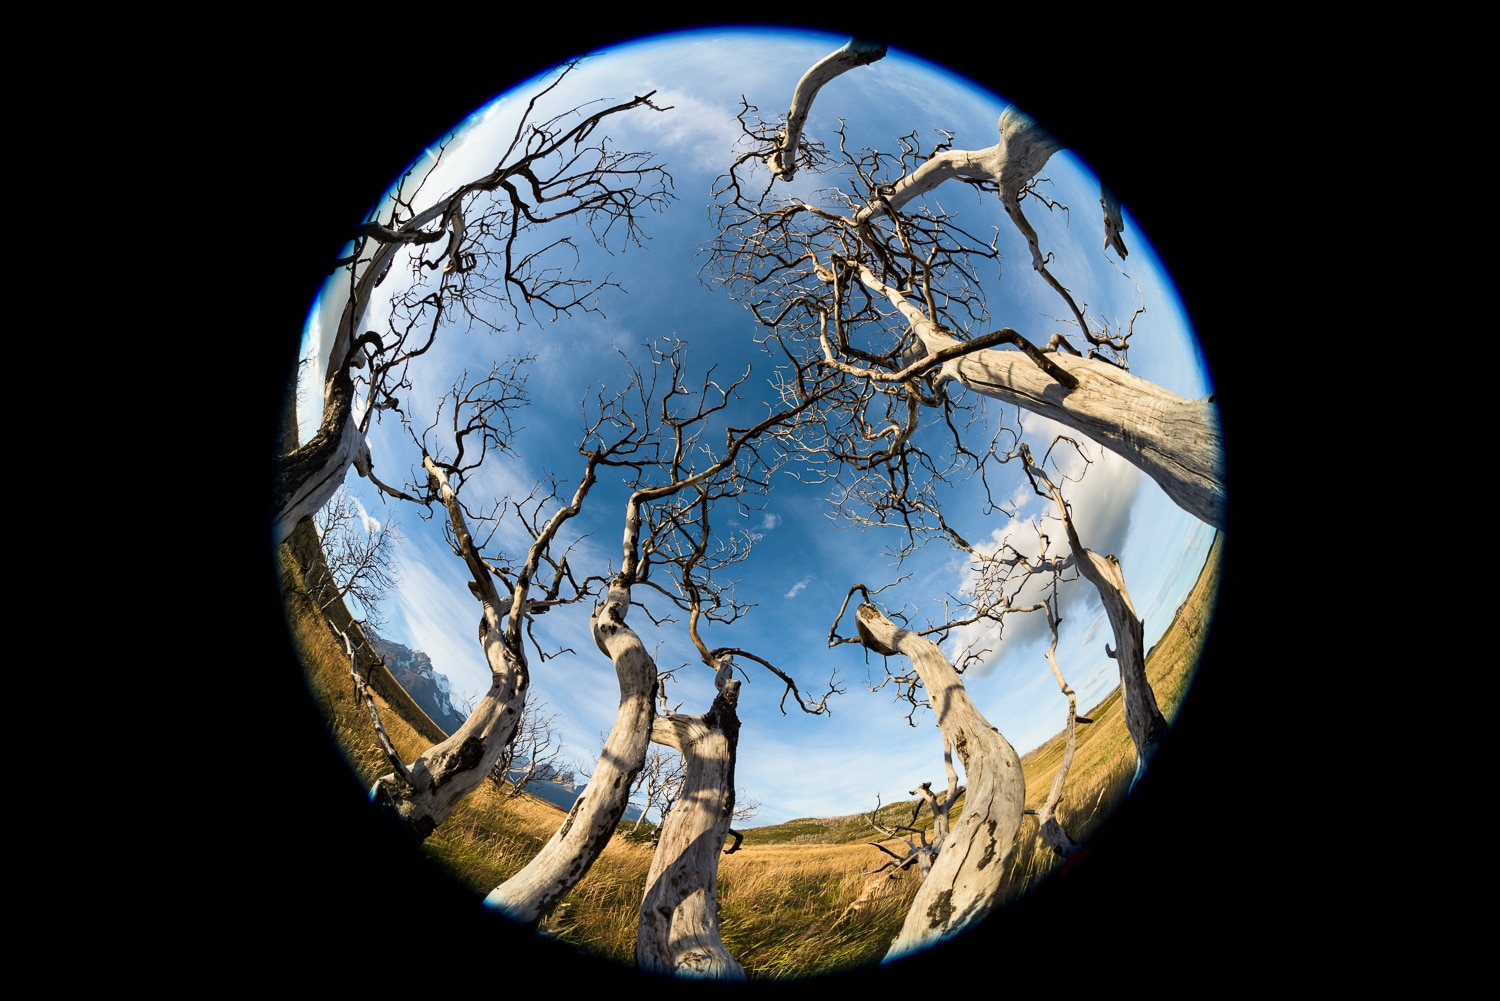
Today Nikon announced the release of the brand new AF-S Fisheye NIKKOR 8-15mm f/3.5-4.5E ED lens. I’m excited to say that I had the honor
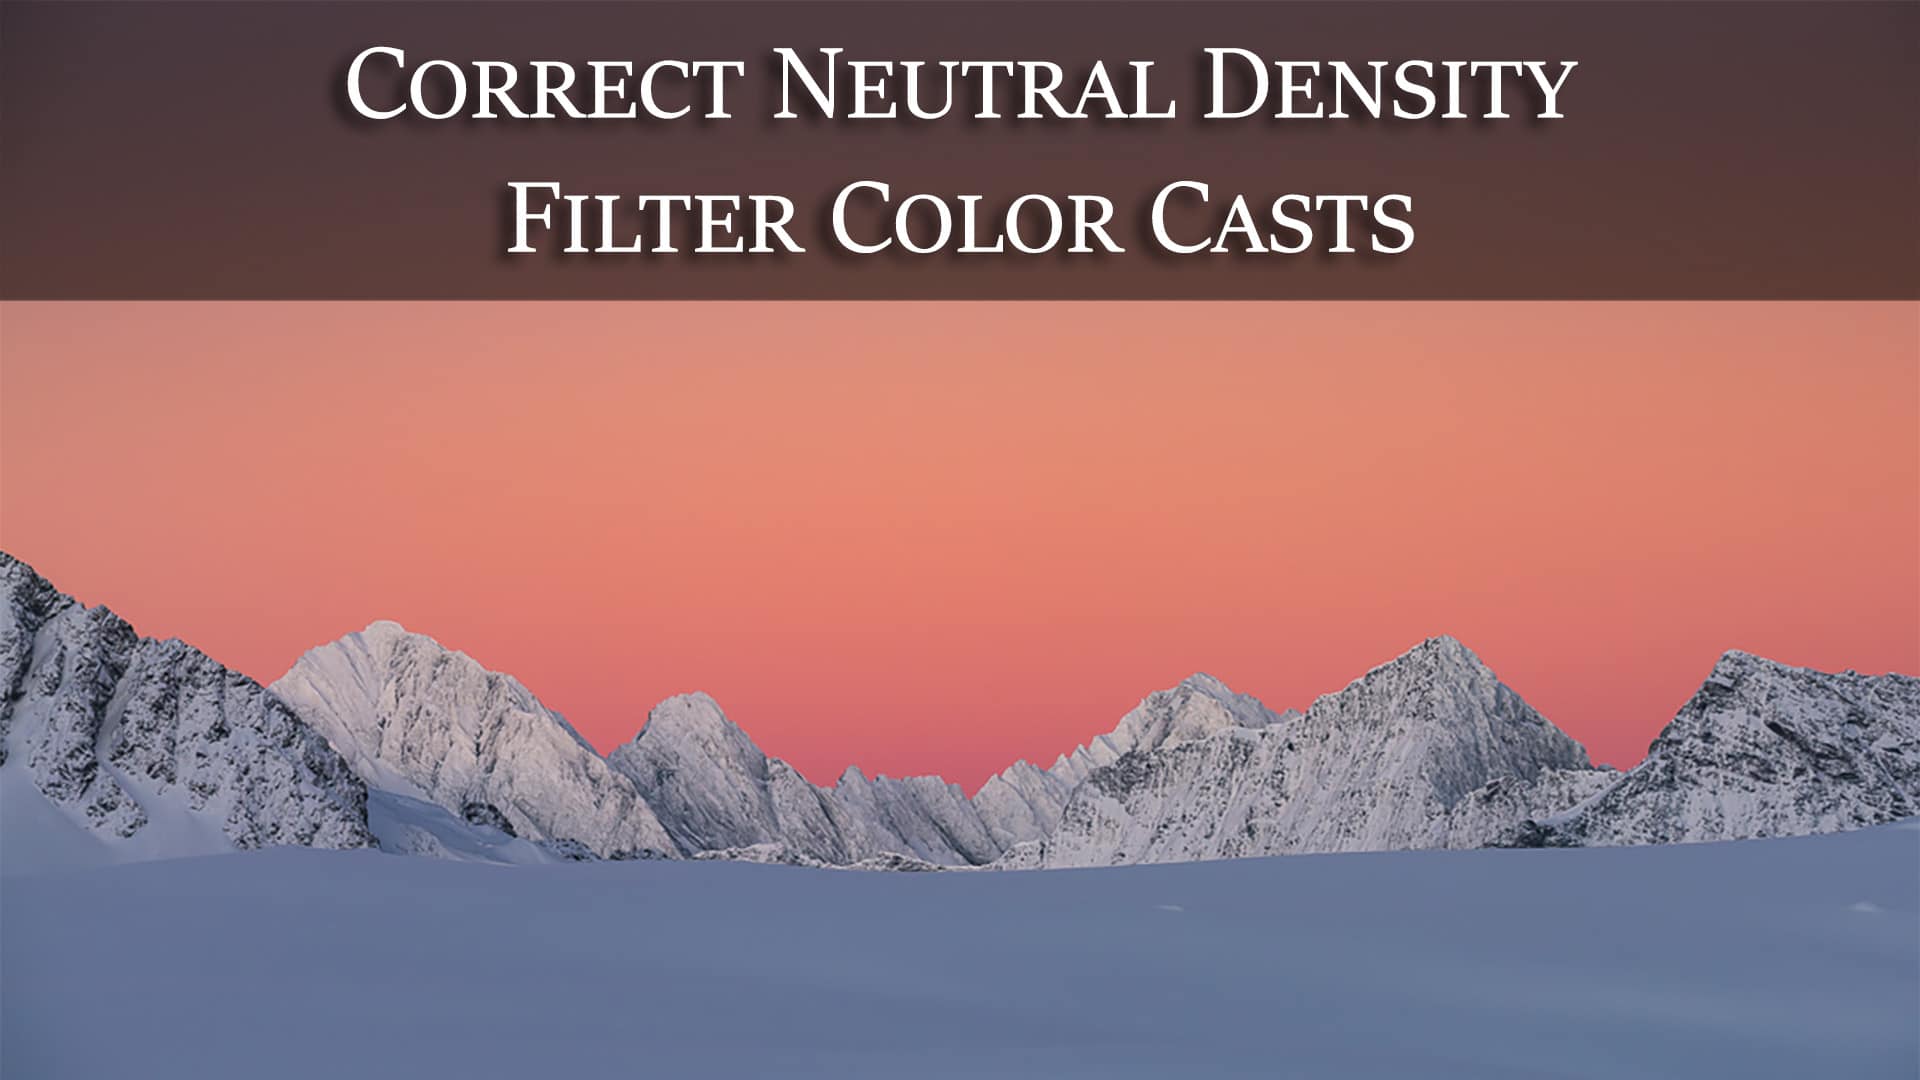
Neutral Density (ND) Filters often have strong color casts. What are the most effective ways of correcting them? Find out in this week’s question.

How much can be achieved with non-pro equipment and is it necessary to get a full frame body for killer results? Find out in this
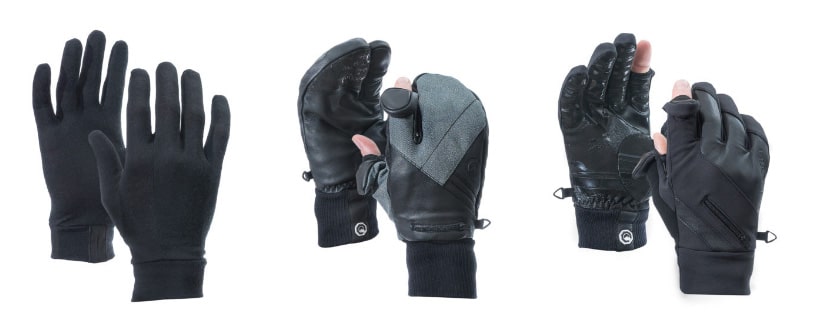
From L to R: Merino Liner, Trigger Mitt, Markhof Pro Model Bottom Line: Highly Recommended In short, these are the best photography-specific gloves I’ve used
You’ll often hear that a circular polarizing filter, or CPL, is a must have addition to your gear bag, but once you’ve got it how
One of the most common questions we get here: “What kind of filter I should buy for ze making of awesome picture?” There are a
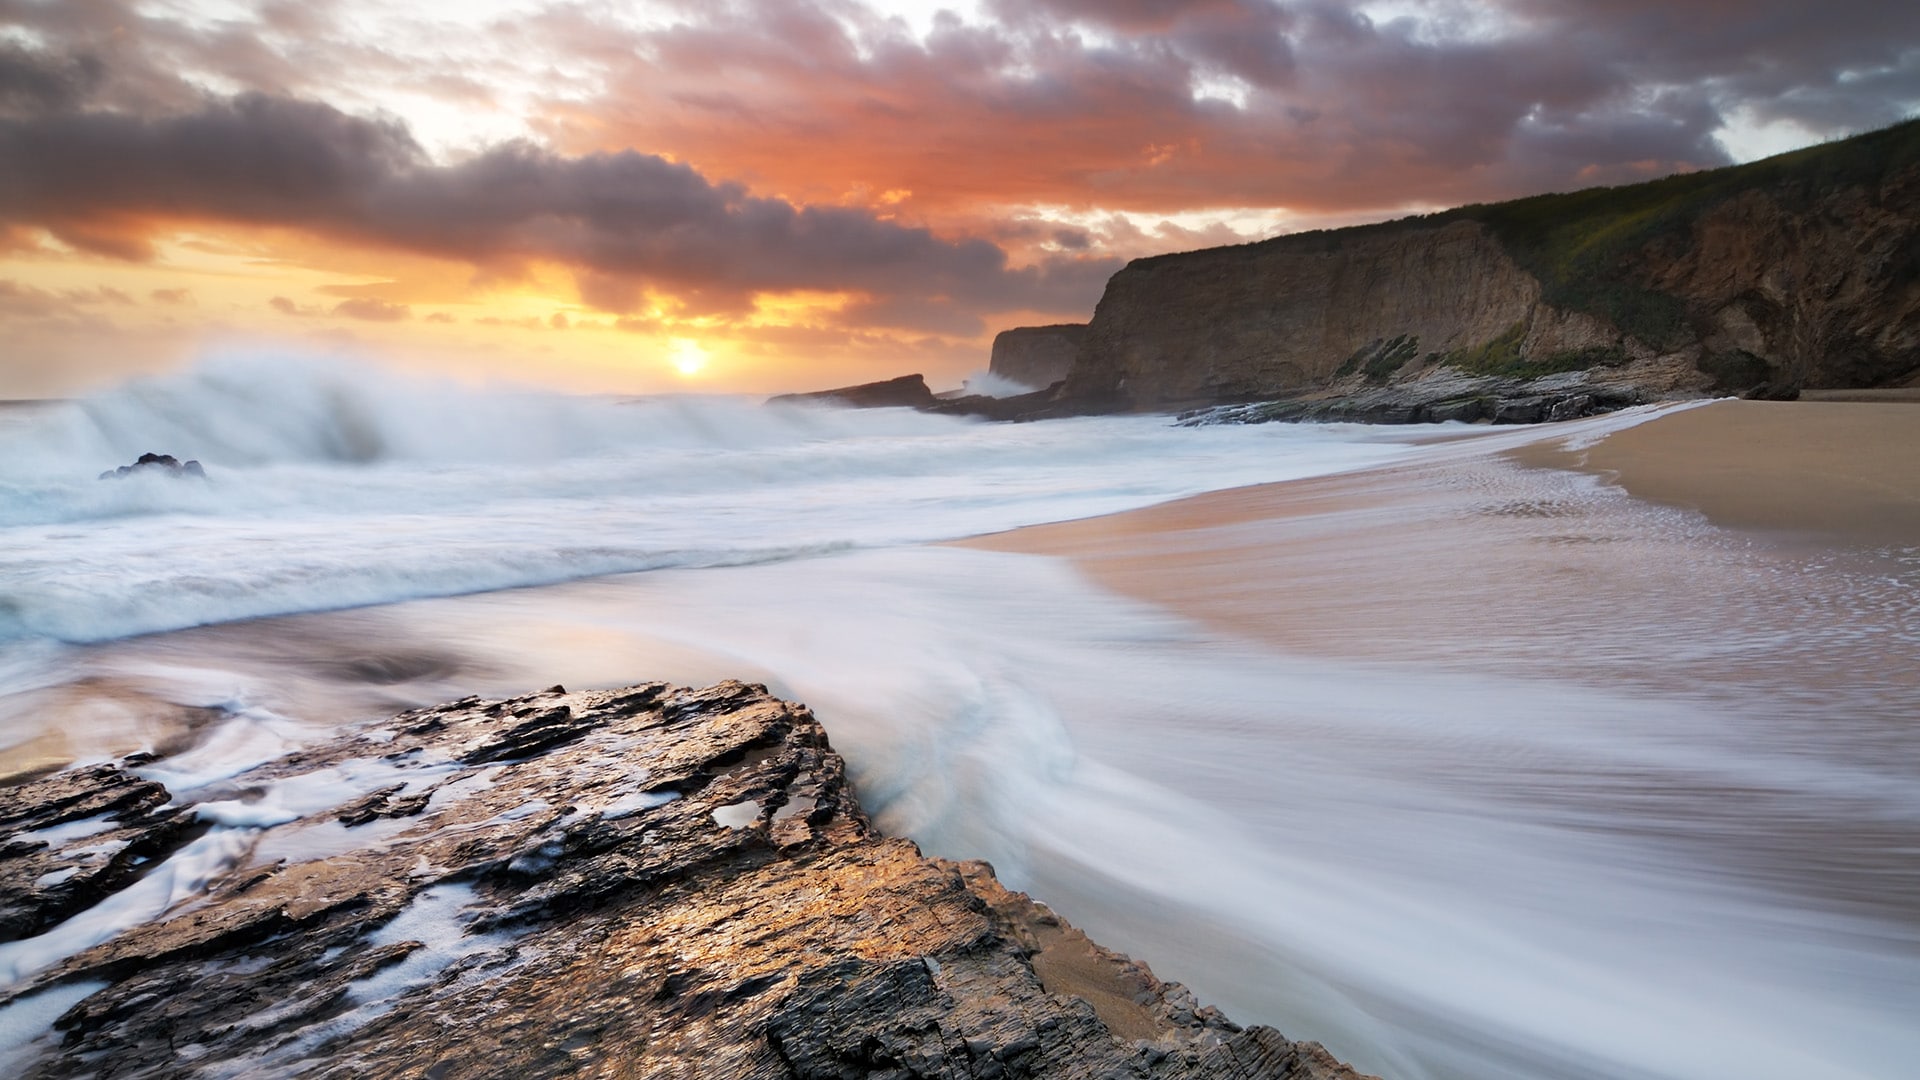
In large part I built my photography career on seascape images and harbor a deep love for them. Yet as beautiful as the ocean is it

Greetings, my fellow photo nerds! Unless you’ve been living under a rock you’ve surely noticed that camera manufacturers constantly come out with newer, better, lighter,
In photography there is often an obsession with the latest, most expensive gear, and the coolest new toys. And there can be a sense that


