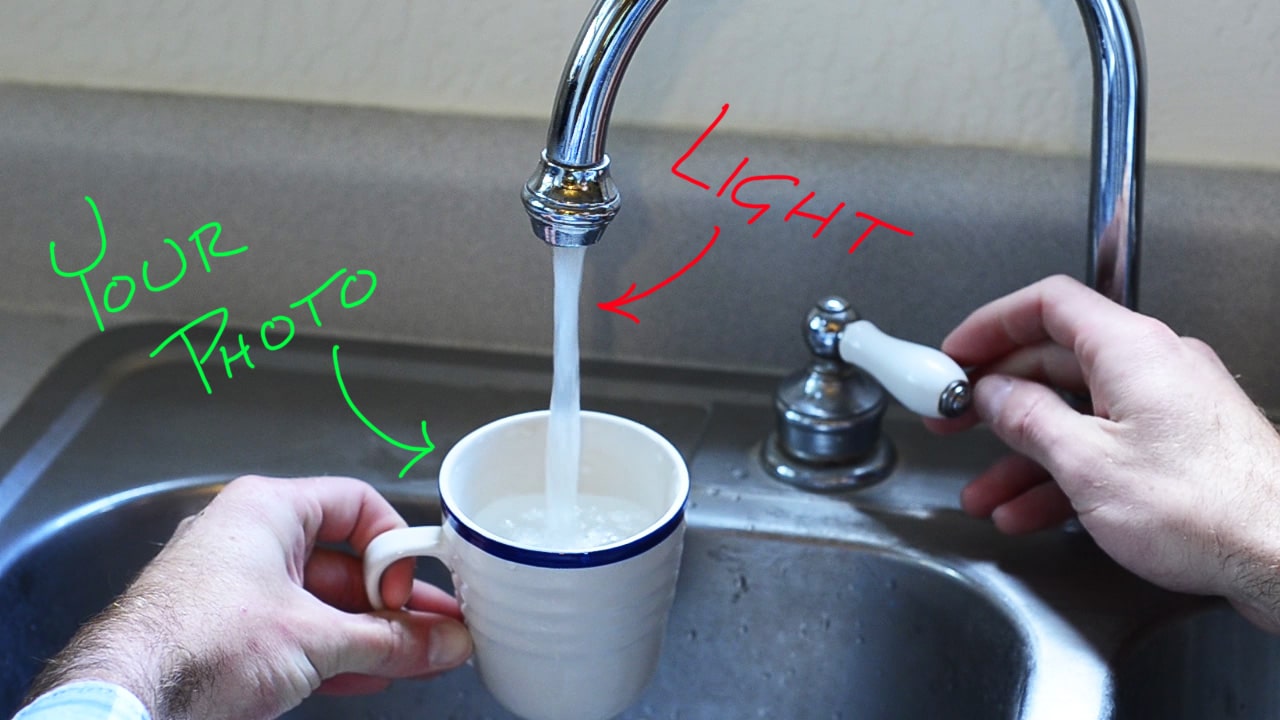
Understand Exposure in 6 Seconds
Episode transcript: Confused by how aperture and shutter speed affect your exposure? Stick around and be demystified! [opening credits] Hey all, welcome to Professional Photography
Episode transcript: Confused by how aperture and shutter speed affect your exposure? Stick around and be demystified! [opening credits] Hey all, welcome to Professional Photography

Episode Transcript: Want to become a master of time??? Then you need to understand shutter speed! Hi everybody and welcome to professional photography tips. I’m
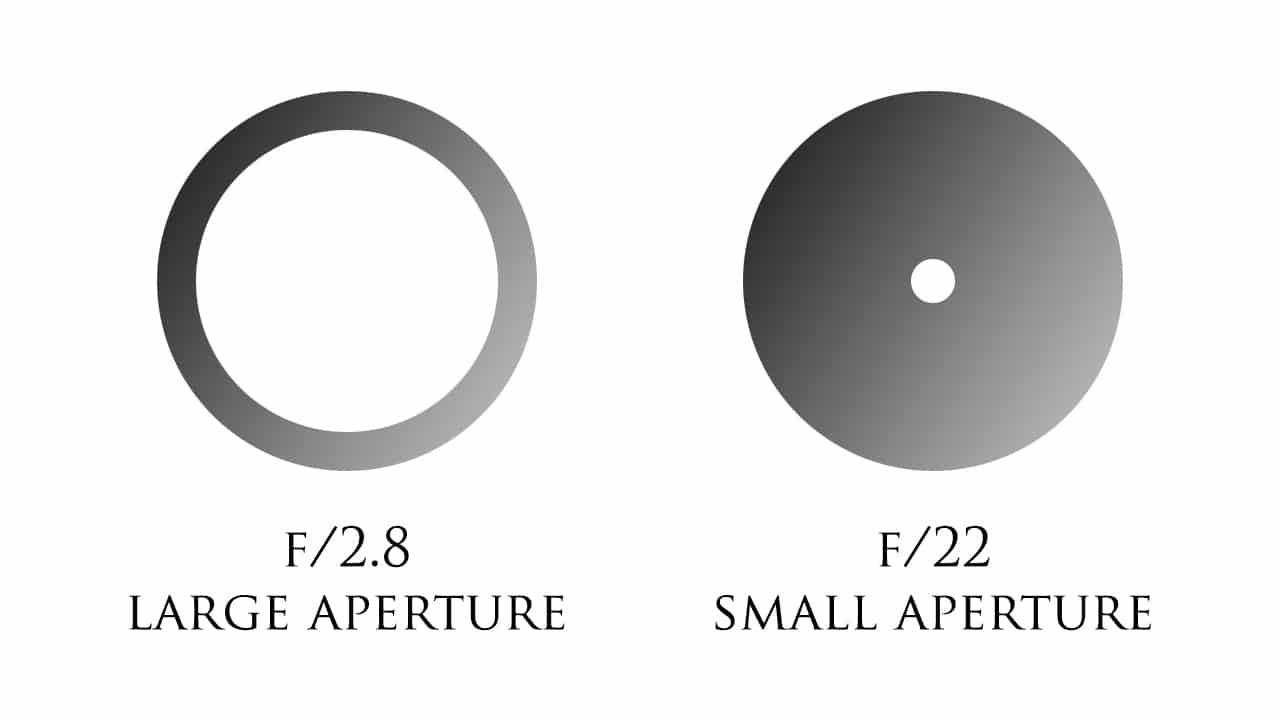
Episode Transcript: G’day, and welcome to Professional Photography Tips. Today we’re going to learn to be apturelutely awesome. Wait, what does that say? A-per-tu, Oh,
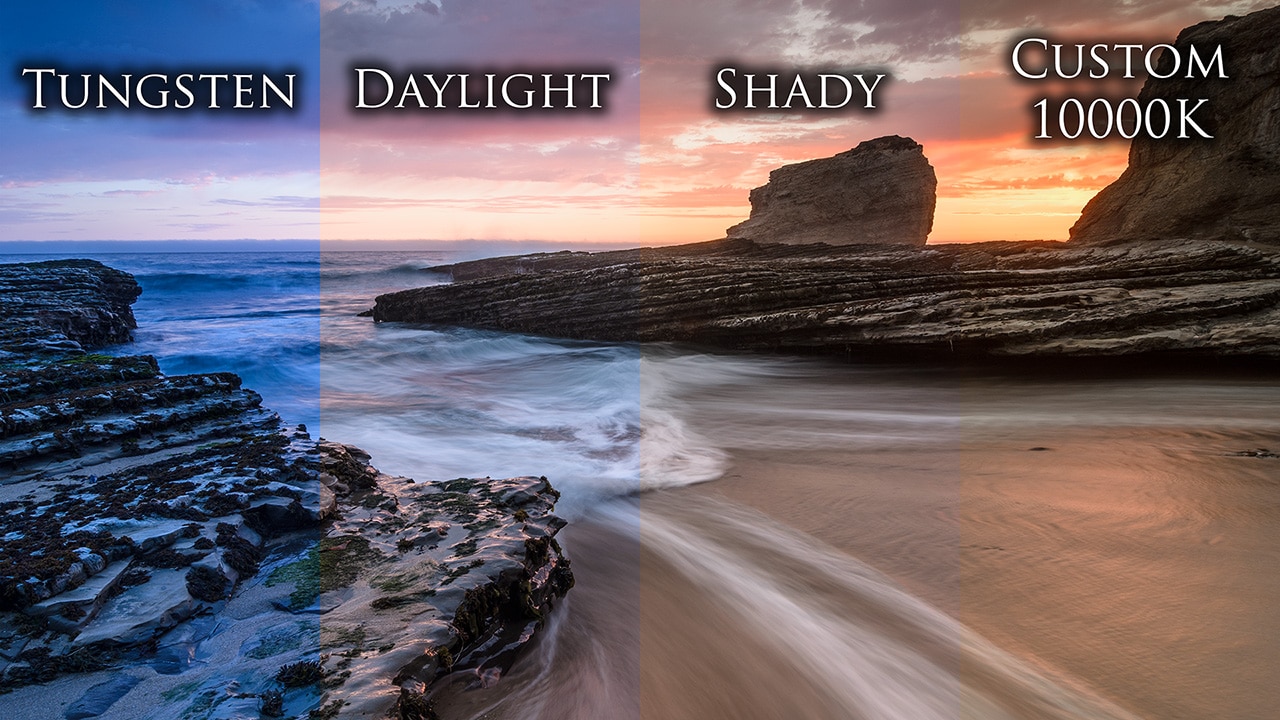
Episode Transcript: When is white not white? When it’s blue, yellow, or orange. What the crap am I talking about? Even I don’t know! So
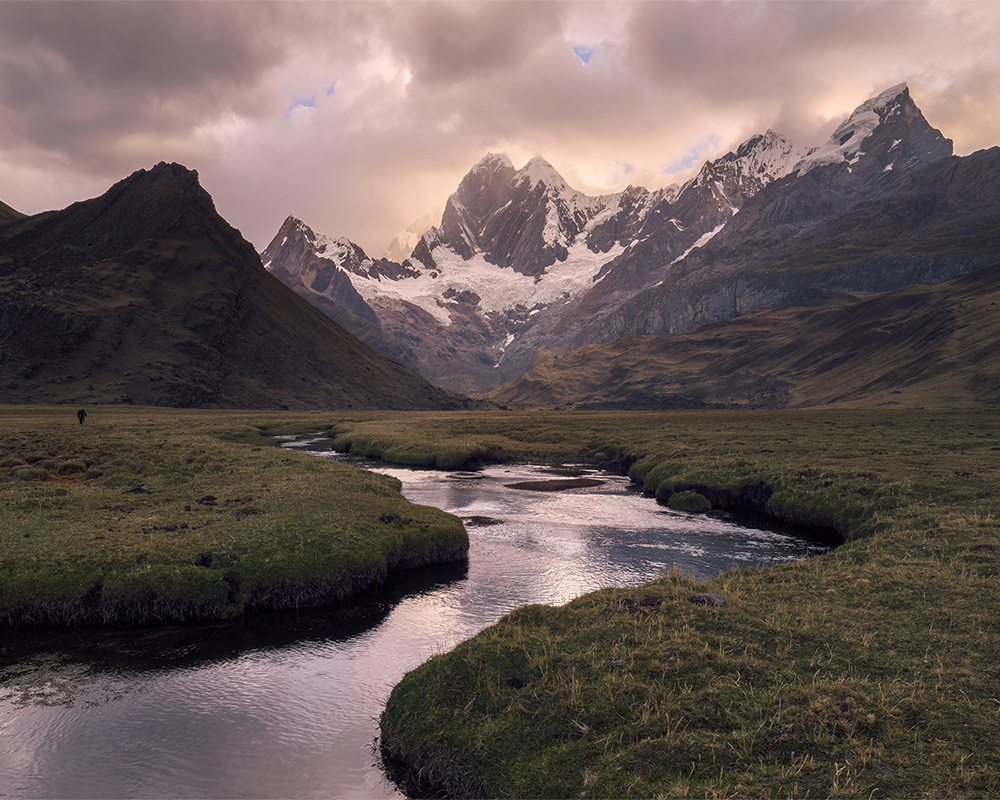
Today we critique a beautiful landscape photo to see what the photographer does well, and how he could make the image stronger. Photo courtesy of
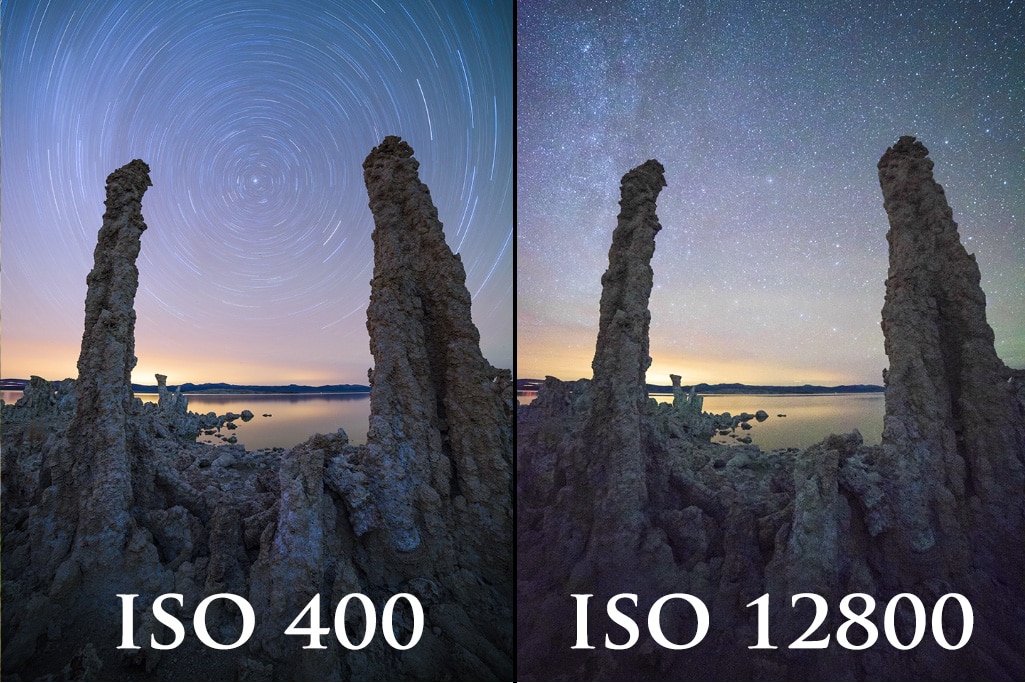
Of the three points in the exposure triangle, aperture, shutter speed, and ISO, ISO is probably the least well understood and most incorrectly utilized. So
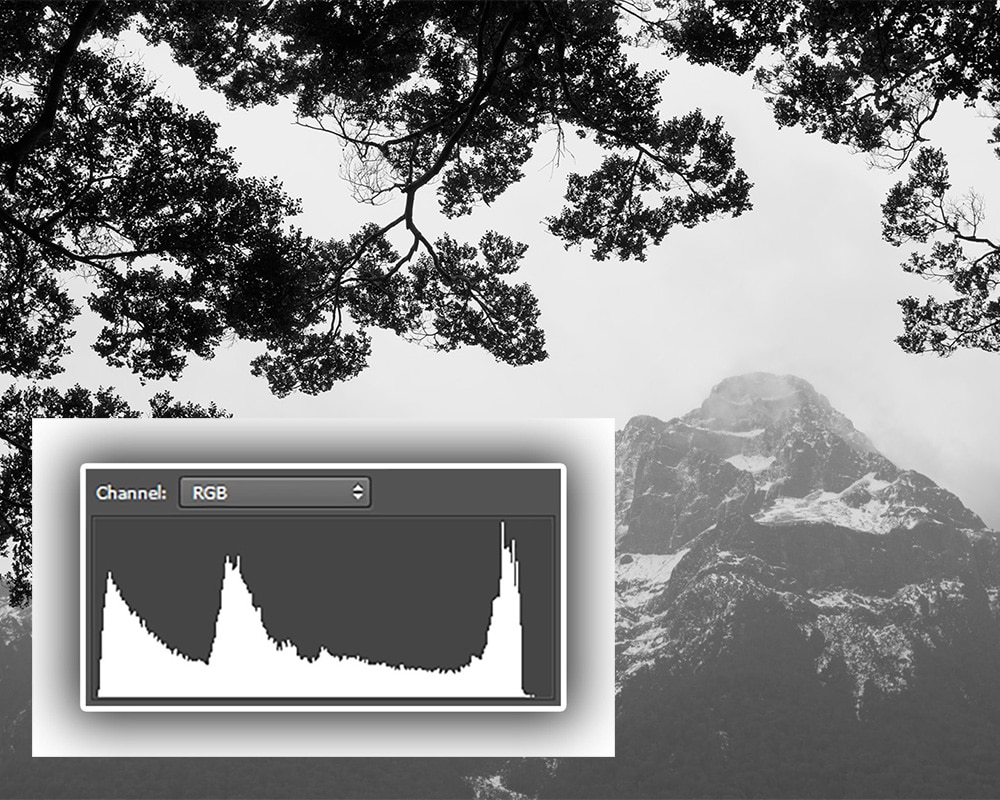
A user-friendly guide to understanding exposure in digital photography. If you’ve ever taken a statistics class you surely now have an innate phobia of histograms.
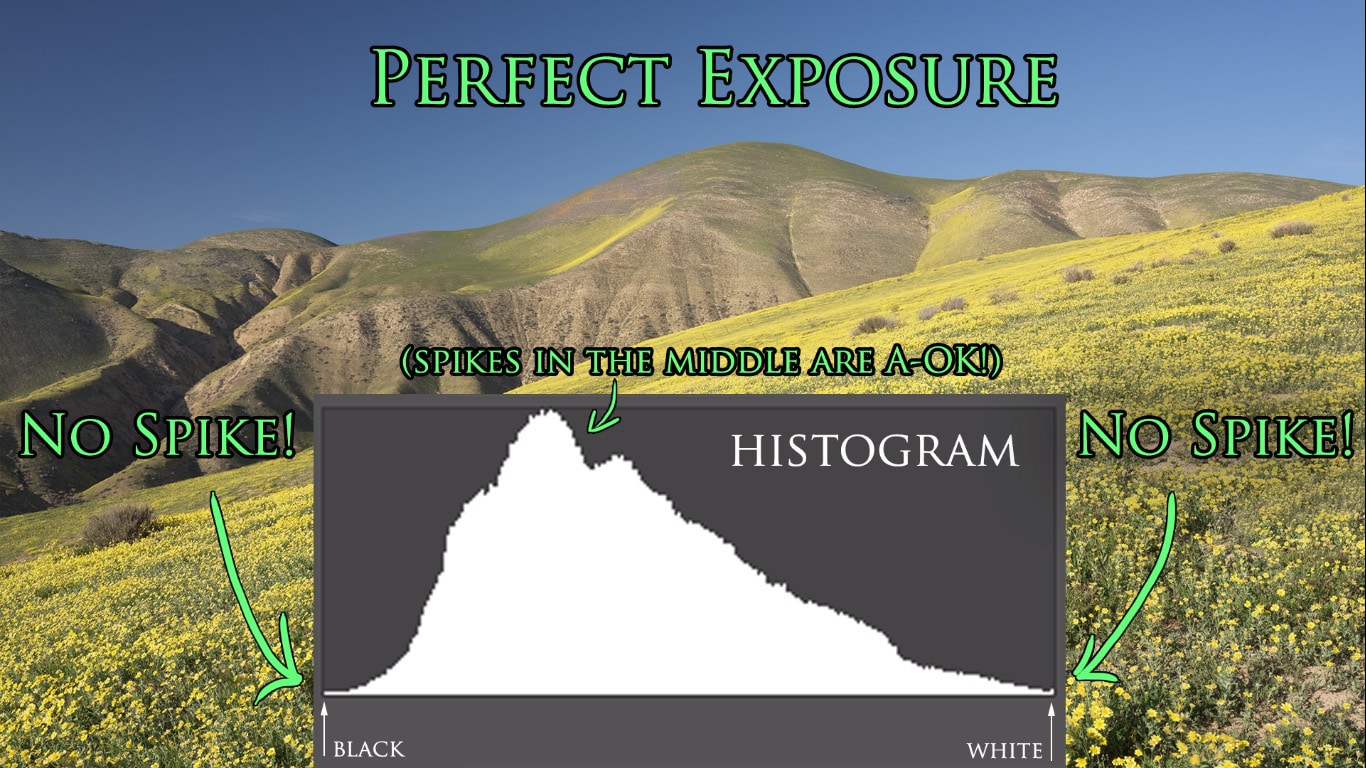
Are you struggling with manual mode, frustrated by the seeming impossibility of getting a perfect exposure? Well here’s a super easy three step process to
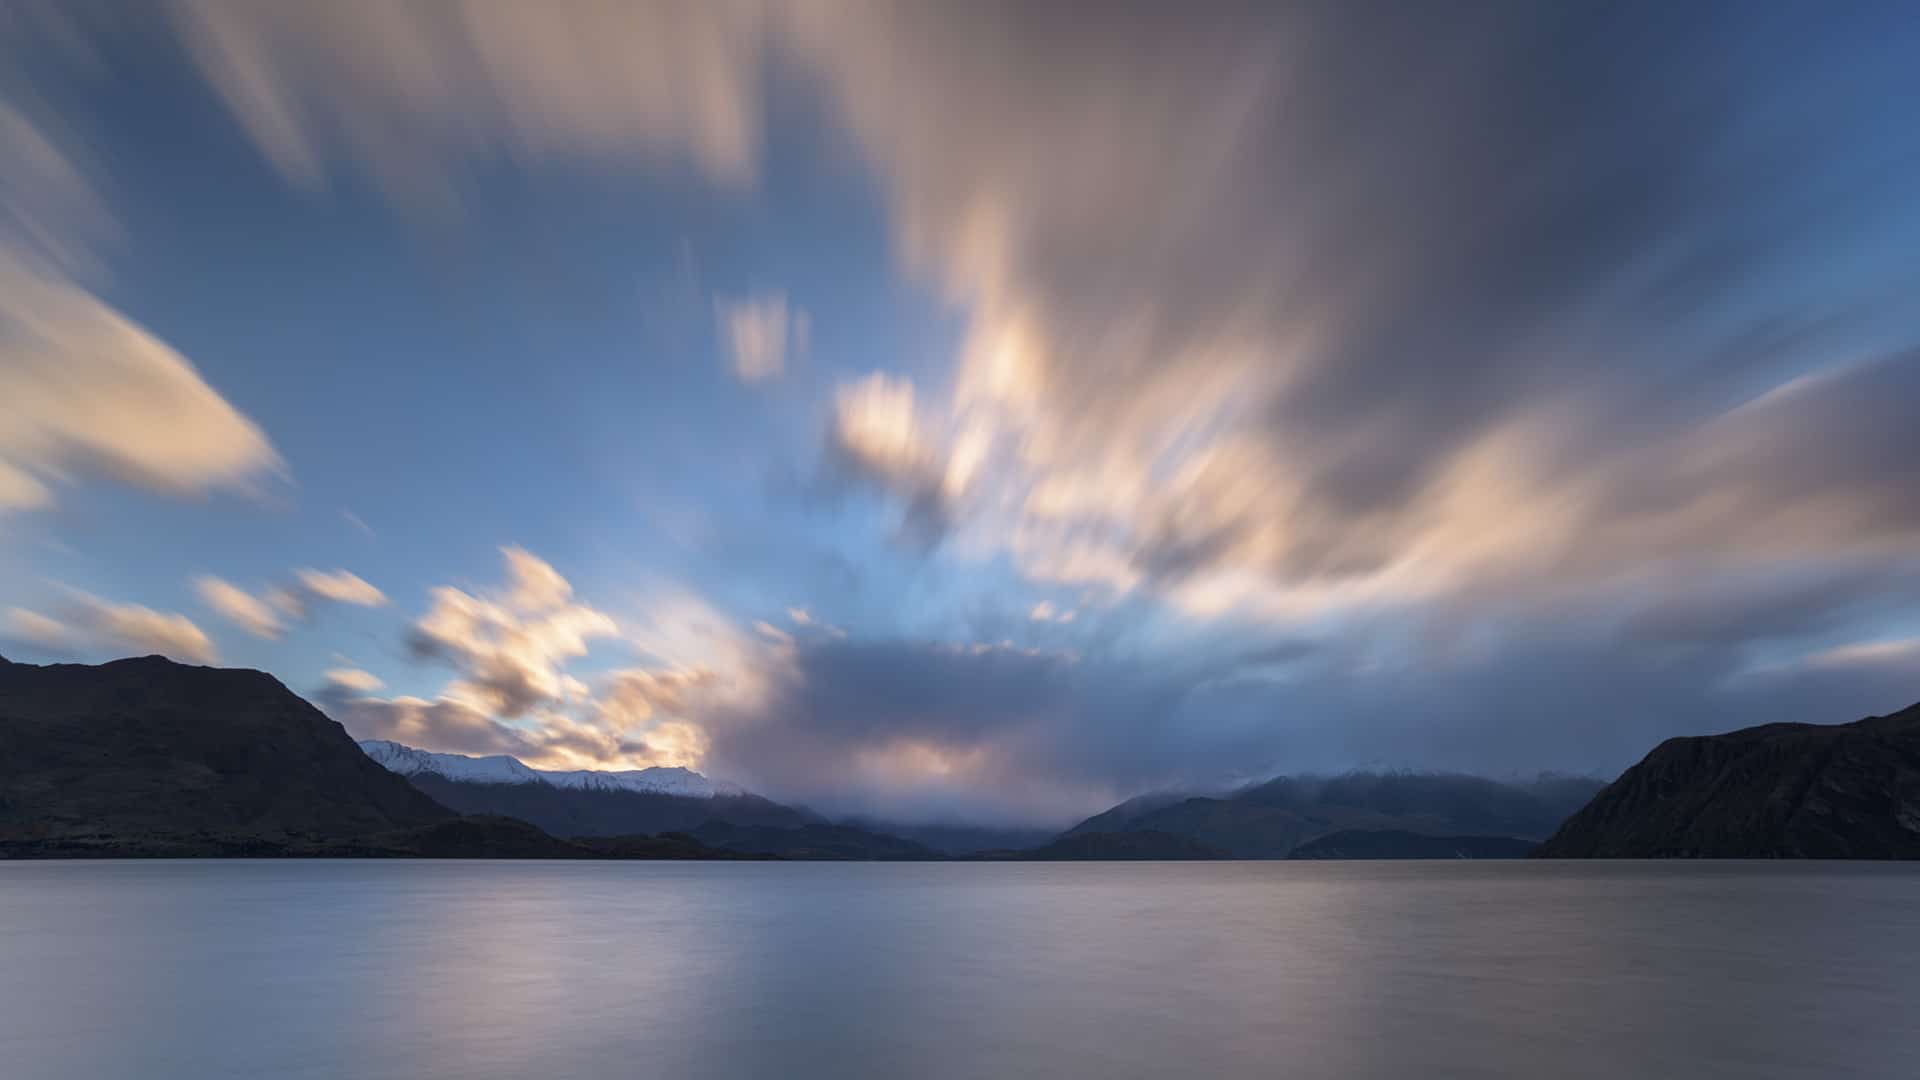
What’s up, photo homies? (Phomies) What happens if you’d like to shoot some nice long exposures but either the light is too bright or you
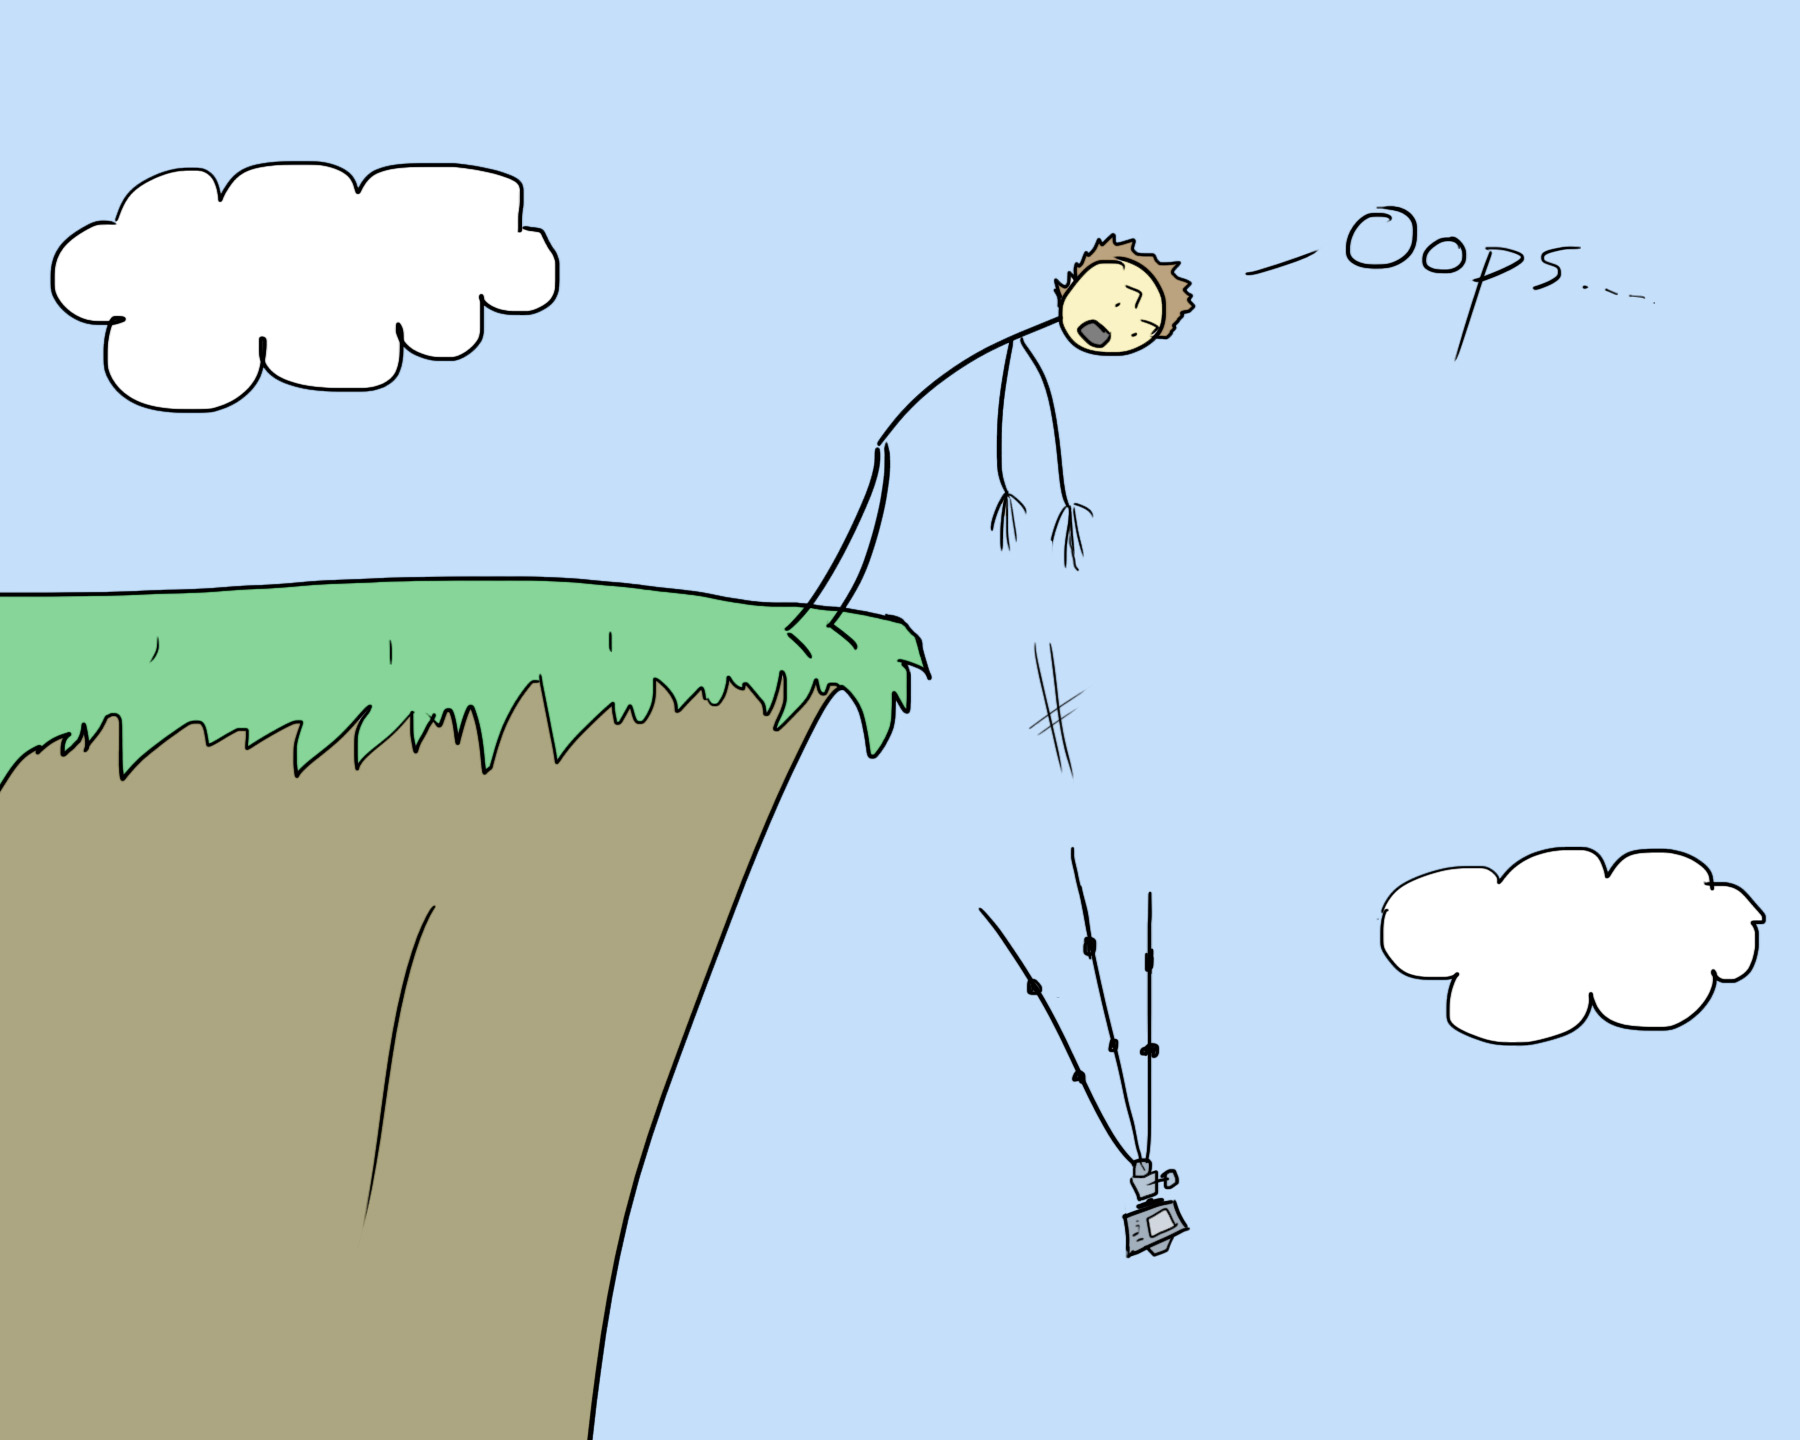
Contrary to popular opinion, mistakes aren’t necessarily a bad thing. They help you learn, they keep Hallmark in business, and sometimes they go hand in
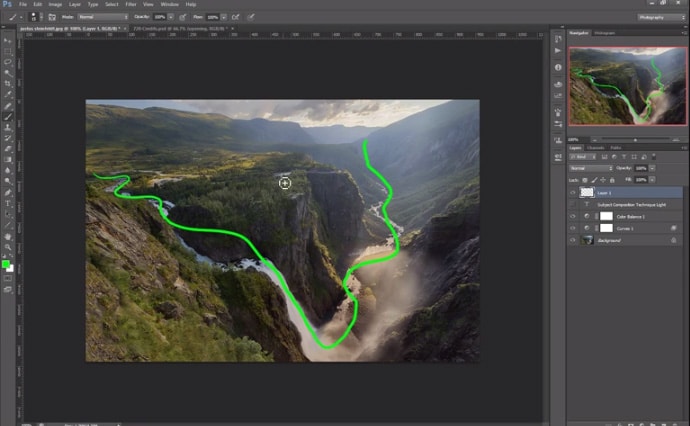
What goes into a great landscape photo? See how the four critical elements of any good image -Subject, Technique, Composition, and Light- are used to
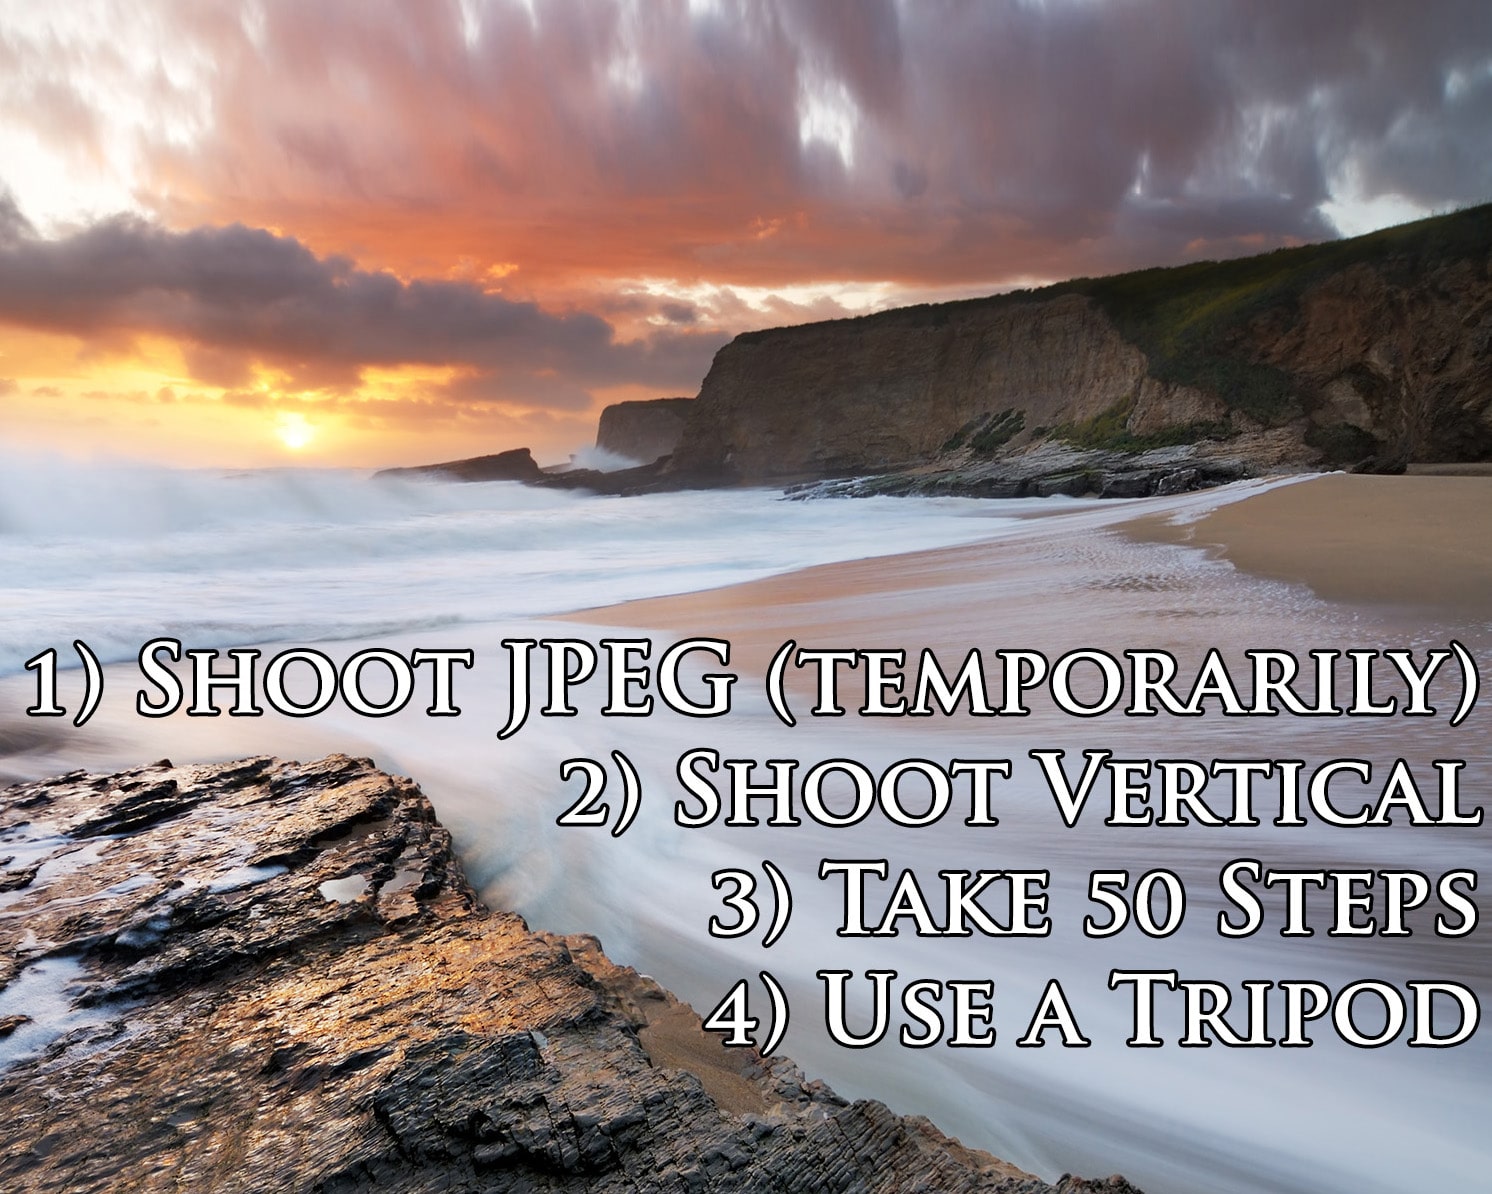
Episode transcript: Hi all, Josh Cripps here and I’m going to show you 4 things you can do RIGHT NOW to become a better photographer
