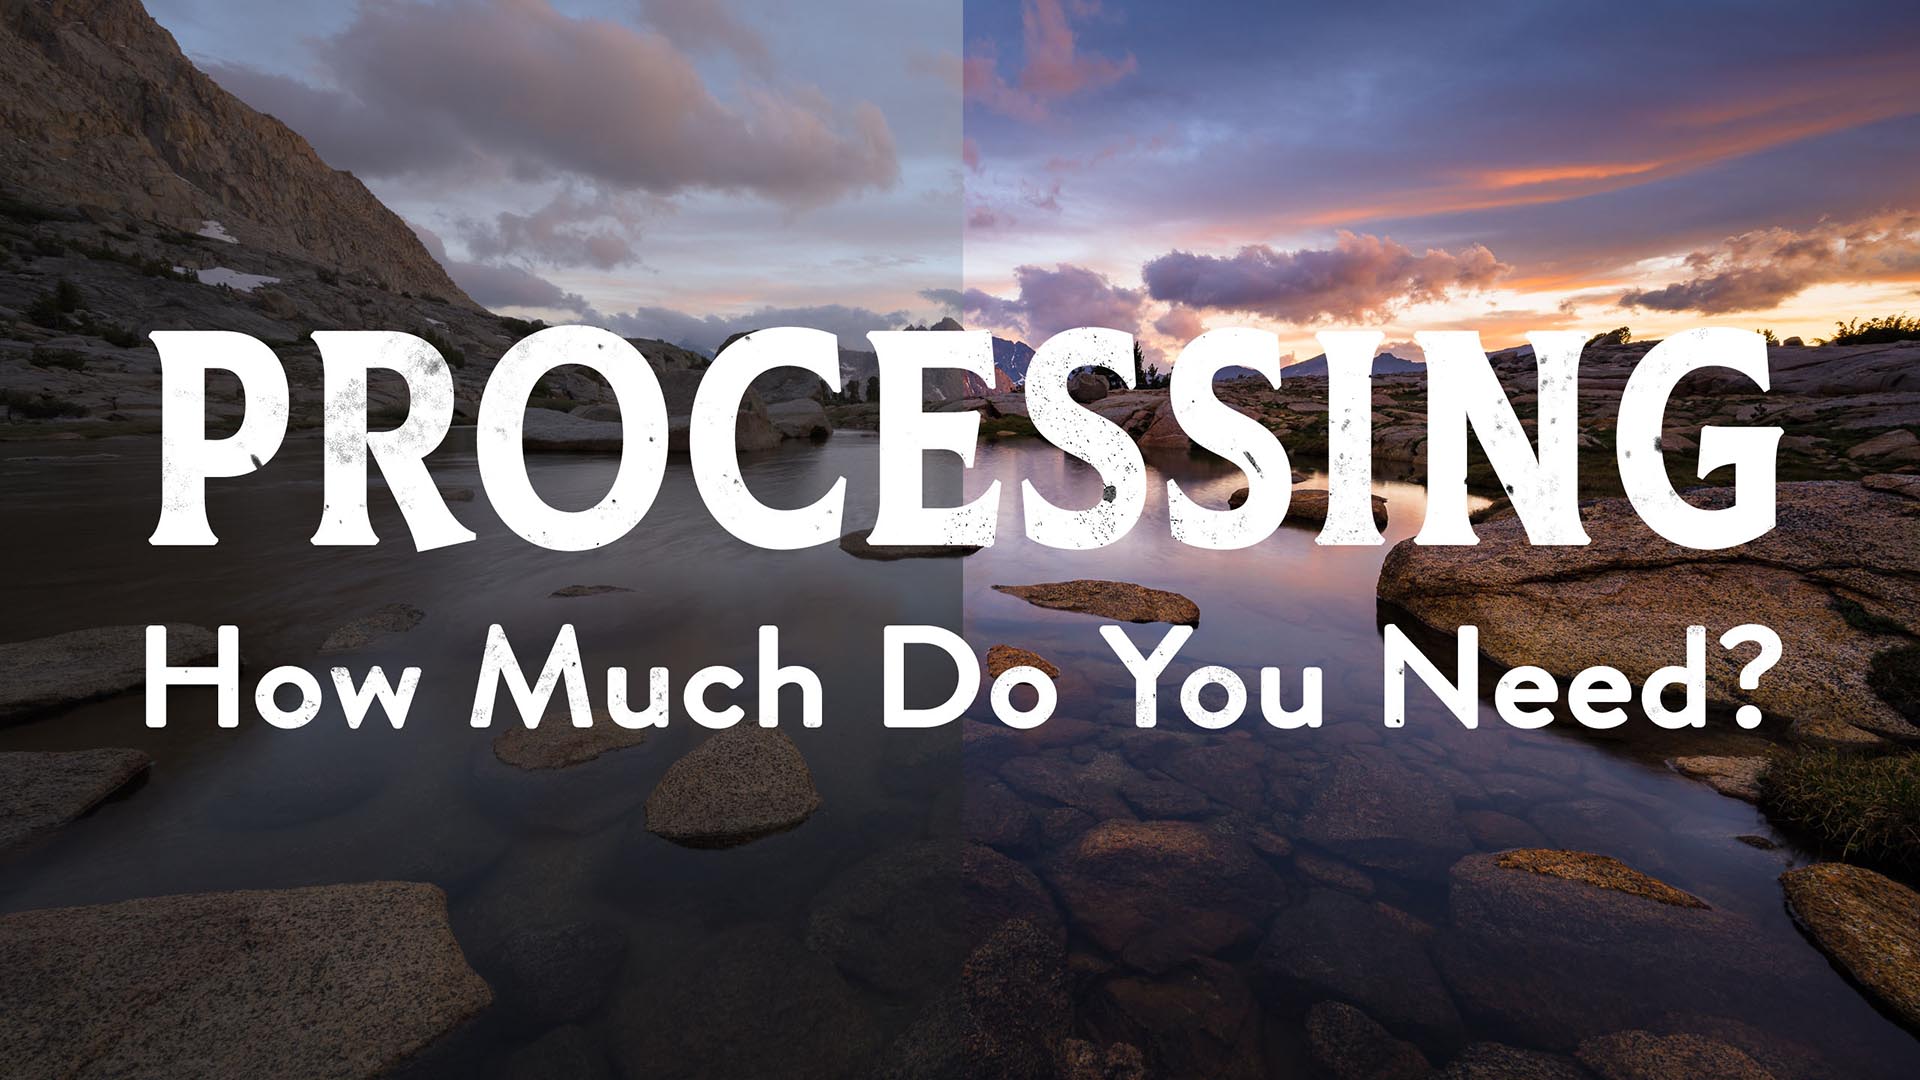
How Much Post Processing Goes Into My Landscape Photos?
Greetings my excellent friends. It’s Josh Cripps here. Now y’all know that I’m a huge believer that you don’t need to be a Photoshop expert
Greetings my excellent friends. It’s Josh Cripps here. Now y’all know that I’m a huge believer that you don’t need to be a Photoshop expert
Greetings my excellent friends it’s Josh Cripps here. And I’m back with another landscape photography question of the week. And this week’s question comes to
Hey there, Joe pal here, JC. And today I’m coming at you from about 10 miles into the back country of Kings Canyon national park.
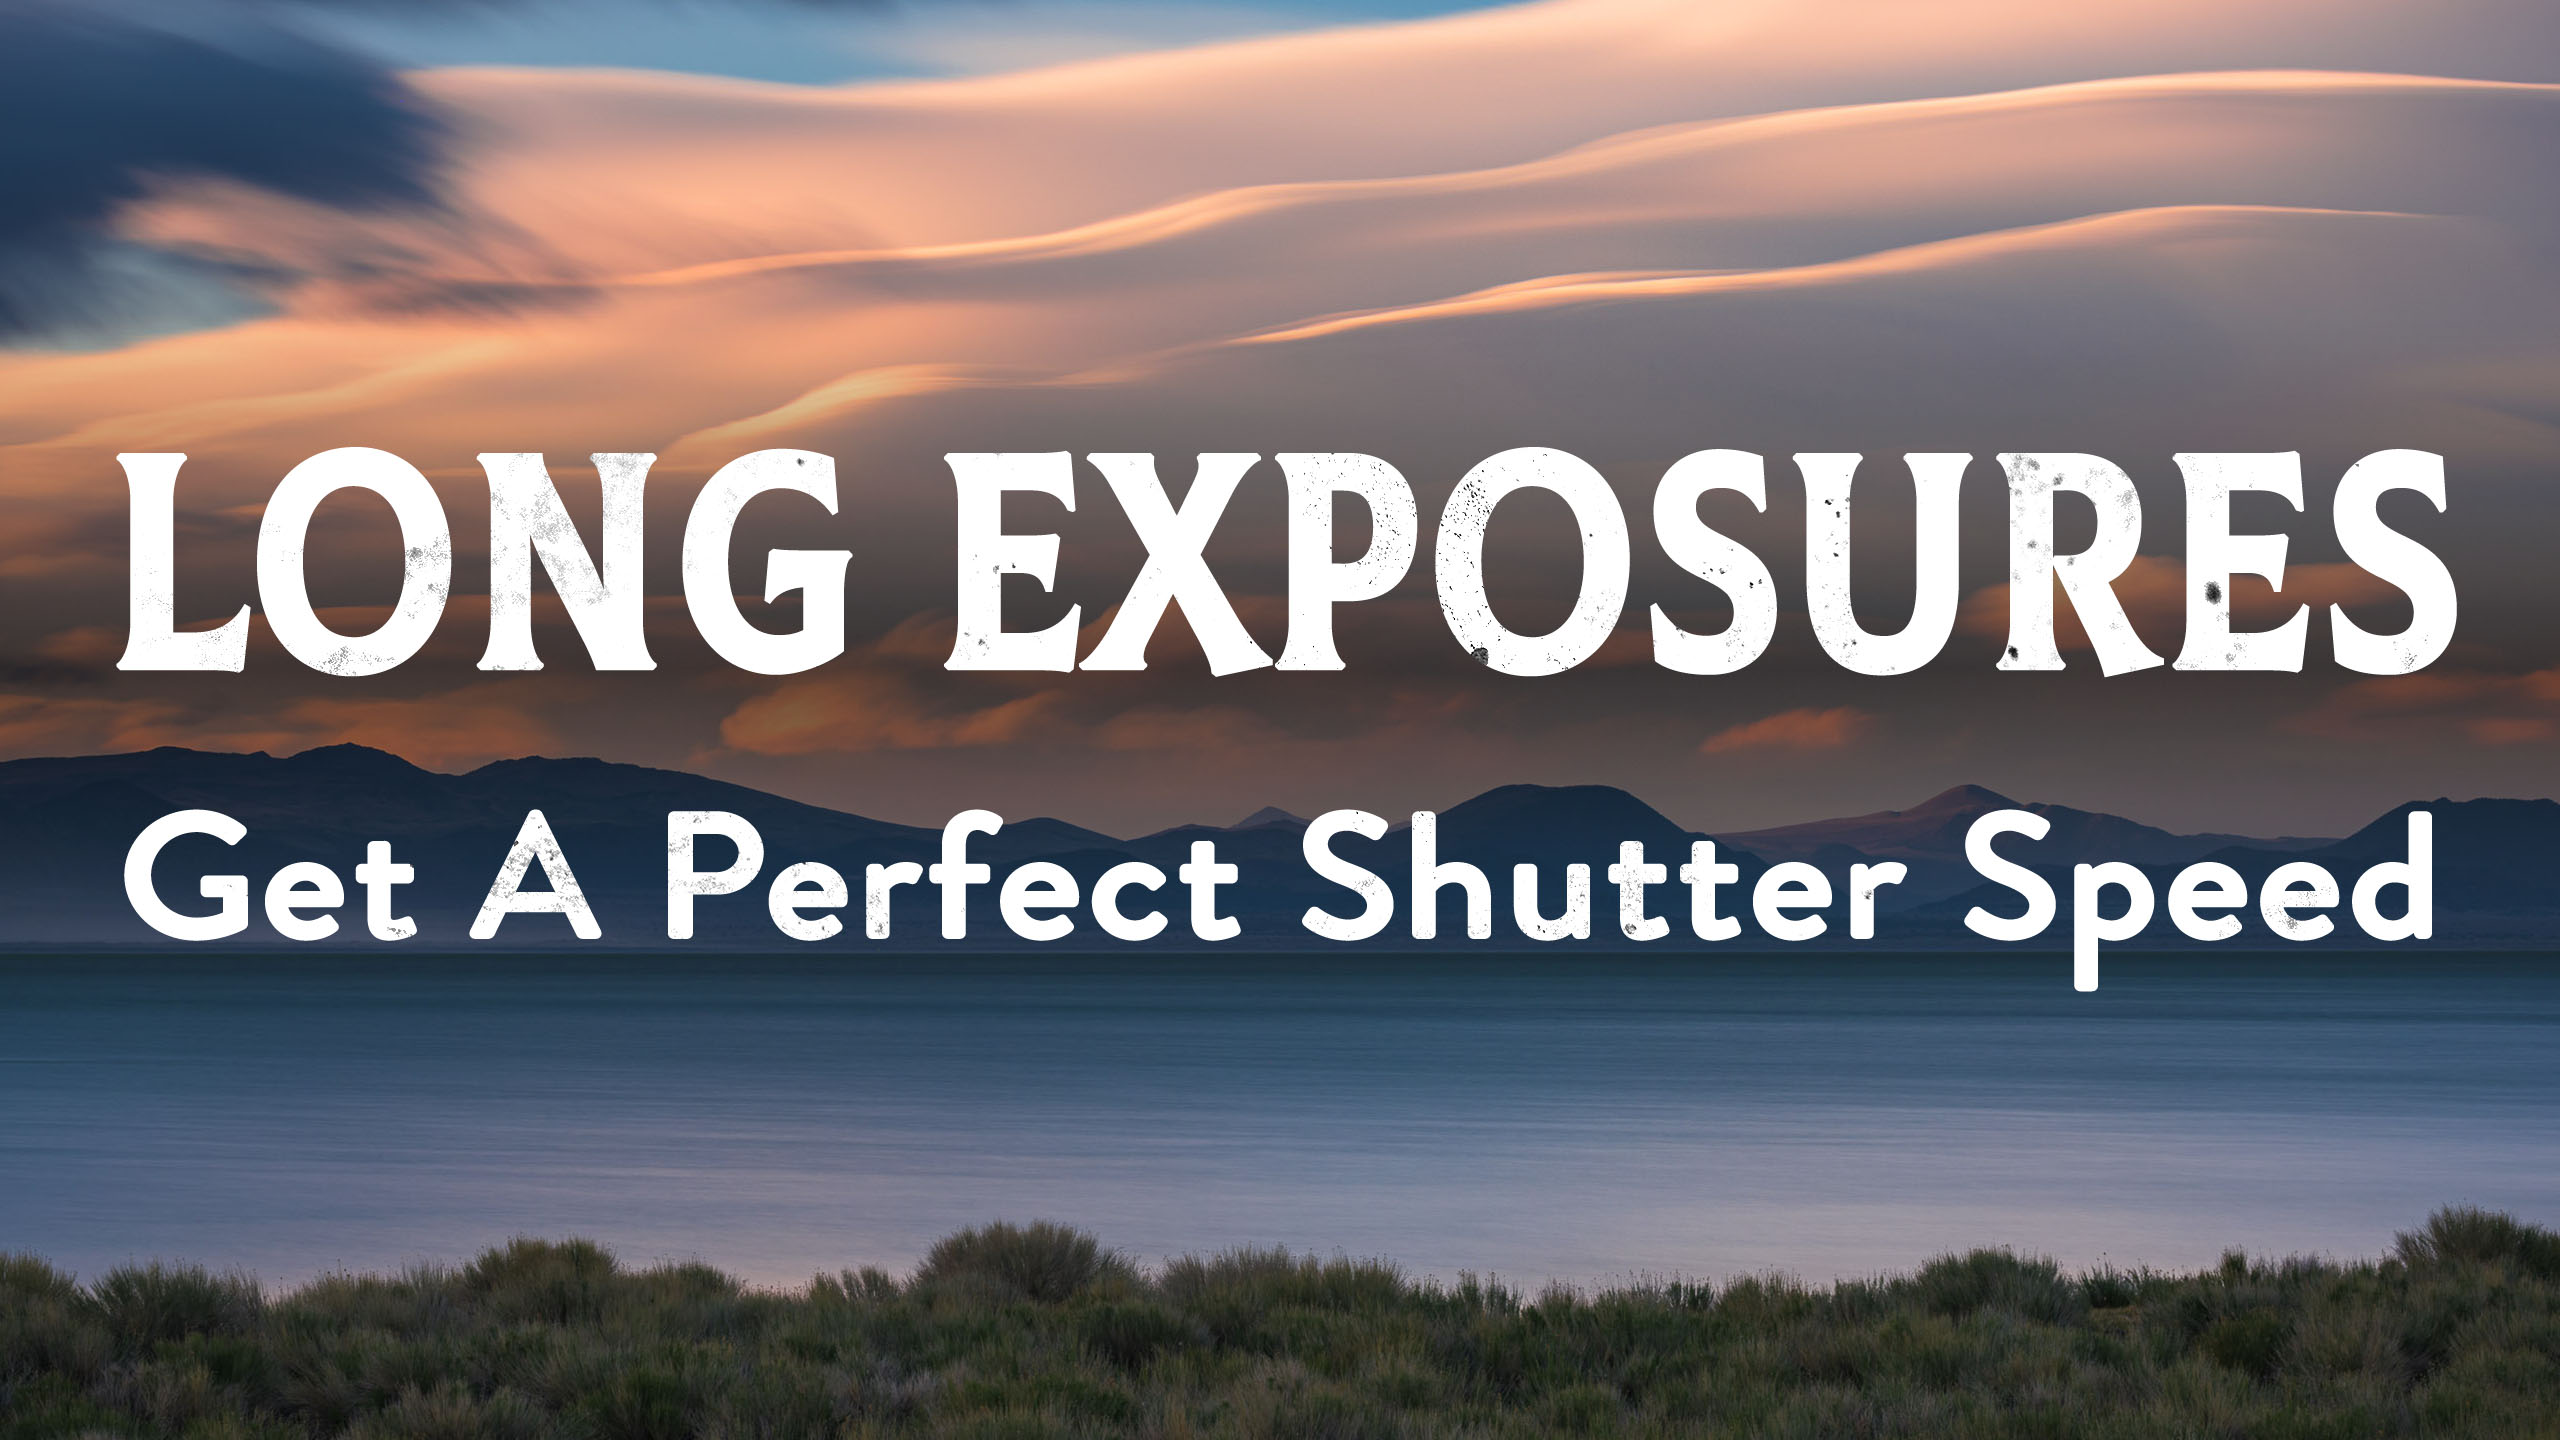
Master Long Exposure Landscape Photography with 10 stop ND Filters

So over the last couple of months, throughout this whole coronavirus lockdown, I’ve gotten not a small amount of messages from people who have been
Heyo. So today is the full moon. It’s June 5th and I’m actually supposed to be in a place called Independence, California lining up a


