The Philosophy of a Photograph: Three Simple Questions

Episode transcript:

I’m Josh Cripps and I’m going to show you how asking yourself a few simple questions can dramatically improve the artistry your photos.

Hi all, welcome to Professional Photography Tips. One of the most common questions I get while teaching workshops is “My photos always turn out looking like snapshots. How can I take the vision that’s in my head and get it to come out in a photo?”

It turns out that the answer to that is already there inside you, and you can bring it out by asking three simple questions: what, how, and why.

1) What?

Whenever you approach a scene you should consciously ask yourself What do I like about this scene? There are a million things to look at in any landscape. Your job as the photographer is to identify just those few elements you find most striking. That’s how your photo begins to take shape.

For example I really love the oaks and the warm sunlight. Those are the two elements out of this whole landscape that most catch my eye. Also note that I didn’t say, I really love this grass, or the blue sky. And that gives me a sense of what I should exclude from the photo. The elements in a scene you’re not drawn to should be minimized or just straight up excluded from your shot. Simplify your images as much as possible in order to gain focus and clarity.

And once you’ve identified the elements you like, don’t stop there. The next step is to ask yourself What do I like about those elements? Maybe it’s the way they interact; the way the warm light shines through the leaves. Or maybe it’s that I like how the oak trees form a canopy above me. And the better you can answer what do I like about the elements I’ve chosen, the better off you’ll be when it comes time to ask yourself the next question.

2) How?

Now that you’ve identified the elements you want in your photo and the characteristics you like about them you need to ask yourself “How can I exaggerate those characteristics?” Your duty as an artistic photographer is not to represent a scene as faithfully as possible, it’s to exaggerate the things you notice and show people what you want them to see.

Sometimes the way to do that is compositionally: I like the light coming through the oaks, so I’m going to move around behind them where the effect is most pronounced.

Sometimes it’s a technical choice: I love the warmth of the sunlight; I’m going to exaggerate that by setting my white balance to cloudy to bring out more warm tones.

And sometimes it’s done through post processing: I love the green of the tree leaves so I’ll saturate the greens in Photoshop.

But the bottom line is once you start thinking about ways you can exaggerate the things you’re drawn to in a scene you’ll see your particular artistic vision begin to shine through in your photos.

3) Ask yourself Why?

The final question is here to help you tie everything together and to help you understand the choices you’re making in creating a photo.

You should ask yourself Why? about every single aspect of your images: why did I include this element and exclude this one? Because I like this one and don’t care about that one. Why did I place this element in this spot in my frame? Because I like the rule of thirds and I don’t want an important element too close to the edge or too centered. Why did I use a wide angle lens and not a telephoto? Because I like the depth and sense of “being there” that a wide angle provides.

This goes just as strongly for the technical choices: why did I choose this aperture? To get a deep DOF or a shallow one, to isolate one subject or let the viewer’s eye drift through the whole frame? Why did I choose this shutter speed, am I trying to show motion in the image, or freeze it, or does it not matter? Why did I choose this white balance, what color scheme am I trying to enhance? Why this ISO? For everything in your picture: why why why?

The more you ask yourself why the more your photos become a direct extension of your artistic vision and choices.

4) Make a caricature: simplify and exaggerate.

Basically you’re trying to make a caricature of whatever you’re shooting: simplify and exaggerate.

Simplify your photos by asking What, then exaggerate by asking How? Then you look at every aspect of your photo by asking Why. Because in the end it’s your conscious choices that turn those snapshots into true art.

Thanks for watching and be sure to check out last week’s video. Don’t forget to subscribe for weekly photography tips and techniques, and for landscape photography, tutorials, workshops and more, visit my website, joshuacripps dot com. Until next time, have fun and happy shooting!

4 things you can do RIGHT NOW to be a better photographer

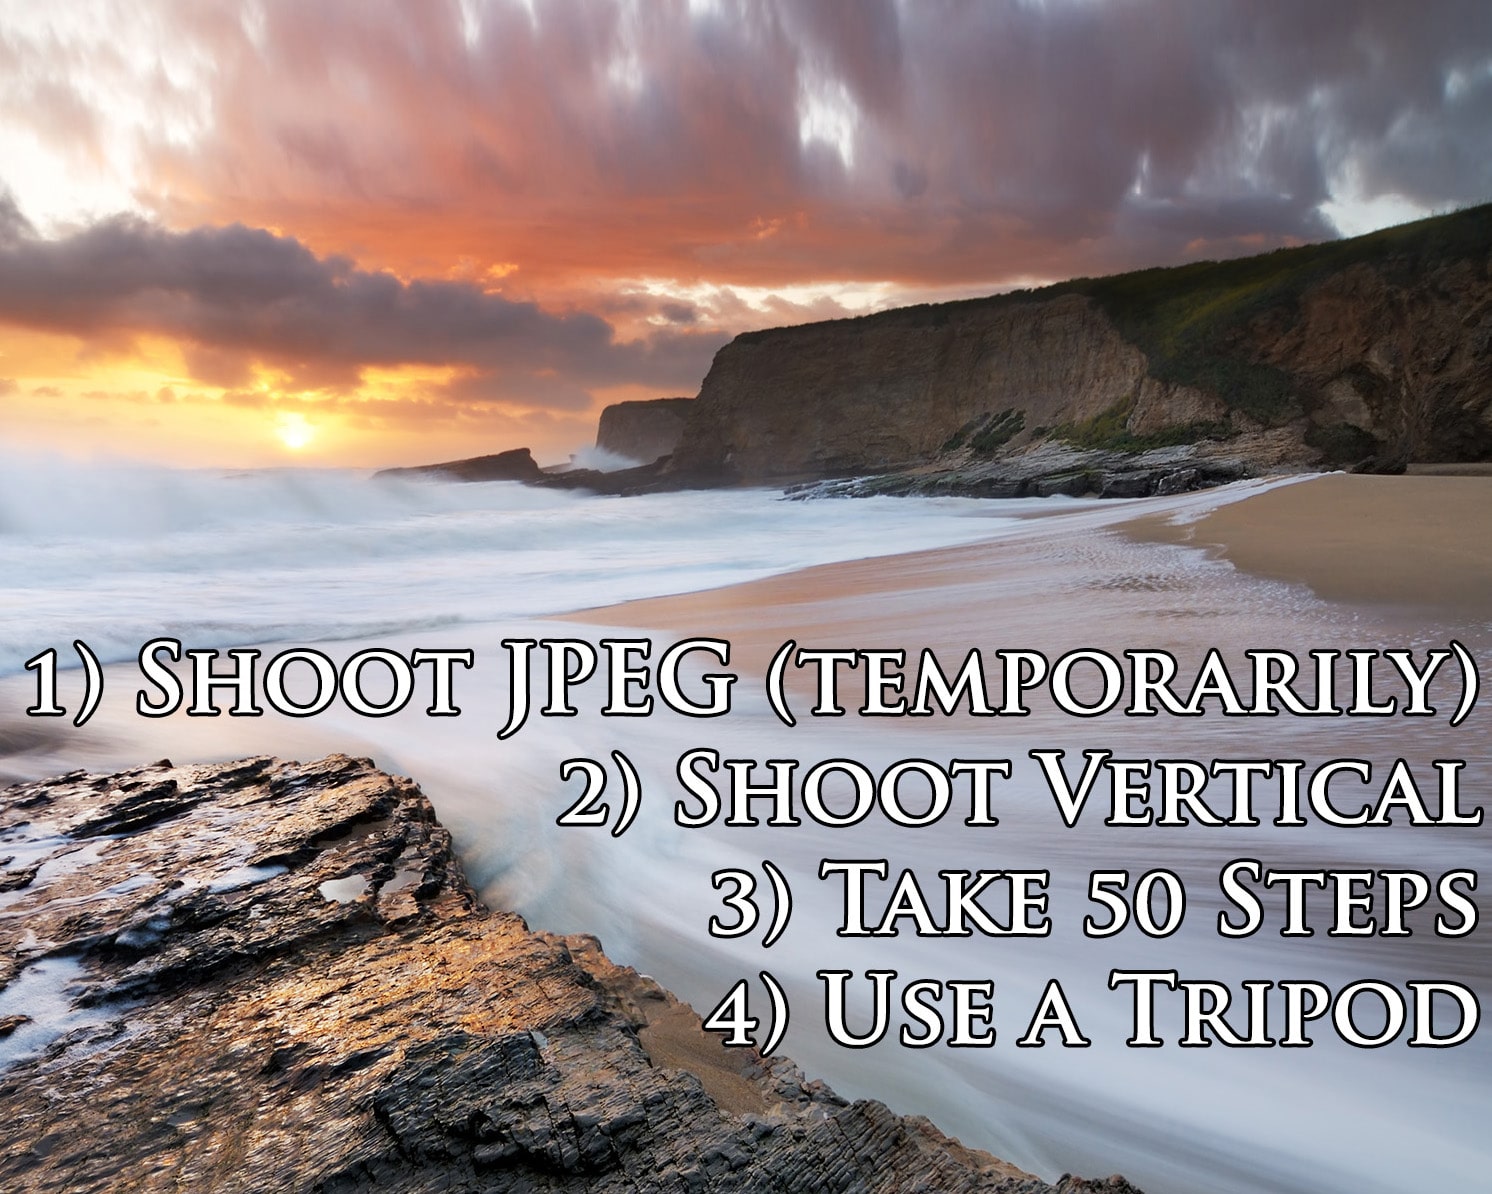
Episode transcript:

Hi all, Josh Cripps here and I’m going to show you 4 things you can do RIGHT NOW to become a better photographer

1) Shoot jpeg only (for the next week)

Ok, before you shut off the video hear me out. There’s so much you can do to a raw file in post processing that it often creates lazy technique in the field. Oh, the photo’s underexposed? I’ll just fix it in post. Color, contrast, saturation screwed up? I’ll just fix it in post. But what if you can’t fix it in post? What if all your choices are more or less locked in when you press the shutter button?

Why then you’d really have to take the time to understand what metering is and how to use it. You’ll have to understand what a histogram is and how to use it. You’ll have to take a moment to consider your color scheme and choose your white balance appropriately. To think about noise levels and choose your ISO.

When your options are limited on the back end of post processing, it forces your in-field technique to become a lot better. And if you can take a poor photo and make it good in post, imagine what you could do with a good photo! So try shooting jpeg for the next week and watch your technique improve

2) Shoot vertical

Most landscape photos are done in the horizontal orientation. I mean, heck, it’s even called Landscape format. If horizontal horizontal horizontal describes your shooting style, force yourself to only shoot in the vertical orientation for the next few weeks.

It will feel really restrictive at first, but stick with it, because restrictions are what put the mind into creative overdrive and you will find yourself doing really unique things to fill the frame.

You will be forced to simplify your compositions and clear away any extraneous clutter or empty space on the left and right sides of your shot.

And on top of that it forces you to look at the world in a different way: up and down, as opposed to the normal side to side we live our daily lives in.

That rearranegment of space can bring a fascinating new perspective to your work. And for you wide angle shooters, going vertical with a wide angle lets you get down right on top of your foreground subjects, increasing visual punch and drawing your viewers into the frame.

3) Take 50 steps

From wherever you are right now, grab your camera and take exactly 50 steps. Stop and do not move from that spot until you have taken a photo that you find interesting. Then take exactly 50 more steps and repeat the process. Then again and again.

Pretty soon your usual ways of looking at the world will go right out the window and before you know it you will find yourself hunched over searching the ground, or staring straight up at the trees or buildings, or zooming in on some tiny detail.

Do this enough and you begin to realize there’s beauty and wonder all around us, it just takes a little eye training and the right perspective to see it. Which means that the next time you head out to shoot, you’ll start to notice things you never even realized were there.

4) Use a tripod

Yes, tripods can be clunky, cumbersome, and a barrier to flexibility and creativity. But that’s only at first, and it’s well worth pushing through the hassles of getting used to shooting with a tripod because a tripod offers some serious advantages to the landscape photographer.

First, they improve the technical quality of your shots. By eliminating hand or wind shake from your images you’ll see noticeably crisper details in your shots, which makes a huge difference when you go to print.

Secondly, tripods enable long exposure photos. From silky water motion to streaking clouds, you simply cannot take shots like these without a solid foundation for your camera to rest on.

Finally, the most underrated but incredibly valuable feature of tripods is that they allow consistency and subtle adjustments in your compositions. If you’re shooting handheld and reviewing each shot each time you can only get so close to where you want to be. A tripod lets you approach your killer shot methodically, isolating one variable at a time: exposure, filter placement, compositional tweaks, until you’ve absolutely nailed it.

Ok guys, that’s it. Hope you enjoyed those four simple things you can do to boost your photography to the next level. Don’t forget to subscribe for weekly photography tips and techniques, and for landscape photography, tutorials, workshops and more, visit my website, joshuacripps dot com. Until next time, have fun and happy shooting!