10 Favorite Lightroom and Photoshop Hacks and Tips
Joshua Cripps
[av_slideshow_full size=’featured’ min_height=’0px’ stretch=” animation=’slide’ conditional_play=” autoplay=’false’ interval=’5′ control_layout=’av-control-default’ src=” attachment=” attachment_size=” position=’top left’ repeat=’no-repeat’ attach=’scroll’ av_uid=’av-jkejrnez’]
[av_slide_full slide_type=’image’ id=’13223′ video=’http://’ mobile_image=” fallback_link=’http://’ video_format=” video_ratio=’16:9′ title=’
‘ custom_title_size=’40’ custom_content_size=” caption_pos=’caption_center’ link_apply=” link=’lightbox’ link_target=” button_label=’Click me’ button_color=’light’ link1=’manually,http://’ link_target1=” button_label2=’Click me’ button_color2=’light’ link2=’manually,http://’ link_target2=” font_color=” custom_title=” custom_content=” overlay_opacity=’0.5′ overlay_color=” overlay_pattern=” overlay_custom_pattern=” av-medium-font-size-title=” av-small-font-size-title=” av-mini-font-size-title=” av-medium-font-size=” av-small-font-size=” av-mini-font-size=” av_uid=’av-706v9y2′][/av_slide_full]
[/av_slideshow_full]
[av_heading heading=’Video: 5 Favorite Lightroom Hacks, Tips, and Best Practices’ tag=’h3′ link=’manually,http://’ link_target=” style=” size=” subheading_active=” subheading_size=’15’ margin=” padding=’10’ color=” custom_font=” custom_class=” id=” admin_preview_bg=” av-desktop-hide=” av-medium-hide=” av-small-hide=” av-mini-hide=” av-medium-font-size-title=” av-small-font-size-title=” av-mini-font-size-title=” av-medium-font-size=” av-small-font-size=” av-mini-font-size=”][/av_heading]
[av_textblock size=’17’ font_color=” color=” av-medium-font-size=” av-small-font-size=” av-mini-font-size=” av_uid=’av-1d0c7ry’ admin_preview_bg=”]
Lightroom is a killer program that combines photo organization tools with raw development tools. And while it’s generally easy and intuitive to use there are a lot of features hidden under Lightroom’s hood that will make your experience with the program that much more enjoyable. Here are 5 of my favorite Lightroom Hacks, Tips, and Best Practices.
[/av_textblock]
[av_video src=’https://www.youtube.com/watch?v=Se_u4obgg_g’ mobile_image=’https://www.joshuacripps.com/wp-content/uploads/2018/11/Samsung-7226-1030×656.jpg’ attachment=’13218′ attachment_size=’large’ format=’16-9′ width=’16’ height=’9′ conditional_play=’confirm_all’ av_uid=’av-johru6q1′]
[av_heading heading=’1) Use Keywords and Smart Collections to Have Lightning Fast Access to Your Photos’ tag=’h3′ link=’manually,http://’ link_target=” style=” size=” subheading_active=” subheading_size=’15’ margin=” padding=’10’ color=” custom_font=” custom_class=” id=” admin_preview_bg=” av-desktop-hide=” av-medium-hide=” av-small-hide=” av-mini-hide=” av-medium-font-size-title=” av-small-font-size-title=” av-mini-font-size-title=” av-medium-font-size=” av-small-font-size=” av-mini-font-size=”][/av_heading]
[av_textblock size=’17’ font_color=” color=” av-medium-font-size=” av-small-font-size=” av-mini-font-size=” av_uid=’av-1d0c7ry’ admin_preview_bg=”]
Lightroom has lots of wonderful tools for organization. One of my favorite best practices is to combine diligent keywording with Smart Collections. This allows me to do things like find all sunset photos taken in Wanaka, New Zealand in a couple of clicks.
[/av_textblock]
[av_heading heading=’2) Add Your Logo or Other Custom Display to Lightroom’ tag=’h3′ link=’manually,http://’ link_target=” style=” size=” subheading_active=” subheading_size=’15’ margin=” padding=’10’ color=” custom_font=” custom_class=” id=” admin_preview_bg=” av-desktop-hide=” av-medium-hide=” av-small-hide=” av-mini-hide=” av-medium-font-size-title=” av-small-font-size-title=” av-mini-font-size-title=” av-medium-font-size=” av-small-font-size=” av-mini-font-size=”][/av_heading]
[av_textblock size=’17’ font_color=” color=” av-medium-font-size=” av-small-font-size=” av-mini-font-size=” av_uid=’av-1d0c7ry’ admin_preview_bg=”]
Want to impress your photog friends? Easy, have your logo appear in the Develop Module tool panels. At 3:17 in the video I show you how to exactly do that, or to display any other custom graphic. Me personally, I display a list of my favorite Develop keyboard shortcuts.
[/av_textblock]
[av_heading heading=’3) Create Develop Defaults to Shortcut Your Editing’ tag=’h3′ link=’manually,http://’ link_target=” style=” size=” subheading_active=” subheading_size=’15’ margin=” padding=’10’ color=” custom_font=” custom_class=” id=” admin_preview_bg=” av-desktop-hide=” av-medium-hide=” av-small-hide=” av-mini-hide=” av-medium-font-size-title=” av-small-font-size-title=” av-mini-font-size-title=” av-medium-font-size=” av-small-font-size=” av-mini-font-size=”][/av_heading]
[av_textblock size=’17’ font_color=” color=” av-medium-font-size=” av-small-font-size=” av-mini-font-size=” av_uid=’av-1d0c7ry’ admin_preview_bg=”]
Do you start every photo with the exact same edits? For example, maybe you change the camera profile to Vivid, add a certain amount of noise reduction, and set the WB to Auto. By creating Develop Defaults you can have Lightroom apply these edits every single time you import a new photo to the catalog. See 4:49 in the video to see how.
[/av_textblock]
[av_heading heading=’4) Show Clipped Highlights and Shadows When Adjusting Tone’ tag=’h3′ link=’manually,http://’ link_target=” style=” size=” subheading_active=” subheading_size=’15’ margin=” padding=’10’ color=” custom_font=” custom_class=” id=” admin_preview_bg=” av-desktop-hide=” av-medium-hide=” av-small-hide=” av-mini-hide=” av-medium-font-size-title=” av-small-font-size-title=” av-mini-font-size-title=” av-medium-font-size=” av-small-font-size=” av-mini-font-size=”][/av_heading]
[av_textblock size=’17’ font_color=” color=” av-medium-font-size=” av-small-font-size=” av-mini-font-size=” av_uid=’av-1d0c7ry’ admin_preview_bg=”]
In the Develop Module the histogram display gives you the option of seeing clipped highlights or shadows. The only problem is if you turn on these visualizations they are always on. It’s annoying and can obscure the details of your photo. Instead, hold the Alt / Option key on your keyboard when making any tone adjustment (Exposure, Whites, Blacks, etc.) to see any clipping. See 8:15 in the video to see what I mean.
[/av_textblock]
[av_heading heading=’5) Increase or Decrease the Strength of Every Local Adjustment at Once’ tag=’h3′ link=’manually,http://’ link_target=” style=” size=” subheading_active=” subheading_size=’15’ margin=” padding=’10’ color=” custom_font=” custom_class=” id=” admin_preview_bg=” av-desktop-hide=” av-medium-hide=” av-small-hide=” av-mini-hide=” av-medium-font-size-title=” av-small-font-size-title=” av-mini-font-size-title=” av-medium-font-size=” av-small-font-size=” av-mini-font-size=”][/av_heading]
[av_textblock size=’17’ font_color=” color=” av-medium-font-size=” av-small-font-size=” av-mini-font-size=” av_uid=’av-1d0c7ry’ admin_preview_bg=”]
When you add a local adjustment to a photo it’s common to combine multiple adjustments into a single tool. For example, you might add a Gradient Filter to the sky that darkens, adds clarity, warms the color balance, and increases saturation. If you later decide the effect you created was too strong you have to go back through and individually slide each of those adjustments back toward zero. Or do you?? Check out this super simple keyboard shortcut that allows you to make each of those individual adjustments stronger or weaker all together. Watch from 10:19 in the video.
[/av_textblock]
[av_heading heading=’6) Bonus Tip: My Favorite Keyboard Shortcut’ tag=’h3′ link=’manually,http://’ link_target=” style=” size=” subheading_active=” subheading_size=’15’ margin=” padding=’10’ color=” custom_font=” custom_class=” id=” admin_preview_bg=” av-desktop-hide=” av-medium-hide=” av-small-hide=” av-mini-hide=” av-medium-font-size-title=” av-small-font-size-title=” av-mini-font-size-title=” av-medium-font-size=” av-small-font-size=” av-mini-font-size=”][/av_heading]
[av_textblock size=’17’ font_color=” color=” av-medium-font-size=” av-small-font-size=” av-mini-font-size=” av_uid=’av-1d0c7ry’ admin_preview_bg=”]
There’s one key on the keyboard that allows tons of additional functionality within Lightroom. It’s the Alt / Option key. In some panels it allows you to reset all your adjustments in one click. In other panels it helps you visualize sharpening and noise reduction. It has a lot of power but I’ll leave you to discover some of the other fun things you can do with the Alt / Option key. Watch from 12:25 in the video.
[/av_textblock]
[av_heading heading=’Video: 5 Favorite Photoshop Hacks, Tips, and Best Practices’ tag=’h3′ link=’manually,http://’ link_target=” style=” size=” subheading_active=” subheading_size=’15’ margin=” padding=’10’ color=” custom_font=” custom_class=” id=” admin_preview_bg=” av-desktop-hide=” av-medium-hide=” av-small-hide=” av-mini-hide=” av-medium-font-size-title=” av-small-font-size-title=” av-mini-font-size-title=” av-medium-font-size=” av-small-font-size=” av-mini-font-size=”][/av_heading]
[av_textblock size=’17’ font_color=” color=” av-medium-font-size=” av-small-font-size=” av-mini-font-size=” av_uid=’av-1d0c7ry’ admin_preview_bg=”]
Photoshop is arguably the most powerful image editing program on the market. Many of its features are well known but it goes without saying that there are a lot of features hidden under Photoshop’s hood that will make your experience with the program that much more enjoyable. Here are 5 of my favorite Photoshop Hacks, Tips, and Best Practices.
[/av_textblock]
[av_video src=’https://www.youtube.com/watch?v=Kme6odLKwZQ’ mobile_image=’https://www.joshuacripps.com/wp-content/uploads/2018/11/Samsung-78557-1030×688.jpg’ attachment=’13223′ attachment_size=’large’ format=’16-9′ width=’16’ height=’9′ conditional_play=’confirm_all’ av_uid=’av-johru6q1′]
[av_heading heading=’1) Increase History States’ tag=’h3′ link=’manually,http://’ link_target=” style=” size=” subheading_active=” subheading_size=’15’ margin=” padding=’10’ color=” custom_font=” custom_class=” id=” admin_preview_bg=” av-desktop-hide=” av-medium-hide=” av-small-hide=” av-mini-hide=” av-medium-font-size-title=” av-small-font-size-title=” av-mini-font-size-title=” av-medium-font-size=” av-small-font-size=” av-mini-font-size=”][/av_heading]
[av_textblock size=’17’ font_color=” color=” av-medium-font-size=” av-small-font-size=” av-mini-font-size=” av_uid=’av-1d0c7ry’ admin_preview_bg=”]
If you make a lot of mistakes (like me) then being able to step back in time with the History Palette can be a lifesaver. My first tip (see 0:00 in the video) is to increase the number of history states to give yourself a little more editing flexibility.
[/av_textblock]
[av_heading heading=’2) Zoom In and Out and Pan Quickly With Keyboard Shortcuts’ tag=’h3′ link=’manually,http://’ link_target=” style=” size=” subheading_active=” subheading_size=’15’ margin=” padding=’10’ color=” custom_font=” custom_class=” id=” admin_preview_bg=” av-desktop-hide=” av-medium-hide=” av-small-hide=” av-mini-hide=” av-medium-font-size-title=” av-small-font-size-title=” av-mini-font-size-title=” av-medium-font-size=” av-small-font-size=” av-mini-font-size=”][/av_heading]
[av_textblock size=’17’ font_color=” color=” av-medium-font-size=” av-small-font-size=” av-mini-font-size=” av_uid=’av-1d0c7ry’ admin_preview_bg=”]
Forget clicking those buttons in the Navigator Window! Use Ctrl / Cmd plus +/- to zoom in or out step by step. Use Ctrl / Cmd plus 1 to zoom to 100%, and Ctrl / Cmd plus 0 to instantly fit the image into your window. Check out 1:13 in the video.
Then, instead of dragging around the Navigator on a zoomed-in image, instead press on hold the Space Bar to turn your cursor into the Hand Tool. You can then click and drag to quickly move around your photo. Watch from 2:05 in the video.
[/av_textblock]
[av_heading heading=’3) Adjust Only What You Want With the Targeted Adjustment Tool’ tag=’h3′ link=’manually,http://’ link_target=” style=” size=” subheading_active=” subheading_size=’15’ margin=” padding=’10’ color=” custom_font=” custom_class=” id=” admin_preview_bg=” av-desktop-hide=” av-medium-hide=” av-small-hide=” av-mini-hide=” av-medium-font-size-title=” av-small-font-size-title=” av-mini-font-size-title=” av-medium-font-size=” av-small-font-size=” av-mini-font-size=”][/av_heading]
[av_textblock size=’17’ font_color=” color=” av-medium-font-size=” av-small-font-size=” av-mini-font-size=” av_uid=’av-1d0c7ry’ admin_preview_bg=”]
Say you want to increase saturation of a certain color in your photo. Or add contrast to one specific tonal region in the image. Use the Targeted Adjustment Tool to adjust exactly what you want. This tool is available in many adjustments such as Curves and Hue / Saturation. Watch from 2:50 in the video.
[/av_textblock]
[av_heading heading=’4) Quickly Adjust Brush Size and Hardness’ tag=’h3′ link=’manually,http://’ link_target=” style=” size=” subheading_active=” subheading_size=’15’ margin=” padding=’10’ color=” custom_font=” custom_class=” id=” admin_preview_bg=” av-desktop-hide=” av-medium-hide=” av-small-hide=” av-mini-hide=” av-medium-font-size-title=” av-small-font-size-title=” av-mini-font-size-title=” av-medium-font-size=” av-small-font-size=” av-mini-font-size=”][/av_heading]
[av_textblock size=’17’ font_color=” color=” av-medium-font-size=” av-small-font-size=” av-mini-font-size=” av_uid=’av-1d0c7ry’ admin_preview_bg=”]
When painting on layer masks you often find that you need to adjust your brush’s size and hardness over and over. While it is possible to do this via the Brush Tool Bar, there’s a much better and faster shortcut. With the Brush tool selected, hold Alt / Option on your keyboard, then right-click and drag your mouse. Dragging to the right makes the brush bigger; dragging to the left makes it smaller. Dragging up makes it softer, and down makes it harder. Presto! Brush adjustments almost instantly. See 4:30 in the video to see what I mean.
[/av_textblock]
[av_heading heading=’5) Use Clipping Masks to Simplify Masking’ tag=’h3′ link=’manually,http://’ link_target=” style=” size=” subheading_active=” subheading_size=’15’ margin=” padding=’10’ color=” custom_font=” custom_class=” id=” admin_preview_bg=” av-desktop-hide=” av-medium-hide=” av-small-hide=” av-mini-hide=” av-medium-font-size-title=” av-small-font-size-title=” av-mini-font-size-title=” av-medium-font-size=” av-small-font-size=” av-mini-font-size=”][/av_heading]
[av_textblock size=’17’ font_color=” color=” av-medium-font-size=” av-small-font-size=” av-mini-font-size=” av_uid=’av-1d0c7ry’ admin_preview_bg=”]
With selective editing you often need to apply multiple adjustments to the same part of an image, like when you want to add contrast and saturation to just the sky. Instead of creating the same mask for every adjustment you can simply create a mask for one adjustment, then use a Clipping Mask to attach all the other adjustment layers to it. And in one click all your adjustments follow the master mask. Watch from 6:46 in the video.
[/av_textblock]
[av_hr class=’invisible’ height=’20’ shadow=’no-shadow’ position=’center’ custom_border=’av-border-thin’ custom_width=’50px’ custom_border_color=” custom_margin_top=’30px’ custom_margin_bottom=’30px’ icon_select=’yes’ custom_icon_color=” icon=’ue808′ font=’entypo-fontello’ av_uid=’av-13u32iu’ admin_preview_bg=”]
[av_heading heading=’Did You Find This Post Helpful?’ tag=’h2′ link=’manually,http://’ link_target=” style=” size=” subheading_active=” subheading_size=’15’ margin=” padding=’10’ color=” custom_font=” custom_class=” id=” admin_preview_bg=” av-desktop-hide=” av-medium-hide=” av-small-hide=” av-mini-hide=” av-medium-font-size-title=” av-small-font-size-title=” av-mini-font-size-title=” av-medium-font-size=” av-small-font-size=” av-mini-font-size=”][/av_heading]
[av_textblock size=’16’ av-medium-font-size=” av-small-font-size=” av-mini-font-size=” font_color=” color=” id=” custom_class=” av_uid=’av-jk7j11n6′ admin_preview_bg=”]
Be sure to join me on my newsletter and you’ll get more like this sent right to you. I’m not going to spam you with a bunch of crap, and I’ll never sell your name to anyone else. Join the 12,000+ other people getting photos, inspiration, tips, and more delivered right to their inboxes.
[/av_textblock]
[av_hr class=’invisible’ height=’20’ shadow=’no-shadow’ position=’center’ custom_border=’av-border-thin’ custom_width=’50px’ custom_border_color=” custom_margin_top=’30px’ custom_margin_bottom=’30px’ icon_select=’yes’ custom_icon_color=” icon=’ue808′ font=’entypo-fontello’ av_uid=’av-13u32iu’ admin_preview_bg=”]
[av_one_fifth first min_height=” vertical_alignment=” space=” custom_margin=” margin=’0px’ link=” linktarget=” link_hover=” padding=’0px’ border=” border_color=” radius=’0px’ background=’bg_color’ background_color=” background_gradient_color1=” background_gradient_color2=” background_gradient_direction=’vertical’ src=” background_position=’top left’ background_repeat=’no-repeat’ animation=” mobile_breaking=” mobile_display=” av_uid=’av-2ant1ie’][/av_one_fifth]
[av_three_fifth min_height=” vertical_alignment=” space=” custom_margin=” margin=’0px’ link=” linktarget=” link_hover=” padding=’0px’ border=” border_color=” radius=’0px’ background=’bg_color’ background_color=” background_gradient_color1=” background_gradient_color2=” background_gradient_direction=’vertical’ src=” background_position=’top left’ background_repeat=’no-repeat’ animation=” mobile_breaking=” mobile_display=” av_uid=’av-1quo146′]
[av_icon_box icon=’ue805′ font=’entypo-fontello’ title=” position=’top’ icon_style=” boxed=” font_color=” custom_title=” custom_content=” color=” custom_bg=” custom_font=” custom_border=” av-medium-font-size-title=” av-small-font-size-title=” av-mini-font-size-title=” av-medium-font-size=” av-small-font-size=” av-mini-font-size=” heading_tag=” heading_class=” link=” linktarget=” linkelement=” id=” custom_class=” av_uid=’av-jk7j1ke1′ admin_preview_bg=”]
[/av_icon_box]
[/av_three_fifth][av_one_fifth min_height=” vertical_alignment=” space=” custom_margin=” margin=’0px’ link=” linktarget=” link_hover=” padding=’0px’ border=” border_color=” radius=’0px’ background=’bg_color’ background_color=” background_gradient_color1=” background_gradient_color2=” background_gradient_direction=’vertical’ src=” background_position=’top left’ background_repeat=’no-repeat’ animation=” mobile_breaking=” mobile_display=” av_uid=’av-16u0yhy’][/av_one_fifth]
[av_social_share title=’Share this entry’ style=” buttons=” share_facebook=” share_twitter=” share_pinterest=” share_gplus=” share_reddit=” share_linkedin=” share_tumblr=” share_vk=” share_mail=” av-desktop-hide=” av-medium-hide=” av-small-hide=” av-mini-hide=” av_uid=’av-1kfd4li’]
[av_hr class=’default’ height=’50’ shadow=’no-shadow’ position=’center’ custom_border=’av-border-thin’ custom_width=’50px’ custom_border_color=” custom_margin_top=’30px’ custom_margin_bottom=’30px’ icon_select=’yes’ custom_icon_color=” icon=’ue808′ av-desktop-hide=” av-medium-hide=” av-small-hide=” av-mini-hide=” av_uid=’av-13u32iu’]
[av_heading heading=’About the Author’ tag=’h3′ link=” link_target=” style=’blockquote classic-quote’ size=” subheading_active=” subheading_size=’15’ margin=” padding=’10’ color=” custom_font=” custom_class=” id=” admin_preview_bg=” av-desktop-hide=” av-medium-hide=” av-small-hide=” av-mini-hide=” av-medium-font-size-title=” av-small-font-size-title=” av-mini-font-size-title=” av-medium-font-size=” av-small-font-size=” av-mini-font-size=”][/av_heading]
[av_one_half first min_height=” vertical_alignment=” space=” custom_margin=” margin=’0px’ link=” linktarget=” link_hover=” padding=’0px’ border=” border_color=” radius=’0px’ background=’bg_color’ background_color=” background_gradient_color1=” background_gradient_color2=” background_gradient_direction=’vertical’ src=” background_position=’top left’ background_repeat=’no-repeat’ animation=” mobile_breaking=” mobile_display=” av_uid=’av-11dhrpi’]
[av_textblock size=” font_color=” color=” av-medium-font-size=” av-small-font-size=” av-mini-font-size=” av_uid=’av-jk7j5202′ admin_preview_bg=”]

[/av_textblock]
[/av_one_half]
[av_one_half min_height=” vertical_alignment=” space=” custom_margin=” margin=’0px’ link=” linktarget=” link_hover=” padding=’0px’ border=” border_color=” radius=’0px’ background=’bg_color’ background_color=” background_gradient_color1=” background_gradient_color2=” background_gradient_direction=’vertical’ src=” background_position=’top left’ background_repeat=’no-repeat’ animation=” mobile_breaking=” mobile_display=” av_uid=’av-sjdv6u’]
[av_textblock size=” font_color=” color=” av-medium-font-size=” av-small-font-size=” av-mini-font-size=” av_uid=’av-jk7ja4su’ admin_preview_bg=”]
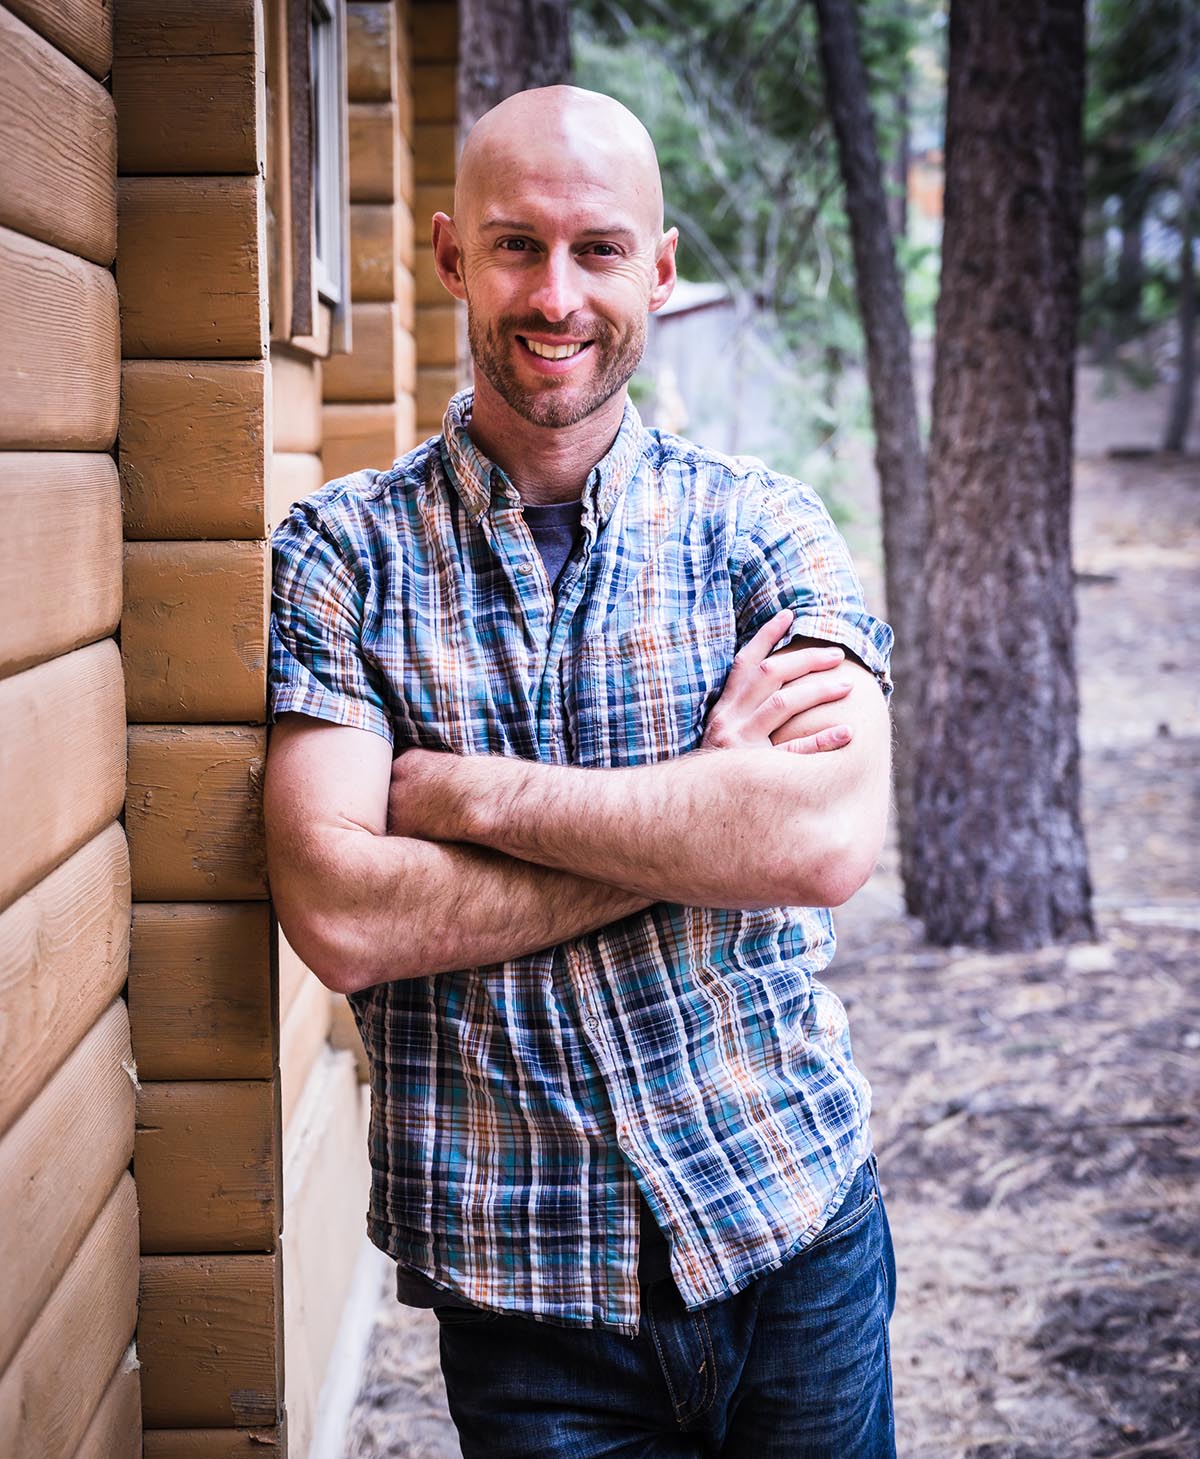
Josh Cripps is a wilderness landscape photographer living in beautiful Mammoth Lakes, California. He shoots campaigns and gives presentations for Nikon. His work has been featured in publications like Outdoor Photographer, Pop Photo, and Landscape Photography Magazine. Josh also runs photography workshops, teaches online courses, and runs the popular YouTube channel Pro Photo Tips. Sometimes he talks like a cowboy and can grow an enormous beard when the need arises.
You can read more about Josh here.
[/av_textblock]
[/av_one_half]
[av_comments_list av-desktop-hide=” av-medium-hide=” av-small-hide=” av-mini-hide=” av_uid=’av-ls45eu’]
share this article:
