
[av_textblock size=” av-medium-font-size=” av-small-font-size=” av-mini-font-size=” font_color=” color=” id=” custom_class=” av_uid=’av-k8y2ywru’ admin_preview_bg=”]
Fall is upon us throughout much of the northern hemisphere, and photographers are buzzing like moths to their favorite fall color hotspots. Want to take home fall color photos you’re proud of? Here are five simple tips to elevate your shots.
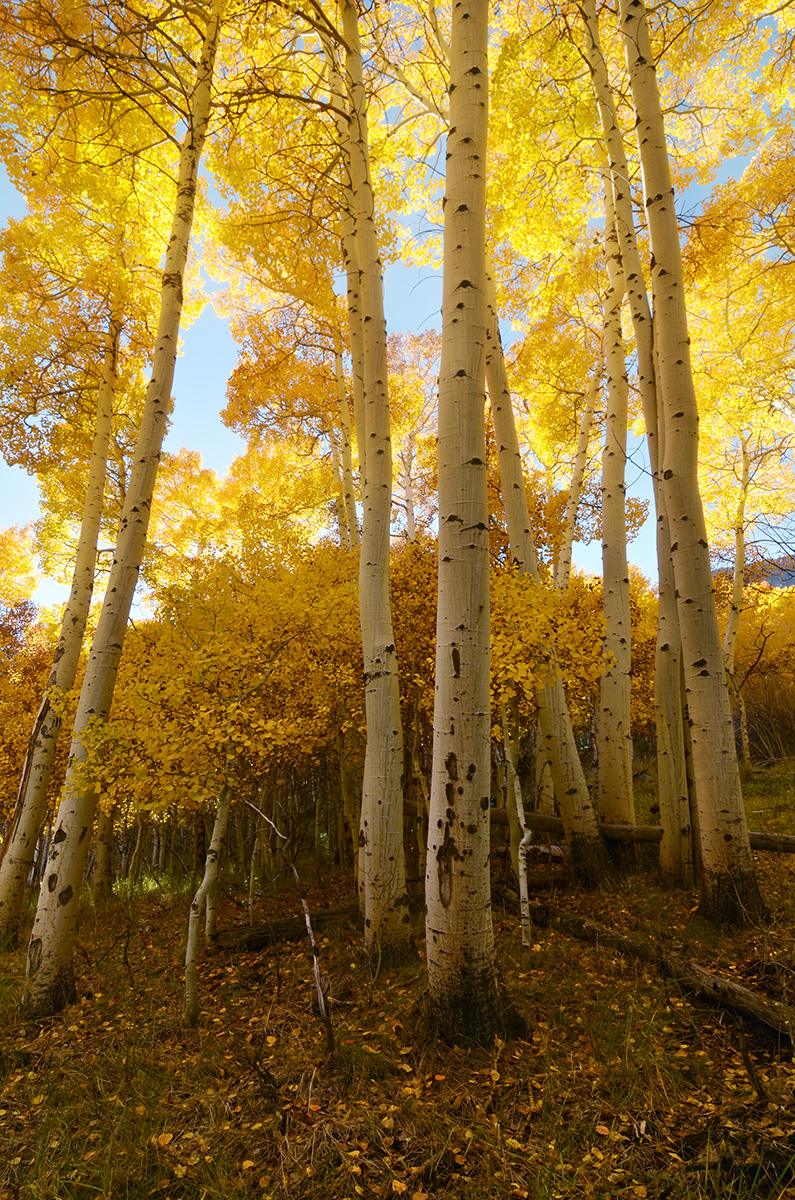
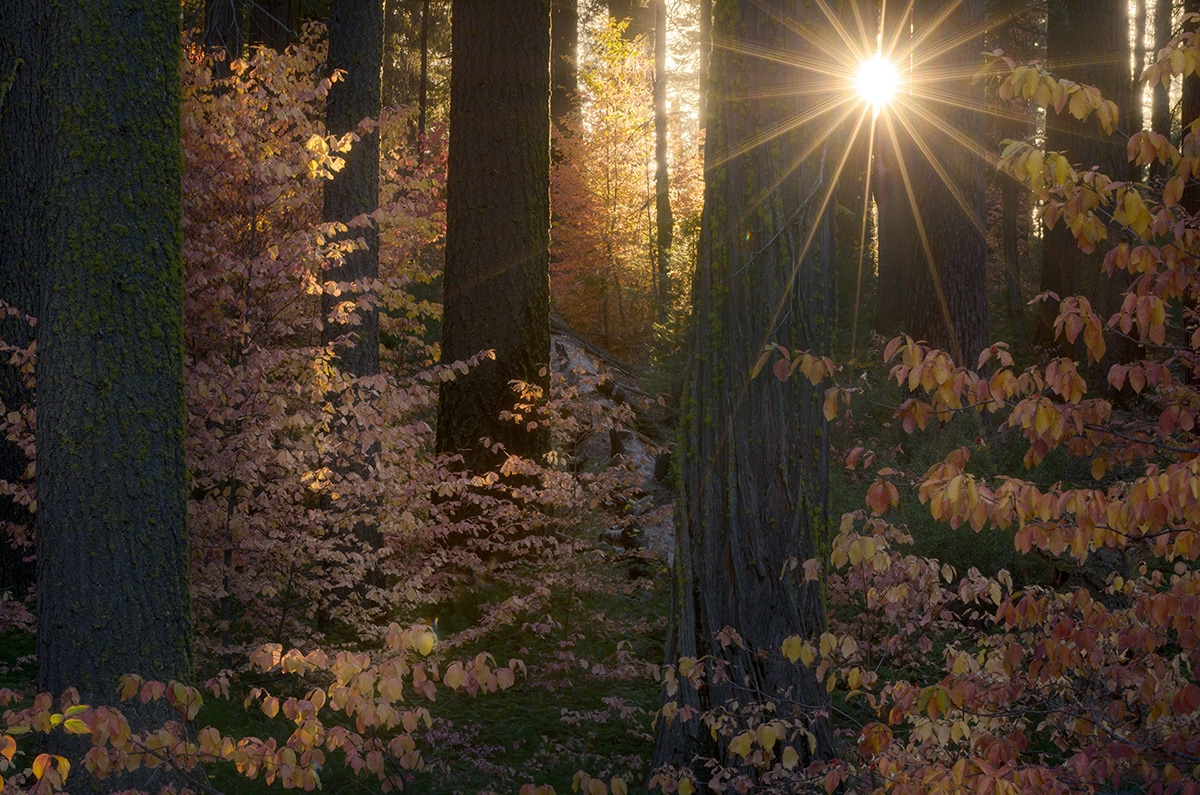
For most landscape photography you get the best lighting conditions around sunrise or sunset when the sun is low in the sky and much less harsh than at midday. But when shooting fall colors you will see an amazing glow in the leaves if you photograph them under direct sunlight. The effect becomes all the more intense when the leaves are backlit by the sun.
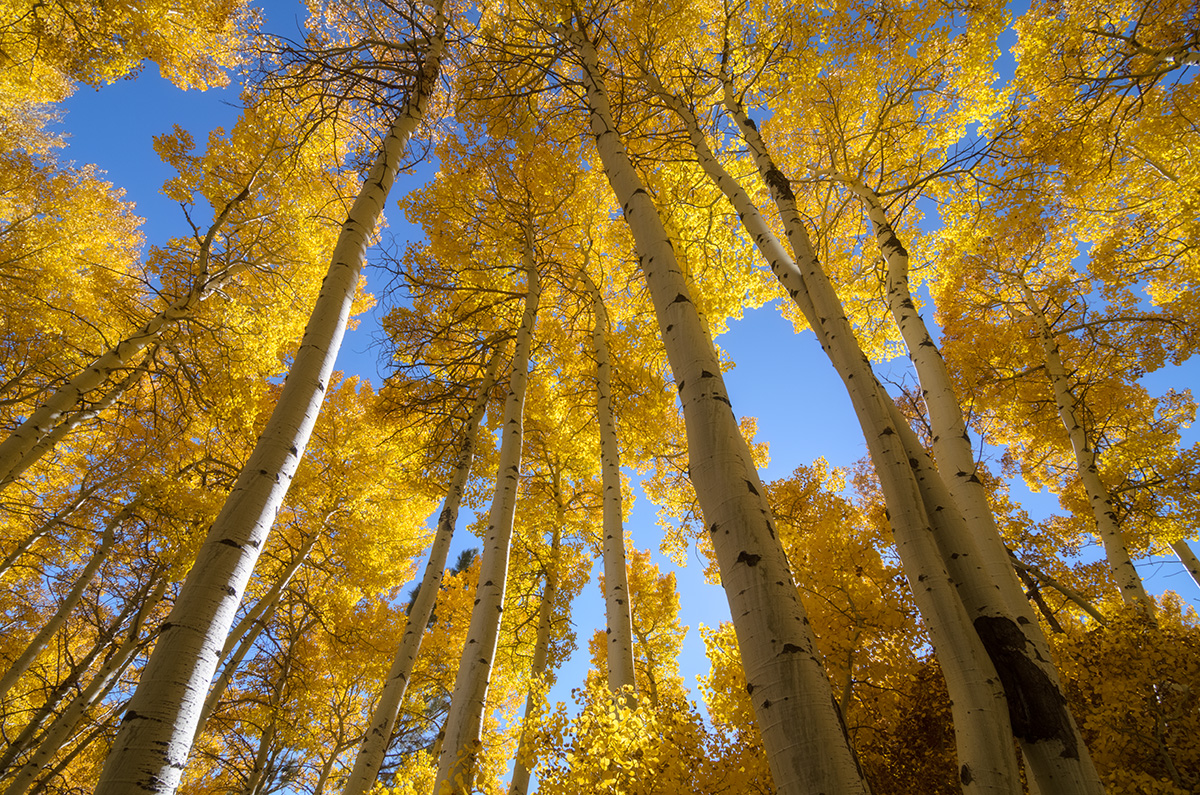
Glowing leaves are fantastic in their own right but one way to make them stand out dramatically is to utilize complementary color contrasts. Set up your composition so that yellow leaves contrast against a blue sky or red leaves contrast against dark green trees and you will really see your colors come to life.
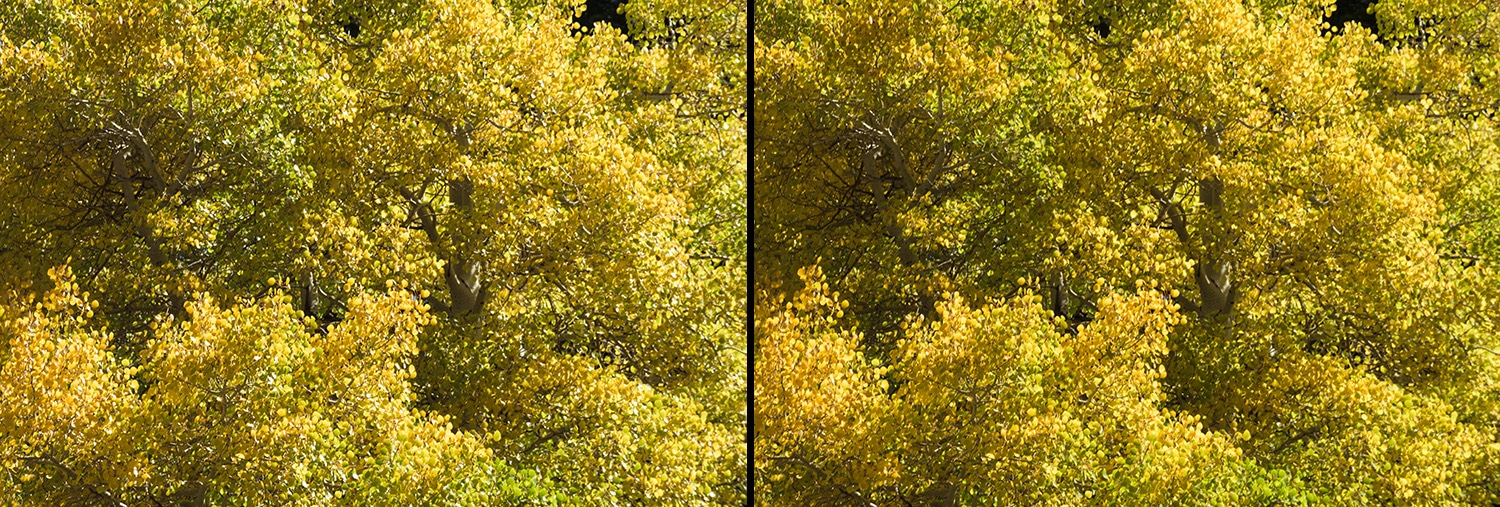
Another way to enhance the colors of your fall shots is a simple gear fix: use a polarizing filter. This will cut glare off the foliage, increase color saturation, and help the hues of your photo become richer.
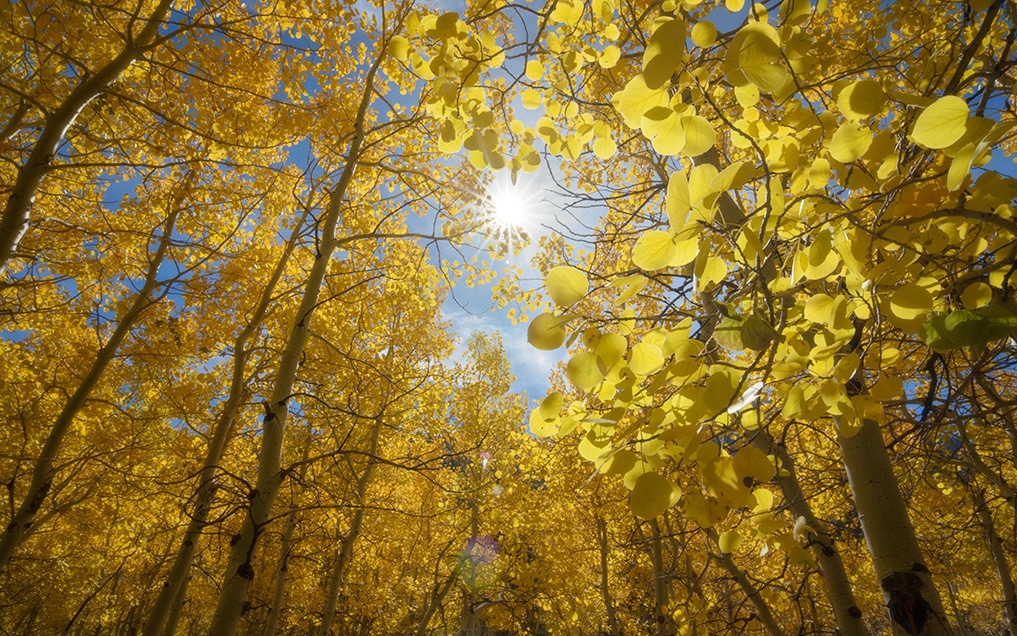
Forest interiors are often visually chaotic spaces. One way to help simplify them is by finding an obvious focal point to attract your viewer’s eye. A particularly colorful splash of foliage can work well, but one of the easiest and most powerful focal points is the sun itself. Pro-tip: use a small aperture like f/16 and you will create a sunburst, making the sun even more of an eye magnet.
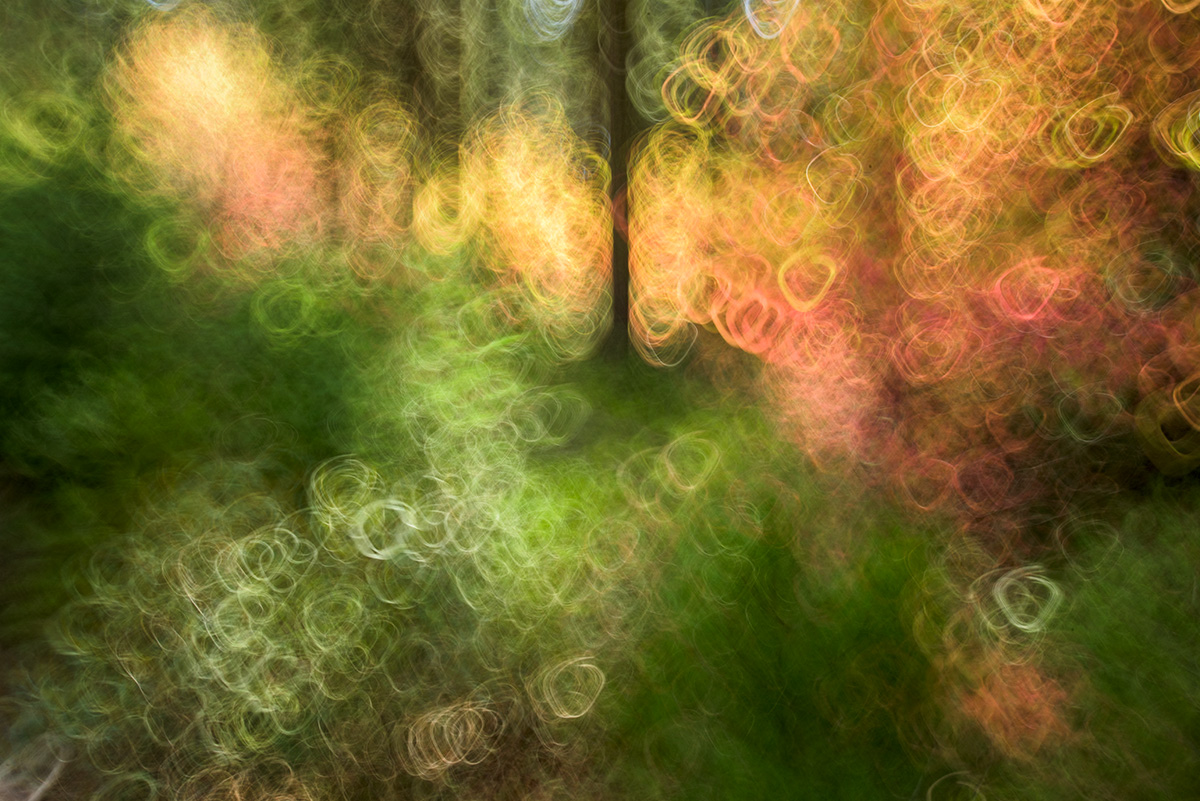
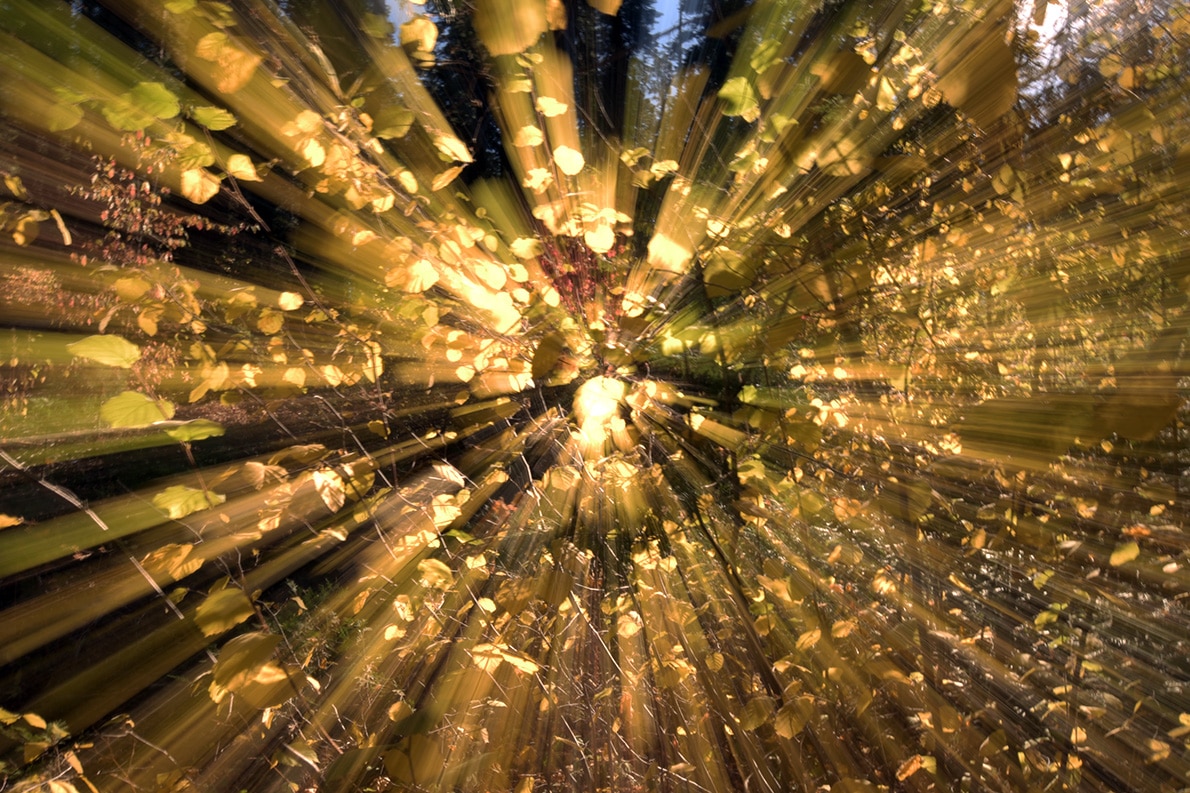
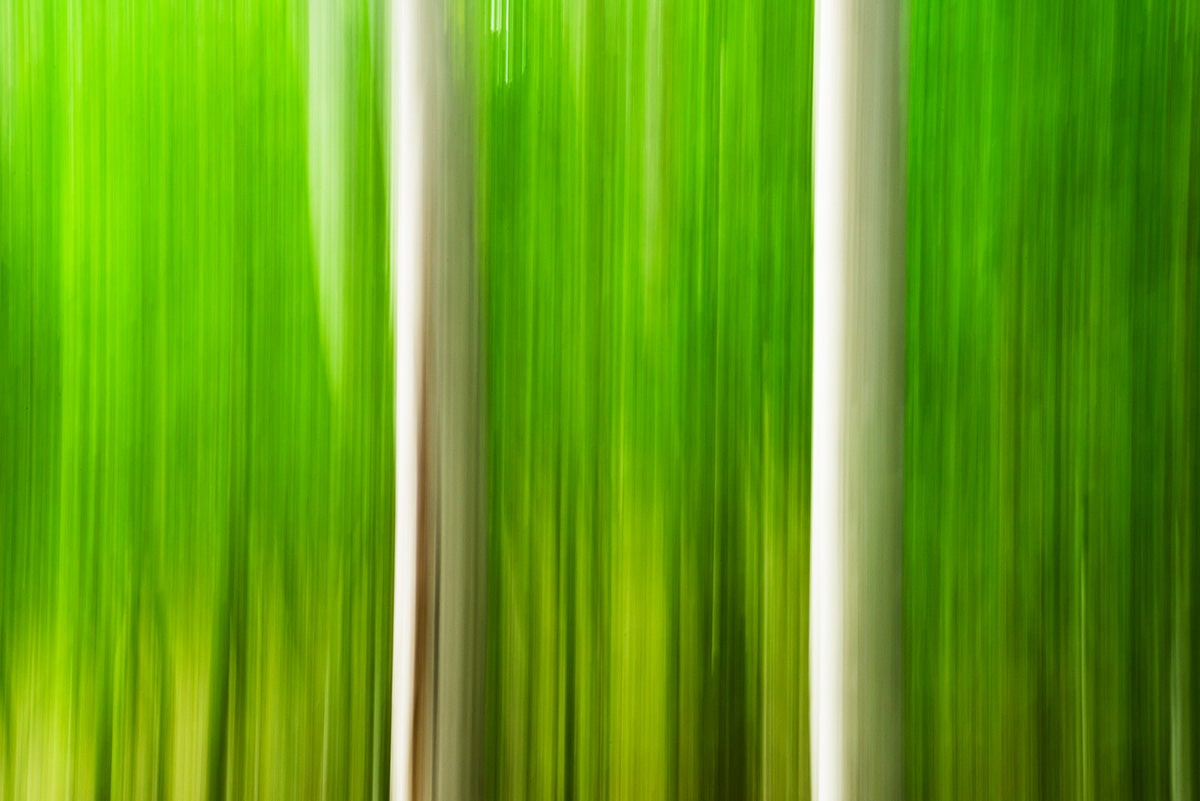
If you’re shooting in light that isn’t doing your scene any favors, try shaking things up with intentional camera blur. Stop your aperture all the way down and consider tossing on a polarizer as well in order to increase your shutter speed to the 1/4″ to 1″ range. Then try zooming, panning, or even shaking the camera. These techniques cause harsh highlights and shadows to blur together, creating softer tones as well as funky abstract forest impressions. It takes a bit to master, but shooting like this is incredibly addictive and no two shots are ever alike!
Got any of your own favorite tips for shooting fall colors? Let us know in the comments below!
Got another question? Check out our Landscape Photography FAQ here:
https://www.joshuacripps.com/landscape-photography-faq/
Be sure to subscribe to our newsletter and YouTube channel for even more landscape photography how-to.
Join Josh on Social!
http://instagram.com/joshuacrippsphotography
https://www.facebook.com/JoshuaCrippsPhotography
[/av_textblock]


7 Responses
Very little color in the Great Smoky Mountains and surrounding areas of NC/TN as of 10/20/18. Most leaves are turning brown and falling off due to a very warm September.
Thanks Joshua. Good information in here!
1. Colours are more saturated in both senses following rain, when the leaves are still wet.
2. In late autumn rivers, ponds, and lakes cool, the suspended algae die off and fall to the bottom leaving the water clear. This increases the contrast of reflections and these can be further controlled with a circular polarised filter.
I appreciate your blog. Do please keep it up.
Great tips, Colin! I didn’t know that about the algae. Very interesting.
Zoom blur creates a sense of rushing into space. 1/4 sec.
Is really nice.
Hi Josh- great tips. I can add one more based on my learnings from my first trip to the Eastern Sierras! Go easy on the vibrance and saturation sliders! It is so easy to get carried away! 🙂
Well said, Ratnesh!