4 Things All Great Photos Have in Common, Part II

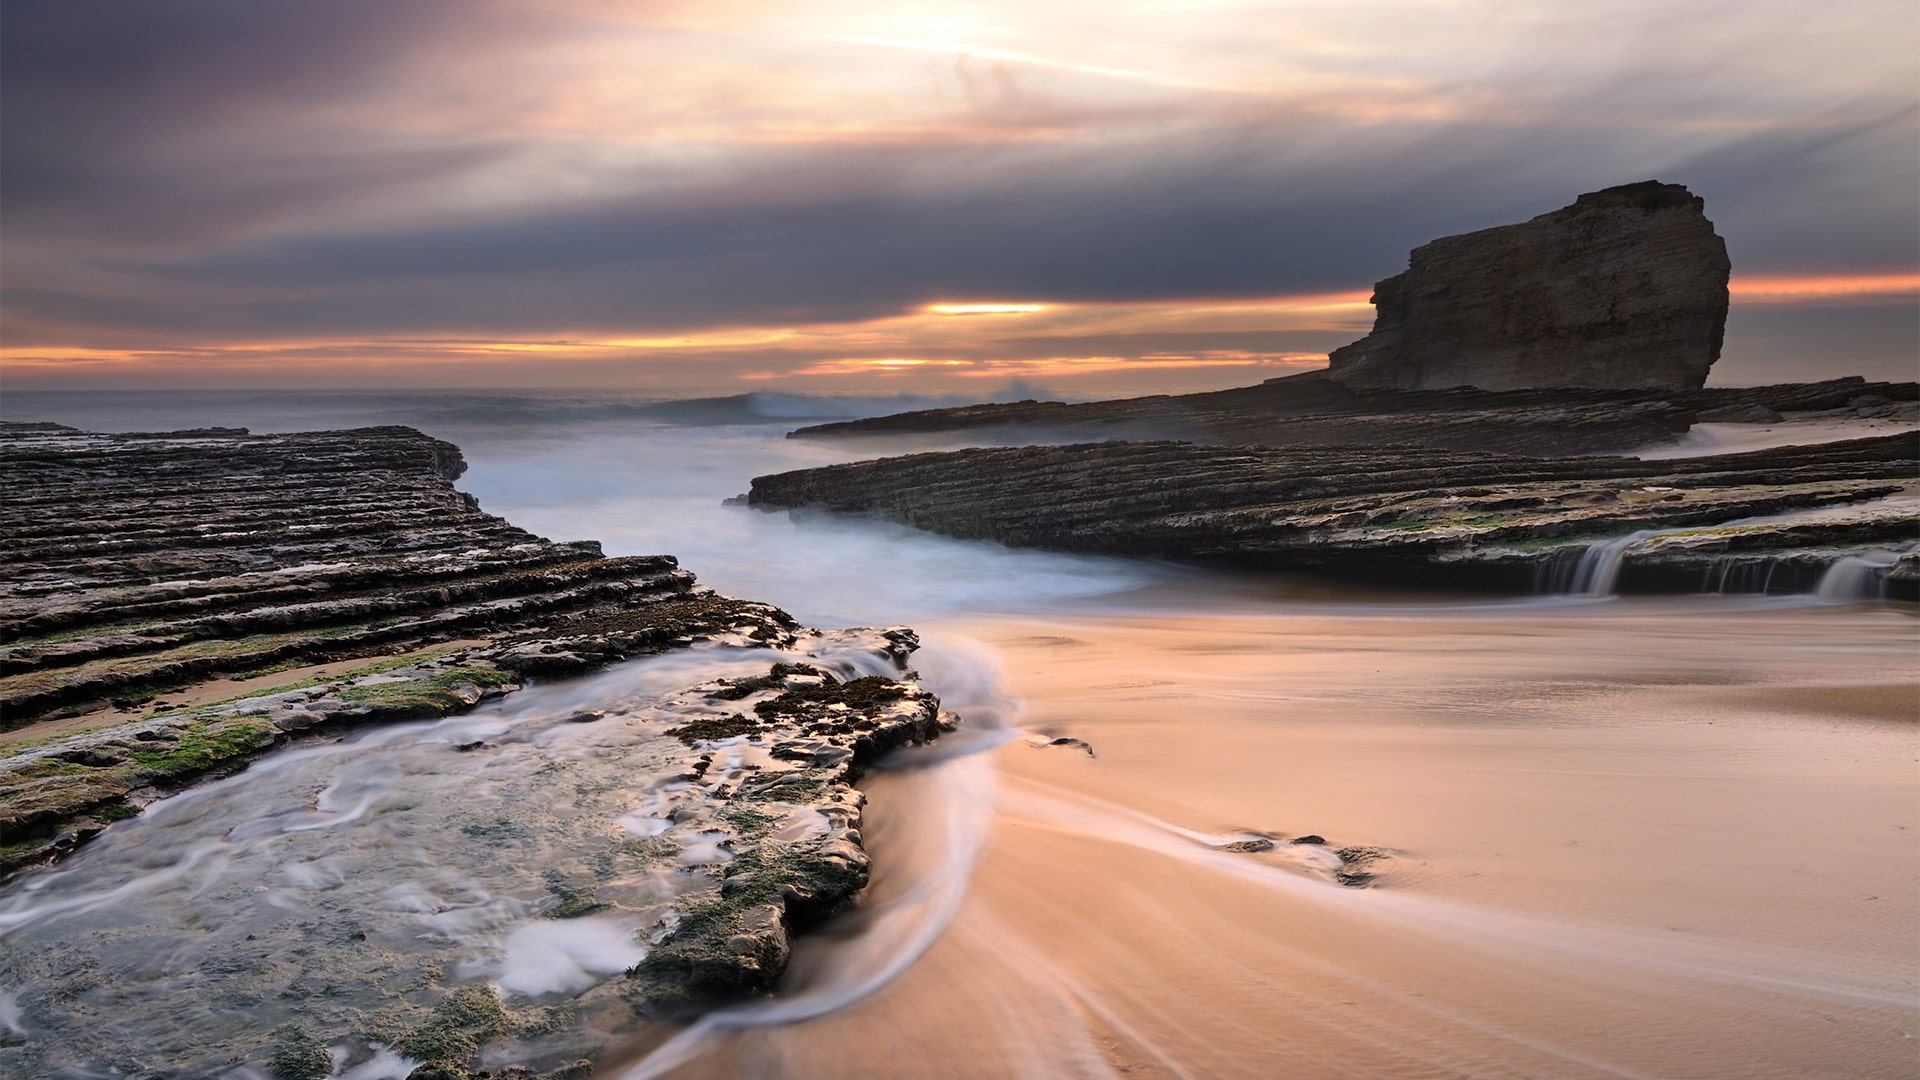
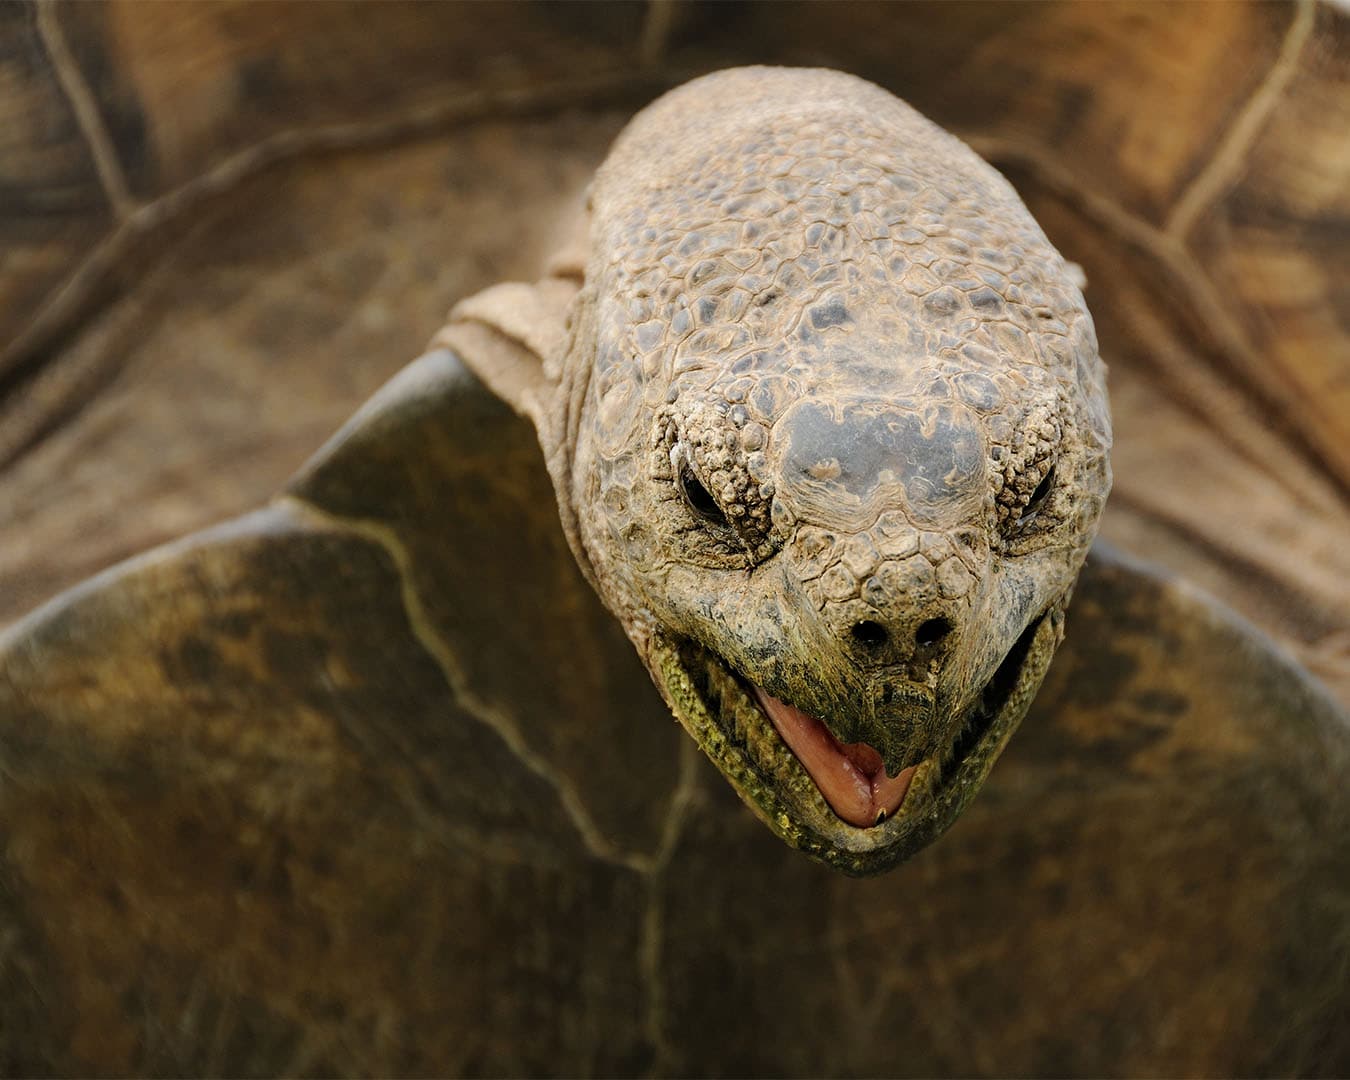
Episode Transcript:

[opening credits]

Howdy my photo peeps. Josh Cripps here from Professional Photography Tips and today I’m going to be analyzing a few of my own photos to show you exactly what’s missing and how I can improve these shots.

If you haven’t seen part I of this video, The 4 Things Every Great Photo Has in Common, I highly recommend you go back and watch that first. In that video I break down the recipe that every great photo uses in order to give you a framework to analyze your own images. So this video will make a lot more sense if you go back and watch that one first.

As I mentioned in that video, the main points to every great photo are Subject, Composition, Technique, and Light. So let’s take a look at a number of photos and see what’s missing.

Here’s the first image, a beach in Santa Cruz. What does the image have going for it? Great light for sure, and nothing is blown out or out of focus, so decent technique. The composition is acceptable in a boring, bland way. So what’s missing? Yup, it’s the subject. Sure, clouds and light can be a subject themselves, but they’re got to be really unique or special, and even then they’re almost always providing a backdrop for an earthly-based subject. Same with this beautiful sunset in Alaska. The light is bonkers, but where’s the subject?

So my rule now is subject before light. Find something that’s worth shooting, like this arch, and set up a seascape composition that works regardless of the clouds. That gives me a stronger start to an image. Then throw in some amazing light like this as the icing on the cake and you have a pretty good shot.

For this next shot let’s take a look at another seascape. Here I’ve got a good subject, this cool seastack, but my composition doesn’t do anything to show it off, I’ve blown out the image, and the light itself is harsh and ugly. But if I move much closer to the seastack, I wait for sunset, and a use a filter to help tame the vibrant sky then I’ve solved those issues and made the shot.

Here I’ve got a perfectly boring shot of a tortoise in South Africa. It’s a good subject, it’s technically an acceptable image, and the light is nice and soft. So why do I feel such a big yawn when I look at this? Because the composition does nothing to show the tortoise off in an interesting way. But if I wait a few minutes until it does something interesting, and I change my point of view to take advantage of that I’ve now got a photo that makes you look twice.

Now let’s take a look at this bald eagle photo I took in Alaska. It’s an interesting subject, the composition is ok, and while the lighting is boring, it’s not downright bad. Here what makes the image fail is technique. I was using a poor-quality lens and didn’t have a fast enough shutter speed (1/400 s) to freeze the eagle in flight, hence all the blurry details. So if I correct those faults: better, sharper lens, and a much faster shutter (1/1600 s), all of a sudden I can make a much better image.

For the next shot, let’s try to figure out what’s wrong here. I’ve got a great subject: these vast fields of tidy tips. I’ve got a good composition that emphasizes the endless expanse of flowers, and I’ve got just about perfect light: soft on the foreground, and dramatic in the sky. What could be wrong? Well, the problem was I was very close to the flowers but only shooting at f/10 and so if I zoom in to the foreground you’ll see the image is clearly out of focus, which ruins it for me. But if I simply stop down to f/18 now I’ve got the depth of field needed to recover the quality in the shot.

Finally, let’s look at the importance of light. Here’s an ambient light shot of my friend Kate. She’s beautiful but still this mage is uninspiring. But if I darken the ambient exposure by a stop, light her from the front with a softbox, and splash a little more light onto the wall behind here I’ve turned this boring alley into a studio and all of a sudden I have something much more interesting.

But what about for natural light. Here too it makes all the difference. This is one of my favorite beaches in the world, which makes it a great subject for me for a photo. I’ve got a compelling composition set up, and other than a blown out sky the technique is good: enough DOF, and a long shutter speed to add silkyness to the water. I’ll add a filter to take care of the sky problem, and I’ll leave everything else exactly how it is. Then I simply waited for the vibrant colors of sunset to hit, in other words, for the light to get better, and this was the incredibly different result.

There you have it, everyone. I could sit here and analyze images all day but hopefully that’s enough of a starting point to get you going on your own. Thanks so much for watching and be sure to check out some of my other videos. You can also subscribe to get awesome new videos when they’re uploaded. Or visit my website, joshuacripps.com, for landscape photography, workshops, tutorials and more. Until next time, have fun and happy shooting.

4 Things All Great Photos Have in Common

Episode Transcript:

There’s no formula for a perfect a photo, but every great photo starts from the same recipe. I’m Josh Cripps and today I’m going to show you exactly what that recipe is.

[opening credits]

Hey everyone and welcome to professional photography tips. If you’ve ever looked at your photography and said “meh, why don’t my photos look as good as the pros’?” then this video is for you. Regardless of the genre, whether it’s street photography, studio pet portraits, or landscapes, every great photo shares four common characteristics. So if your photos aren’t great it means you’re missing one or more of these four things.

1) An Interesting Subject

First things first, you have to shoot something that you find fascinating, intriguing, beautiful, or otherwise interesting. You can be a whiz with all your camera settings and Photoshop but if you’re not actually taking pictures of something you think is really cool, then no one else is going to find it cool either. So figure out what you love and shoot that!

2) A Good Composition

Next, you’ve got to show your subject off in a compelling way. Figure out the essence of what you’re shooting, exactly what you think is cool about it, whether it’s a specific feature of your subject, or the relationship between your subject and its environment, and compose to emphasize those characteristics.

3) Good Technique (F-Stop, Shutter Speed, ISO)

Just like composition, technique is an extension of the idea of your photo. Want to emphasize the dreamy feeling of a flowing waterfall? Then use a long shutter speed. Trying to draw attention to a model’s eyes and lips? Then use a large aperture to minimize your depth of field and reduce distractions throughout the rest of the frame. Again, think about the most important ideas of your photo, what is it really about? And analyze how you can make technical choices to support that idea.

4) Good Light

Finally, good light is crucial to a good photograph. Shoot at sunrise or sunset for warm magic hour tones, learn how to rock an off camera flash and get your strobe on, or invest in diffusers and reflectors. These are all things that can improve the lighting in your photos, though in the end only you can decide what good light is for you. And if you’re unsure, look at photos that you love and study the lighting, and before you know it the lighting in your own images will start kicking butt.

So that’s it, that’s the recipe. Those four simple, but oh so powerful things. So the next time you look at a great photo see if you can figure out how the photographer used each of these four elements. Or if you look at a not-so-great photo try identify which of the four is missing. And if you do this with your own photography you’ll see it improve by leaps and bounds.

As always, thanks for watching. Be sure to check out part 2 of this video where I analyze some examples from my own photography to show you what’s missing and how I improved the shots. Or watch some of my other videos. And if you liked this you can subscribe for more photography tips and techniques. Also visit my website joshuacripps dot com for landscape photography, tutorials, workshops and more. Until next time, have fun and happy shooting!

The Philosophy of a Photograph: Three Simple Questions

Episode transcript:

I’m Josh Cripps and I’m going to show you how asking yourself a few simple questions can dramatically improve the artistry your photos.

Hi all, welcome to Professional Photography Tips. One of the most common questions I get while teaching workshops is “My photos always turn out looking like snapshots. How can I take the vision that’s in my head and get it to come out in a photo?”

It turns out that the answer to that is already there inside you, and you can bring it out by asking three simple questions: what, how, and why.

1) What?

Whenever you approach a scene you should consciously ask yourself What do I like about this scene? There are a million things to look at in any landscape. Your job as the photographer is to identify just those few elements you find most striking. That’s how your photo begins to take shape.

For example I really love the oaks and the warm sunlight. Those are the two elements out of this whole landscape that most catch my eye. Also note that I didn’t say, I really love this grass, or the blue sky. And that gives me a sense of what I should exclude from the photo. The elements in a scene you’re not drawn to should be minimized or just straight up excluded from your shot. Simplify your images as much as possible in order to gain focus and clarity.

And once you’ve identified the elements you like, don’t stop there. The next step is to ask yourself What do I like about those elements? Maybe it’s the way they interact; the way the warm light shines through the leaves. Or maybe it’s that I like how the oak trees form a canopy above me. And the better you can answer what do I like about the elements I’ve chosen, the better off you’ll be when it comes time to ask yourself the next question.

2) How?

Now that you’ve identified the elements you want in your photo and the characteristics you like about them you need to ask yourself “How can I exaggerate those characteristics?” Your duty as an artistic photographer is not to represent a scene as faithfully as possible, it’s to exaggerate the things you notice and show people what you want them to see.

Sometimes the way to do that is compositionally: I like the light coming through the oaks, so I’m going to move around behind them where the effect is most pronounced.

Sometimes it’s a technical choice: I love the warmth of the sunlight; I’m going to exaggerate that by setting my white balance to cloudy to bring out more warm tones.

And sometimes it’s done through post processing: I love the green of the tree leaves so I’ll saturate the greens in Photoshop.

But the bottom line is once you start thinking about ways you can exaggerate the things you’re drawn to in a scene you’ll see your particular artistic vision begin to shine through in your photos.

3) Ask yourself Why?

The final question is here to help you tie everything together and to help you understand the choices you’re making in creating a photo.

You should ask yourself Why? about every single aspect of your images: why did I include this element and exclude this one? Because I like this one and don’t care about that one. Why did I place this element in this spot in my frame? Because I like the rule of thirds and I don’t want an important element too close to the edge or too centered. Why did I use a wide angle lens and not a telephoto? Because I like the depth and sense of “being there” that a wide angle provides.

This goes just as strongly for the technical choices: why did I choose this aperture? To get a deep DOF or a shallow one, to isolate one subject or let the viewer’s eye drift through the whole frame? Why did I choose this shutter speed, am I trying to show motion in the image, or freeze it, or does it not matter? Why did I choose this white balance, what color scheme am I trying to enhance? Why this ISO? For everything in your picture: why why why?

The more you ask yourself why the more your photos become a direct extension of your artistic vision and choices.

4) Make a caricature: simplify and exaggerate.

Basically you’re trying to make a caricature of whatever you’re shooting: simplify and exaggerate.

Simplify your photos by asking What, then exaggerate by asking How? Then you look at every aspect of your photo by asking Why. Because in the end it’s your conscious choices that turn those snapshots into true art.

Thanks for watching and be sure to check out last week’s video. Don’t forget to subscribe for weekly photography tips and techniques, and for landscape photography, tutorials, workshops and more, visit my website, joshuacripps dot com. Until next time, have fun and happy shooting!